CleverTap GTM Android Integration
Learn how to send Android app events to CleverTap via GTM
Overview
A Firebase account must be set up to use CleverTap Push notifications and other services.
Google Tag Manager mainly interacts with the Analytics feature of firebase. When your app sends events to Firebase Analytics, those events can automatically trigger cloud functions defined in GTM. These cloud functions can further call some functions defined in your native app's code with the values from the said cloud function.
These functions, defined in the client's code, can be used to run CleverTap's SDK APIs.
A few integrations are required inside the native code. The triggers functions and the logic for passing data to native code/calling classes are configured on the GTM dashboard. There is no additional setup required in the Firebase console.
Integration
To integrate GTM with CleverTap you need to:
- Configure CleverTap Dashboard with the Native Android App.
- Configure Firebase.
- Configure Google Tag Manager.
- Set Up triggers and tags for Firebase Events in GTM.
Configure CleverTap Dashboard with native Android App:
Integrate the CleverTap Android SDK and ensure that you can create custom events.
Configure Firebase
To enable Google Analytics for your app, perform the steps listed in the Firebase Guide. Ensure that you can fire events via firebase analytics classes such as firebaseAlayticsObj.logEvent("buttonClick", bundle);.
There is no explicit configuration needed for Firebase to GTM.
Configure GTM Dashboard
To configure the GTM dashboard:
- Navigate to https://tagmanager.google.com/ and create a new account.

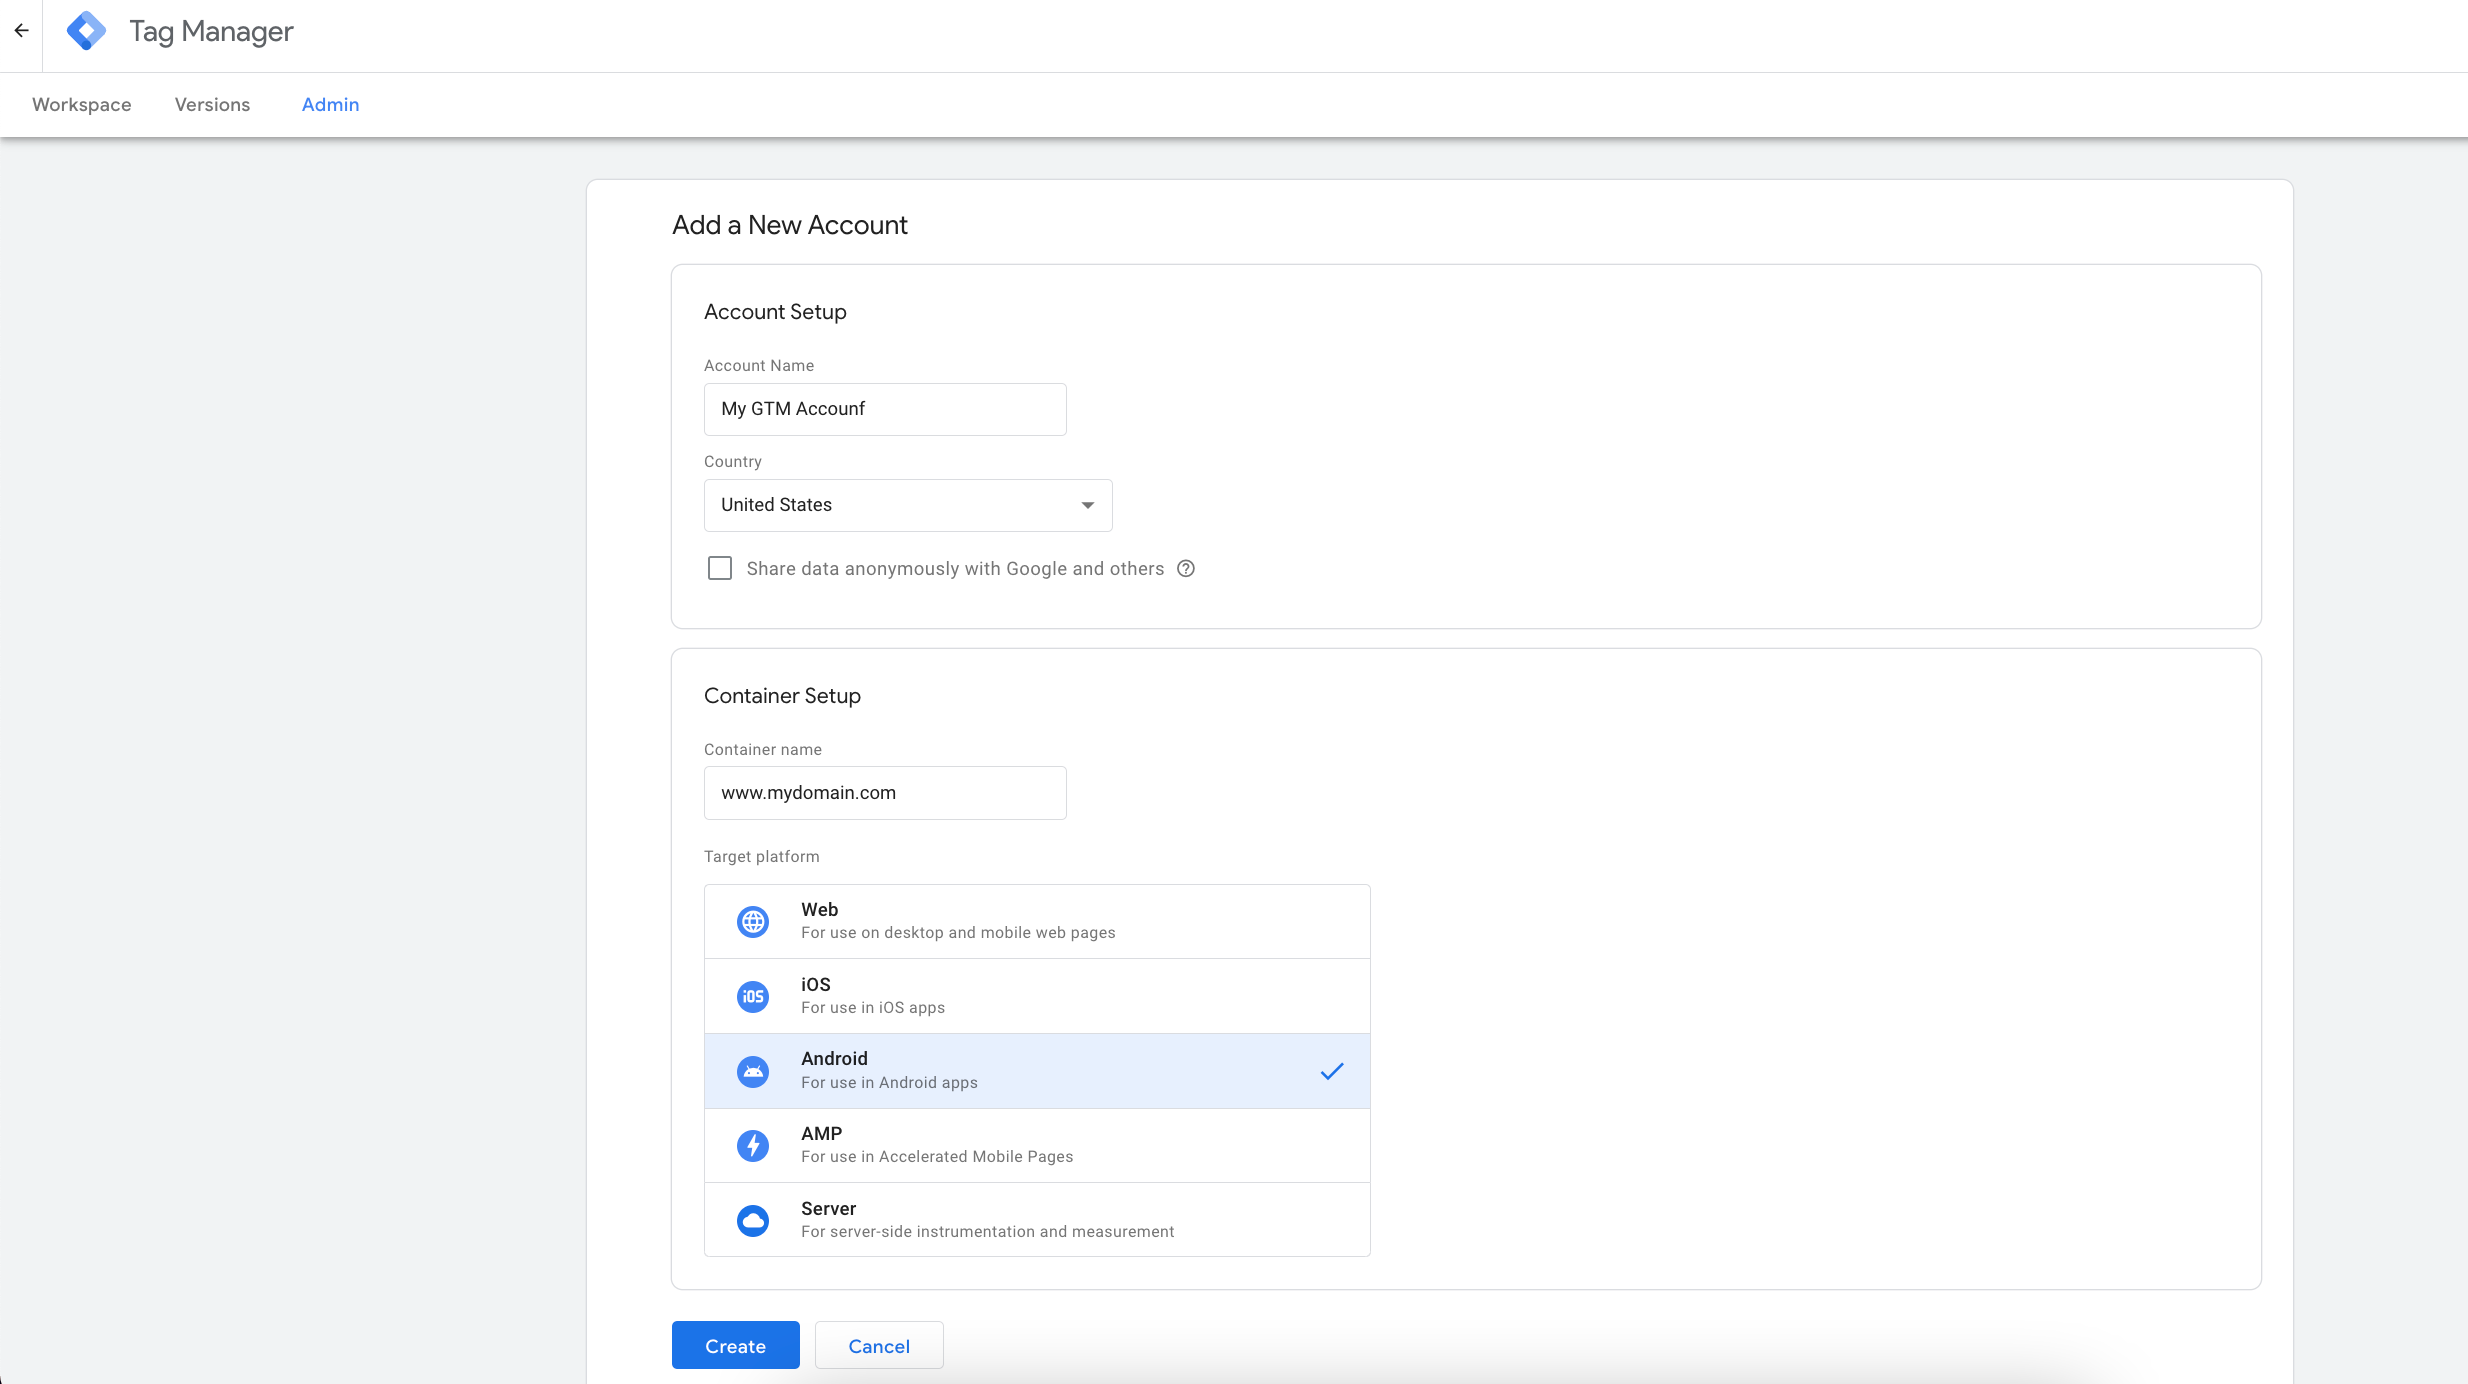
Create New Account on GTM Dashboard
- Select Android as the Target platform in the Container Setup section.

Select Android in Container Setup
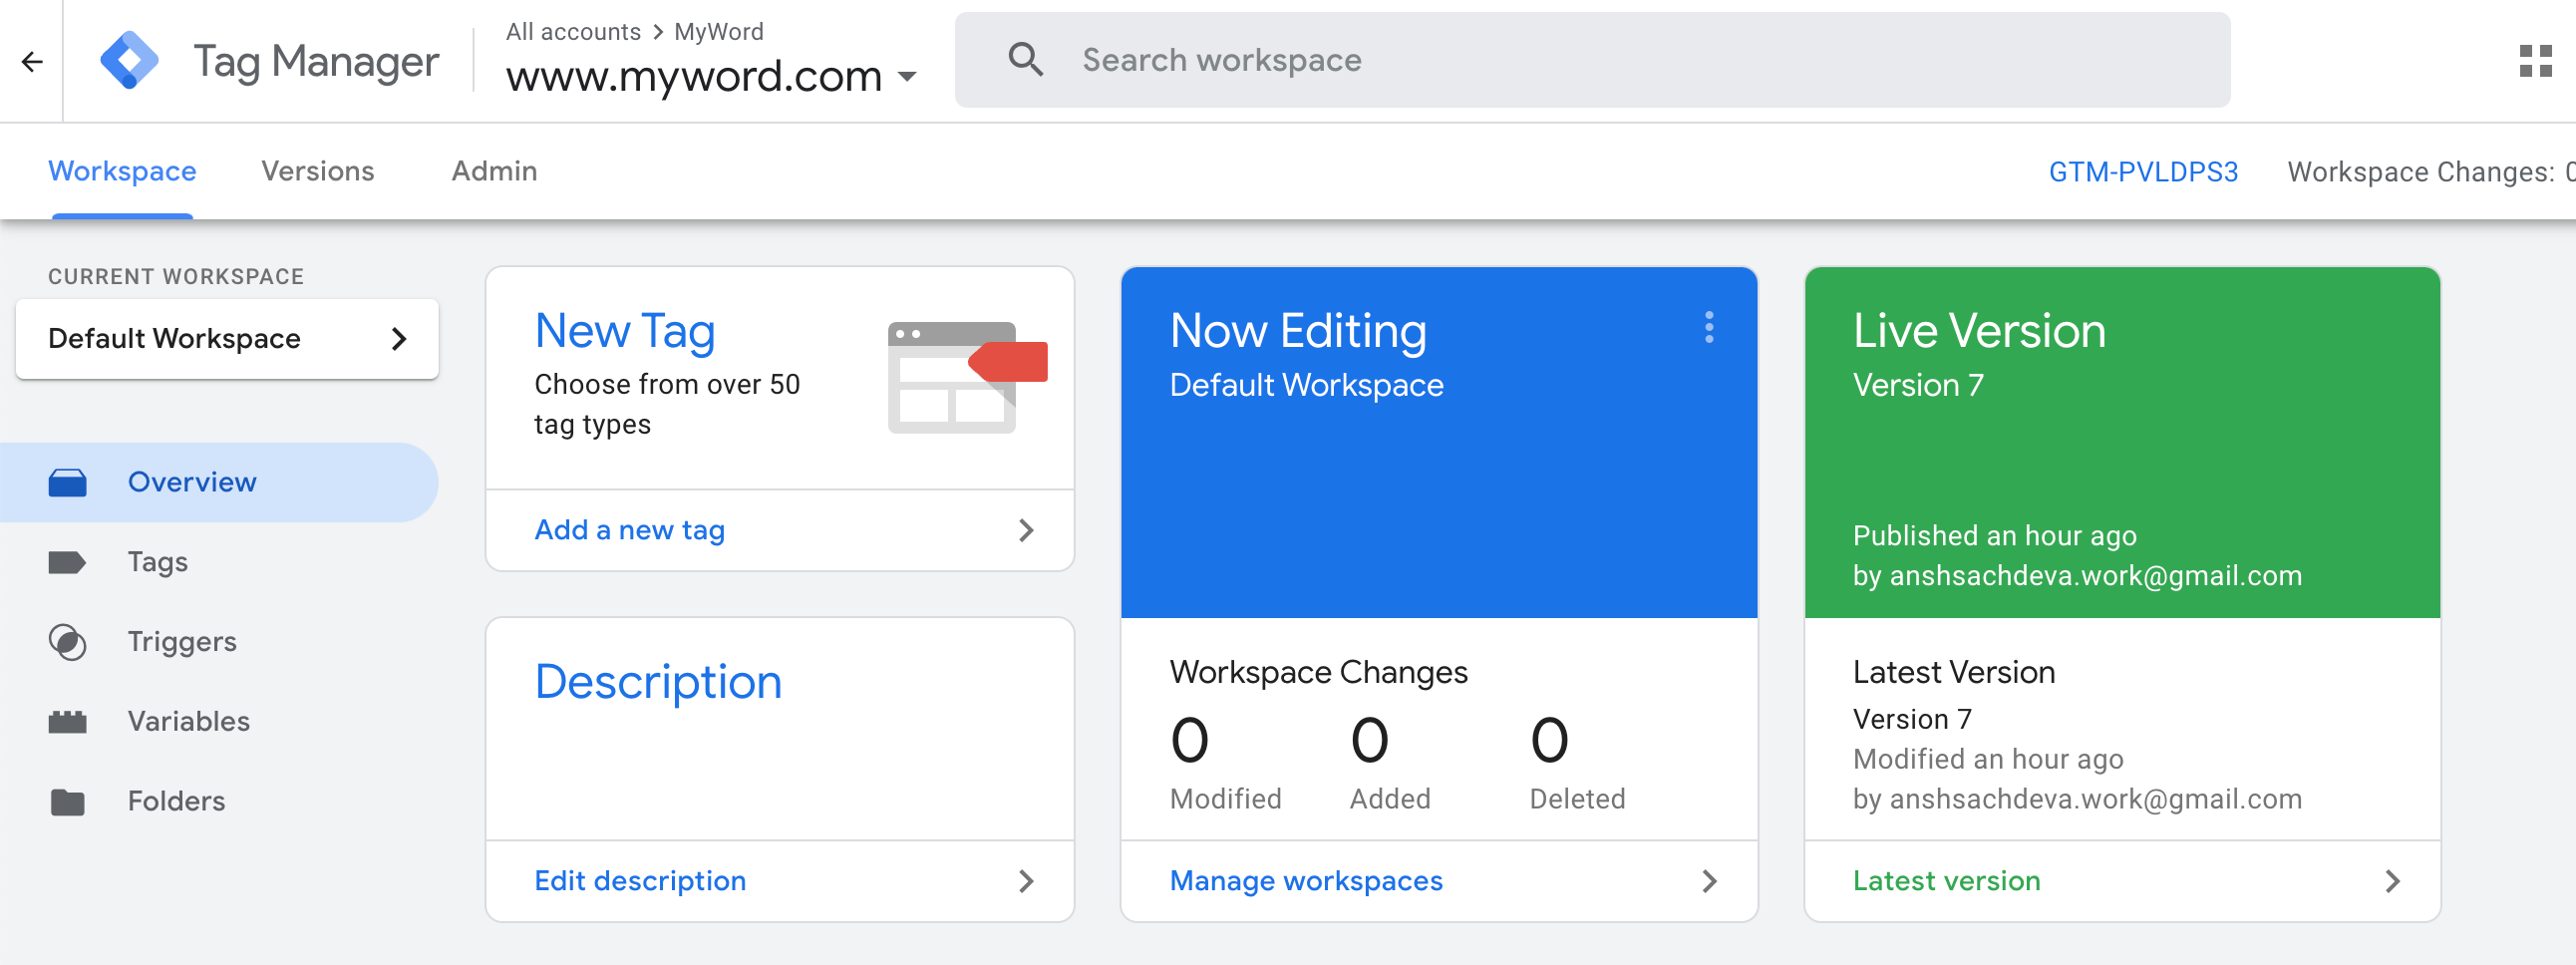
- Navigate to Workspace > Latest version and download the container JSON file after account creation.

GTM Dashboard
- Add the dependency in your app's
build.gradlefile of your Native Android app:
dependencies {
  // ...
  compile 'com.google.android.gms:play-services-tagmanager:18.0.1'
}- Place the downloaded JSON file from the previous step into the app > src > main assets > containers folder.
- Create a class extending Custom Tag Receiver with access to a static instance of clevertapApi.
class GTMReciever:CustomTagProvider {

    companion object{
        var cleverTapAPIObj:CleverTapAPI? = null // make sure to initialise this instance in your Activity/Fragment/Application class
    }

    override fun execute(map: MutableMap<String, Any>) {
        val action = map.remove("actionType")
        when (action) {
            "customEvent" -> {
                val event = map.remove("eventName").toString()
                cleverTapAPIObj?.pushEvent(event,map)
            }
            "profileUpdate" -> cleverTapAPIObj?.pushProfile(map)
            else -> log("Got unknown action type: $action")
        }
    }
}

class MyApp : Application() {
    override fun onCreate() {
        //...
        GTMReciever.cleverTapAPIObj = CleverTapAPI.getDefaultInstance(this)
        //...
   }
}
public final class GTMReciever implements CustomTagProvider {
@Nullable
private static CleverTapAPI cleverTapAPIObj;
public void execute(@NotNull Map map) {
String action = (String) map.remove("actionType");
if (Objects.equals(action, "customEvent")) {
String event = String.valueOf(map.remove("eventName"));
if (cleverTapAPIObj != null) {
cleverTapAPIObj.pushEvent(event, map);
}
} else if (Objects.equals(action, "profileUpdate")) {
if (cleverTapAPIObj != null) {
cleverTapAPIObj.pushProfile(map);
}
} else {
Log.e("Error", "Got unknown action type: " + action);
}
}
@Nullable
public static CleverTapAPI getCleverTapAPIObj() {
return cleverTapAPIObj;
}
public static void setCleverTapAPIObj(@Nullable CleverTapAPI api) {
cleverTapAPIObj = api;
}
}
//-------------------------------
public final class MyApp extends Application {
public void onCreate() {
super.onCreate();
GTMReciever.setCleverTapAPIObj(CleverTapAPI.getDefaultInstance(this));
}
}- Add some Firebase events as follows:
btn.setOnClickListener{
            val analytics = FirebaseAnalytics.getInstance(ctx)
            analytics.logEvent("fb_random_event", bundleOf("calling_time" to getRandomString()))
}
btn.setOnClickListener(it -> {
FirebaseAnalytics analytics = FirebaseAnalytics.getInstance(ctx);
Bundle data = new Bundle();
data.putString("calling_time", getRandomString());
analytics.logEvent("fb_random_event", data);
});Set Up triggers and tags for Firebase Events in GTM
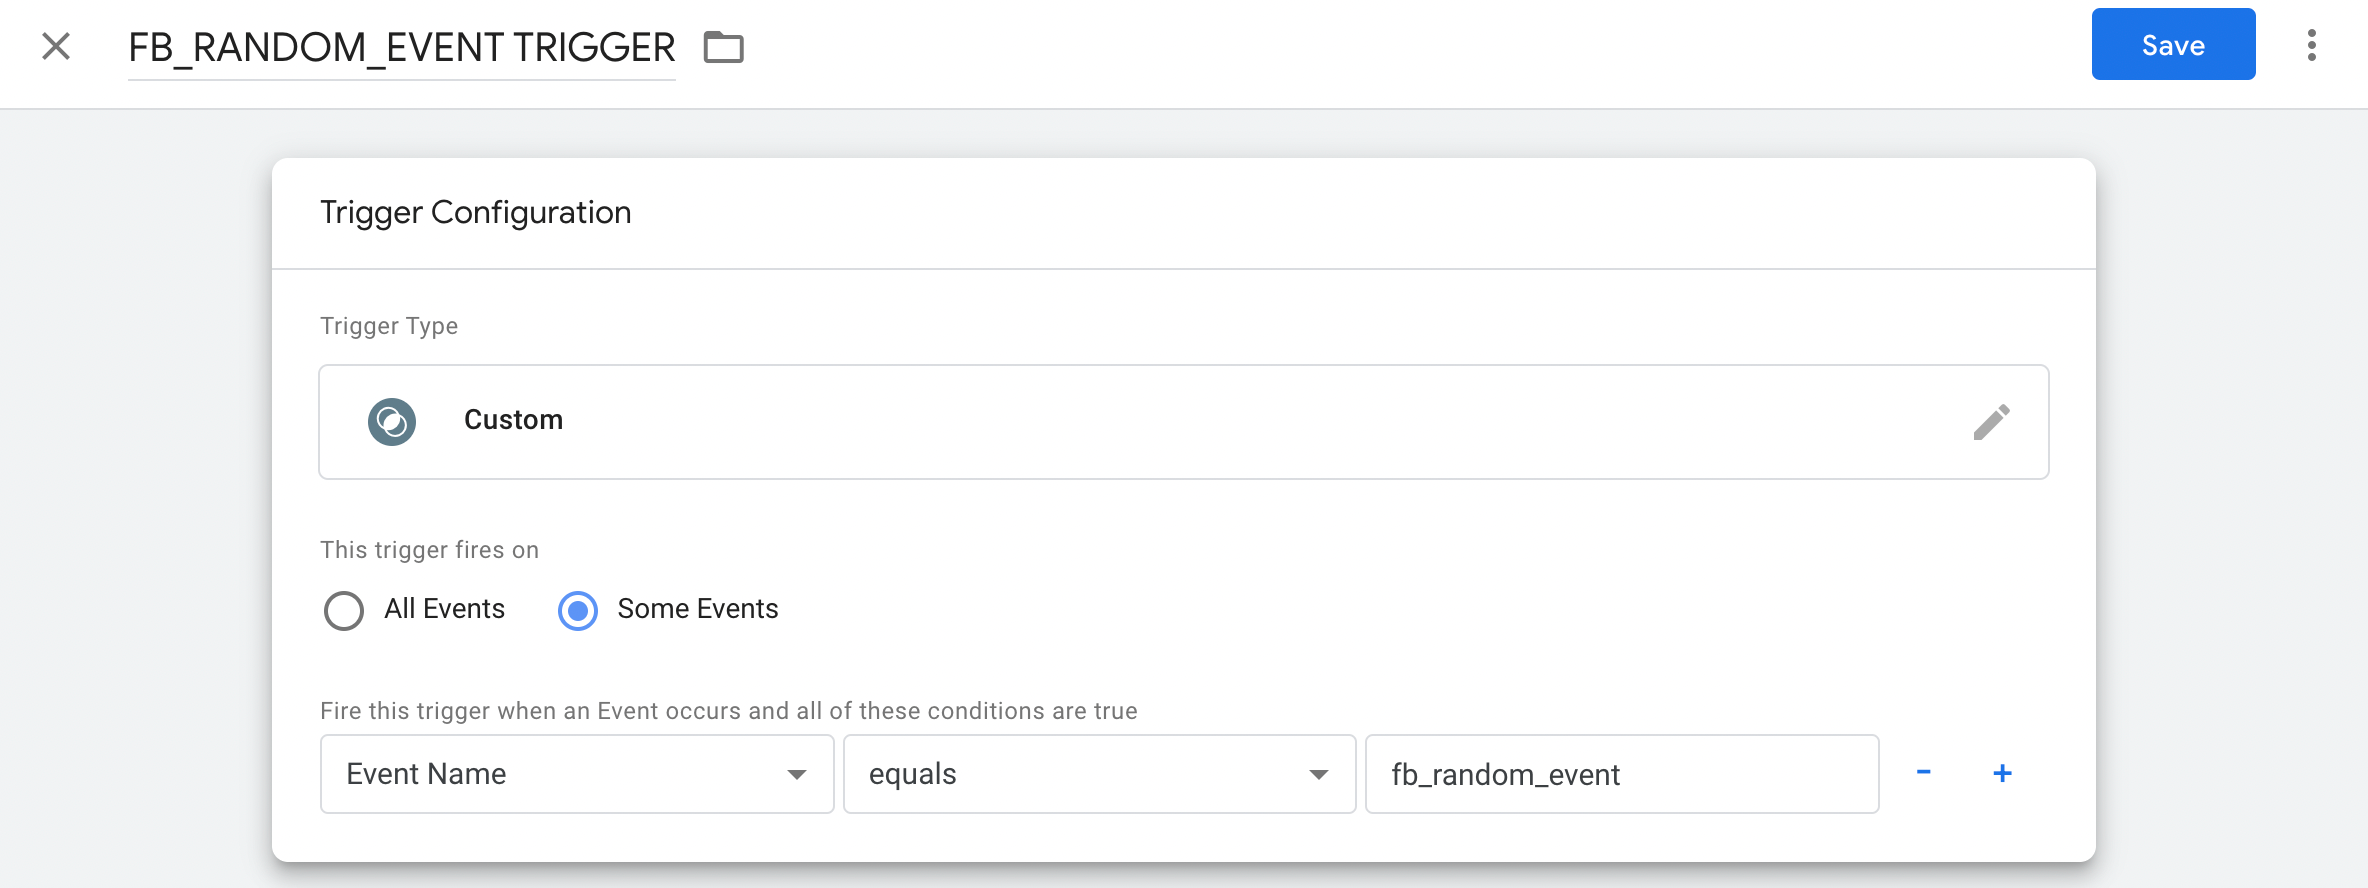
- Navigate to Triggers and create a new trigger from the GTM dashboard.
- Select Custom from the Trigger Type dropdown.
- Enter the event details under the Details section that you just fired via the code mentioned in the previous step.

Trigger Configuration for Firebase Events in GTM
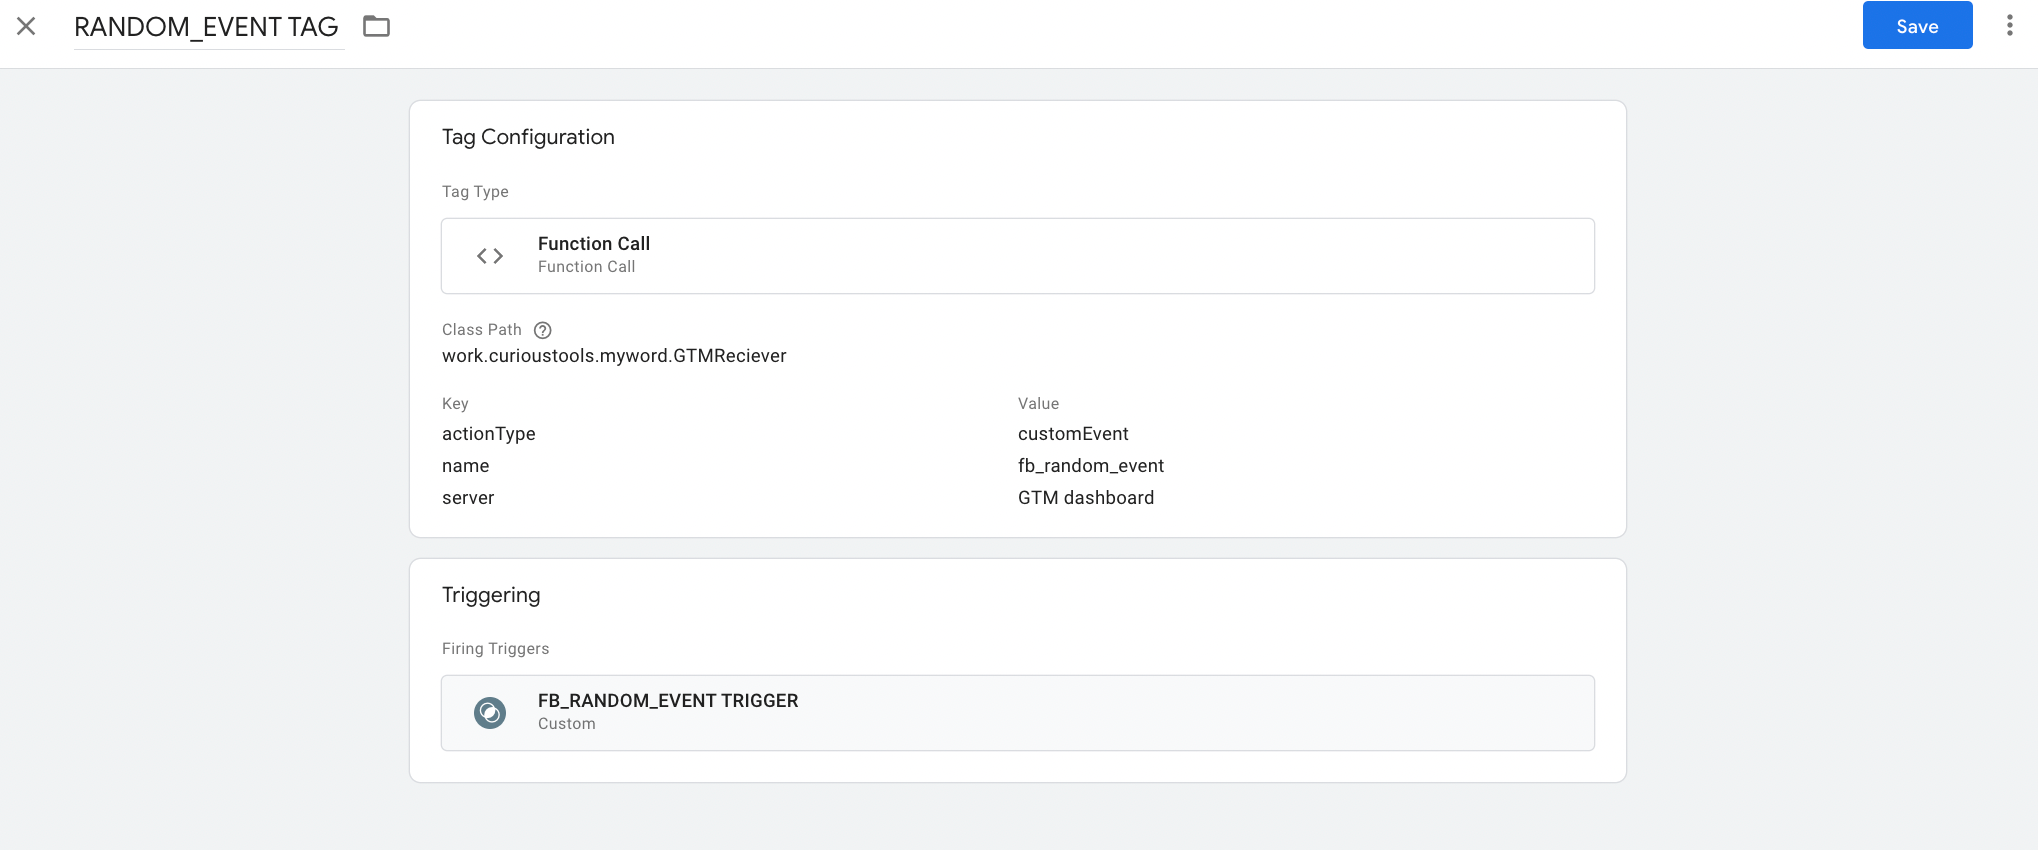
- Navigate to Tags and create a new tag.
- Select Function Call as the Tag Type and add the path of the Custom Tag receiver class we previously defined.
Here you can add information about all the events, parameters, and information you want to pass from the GTM Dashboard to the receiver. Also, under the trigger section, select the name of the previously created trigger

Select the Trigger
- Click Save and click Publish.
Your App is now ready to fire CleverTap events. The custom tag provider in our example uses this key to determine what action to take, and what event name to send to CleverTap when it receives data from Google Tag Manager.
Updated 2 months ago
