iOS Rich Push Notifications
Learn about iOS Rich Push Notifications – Enhance notifications with images, GIFs, and videos for a richer experience.
Overview
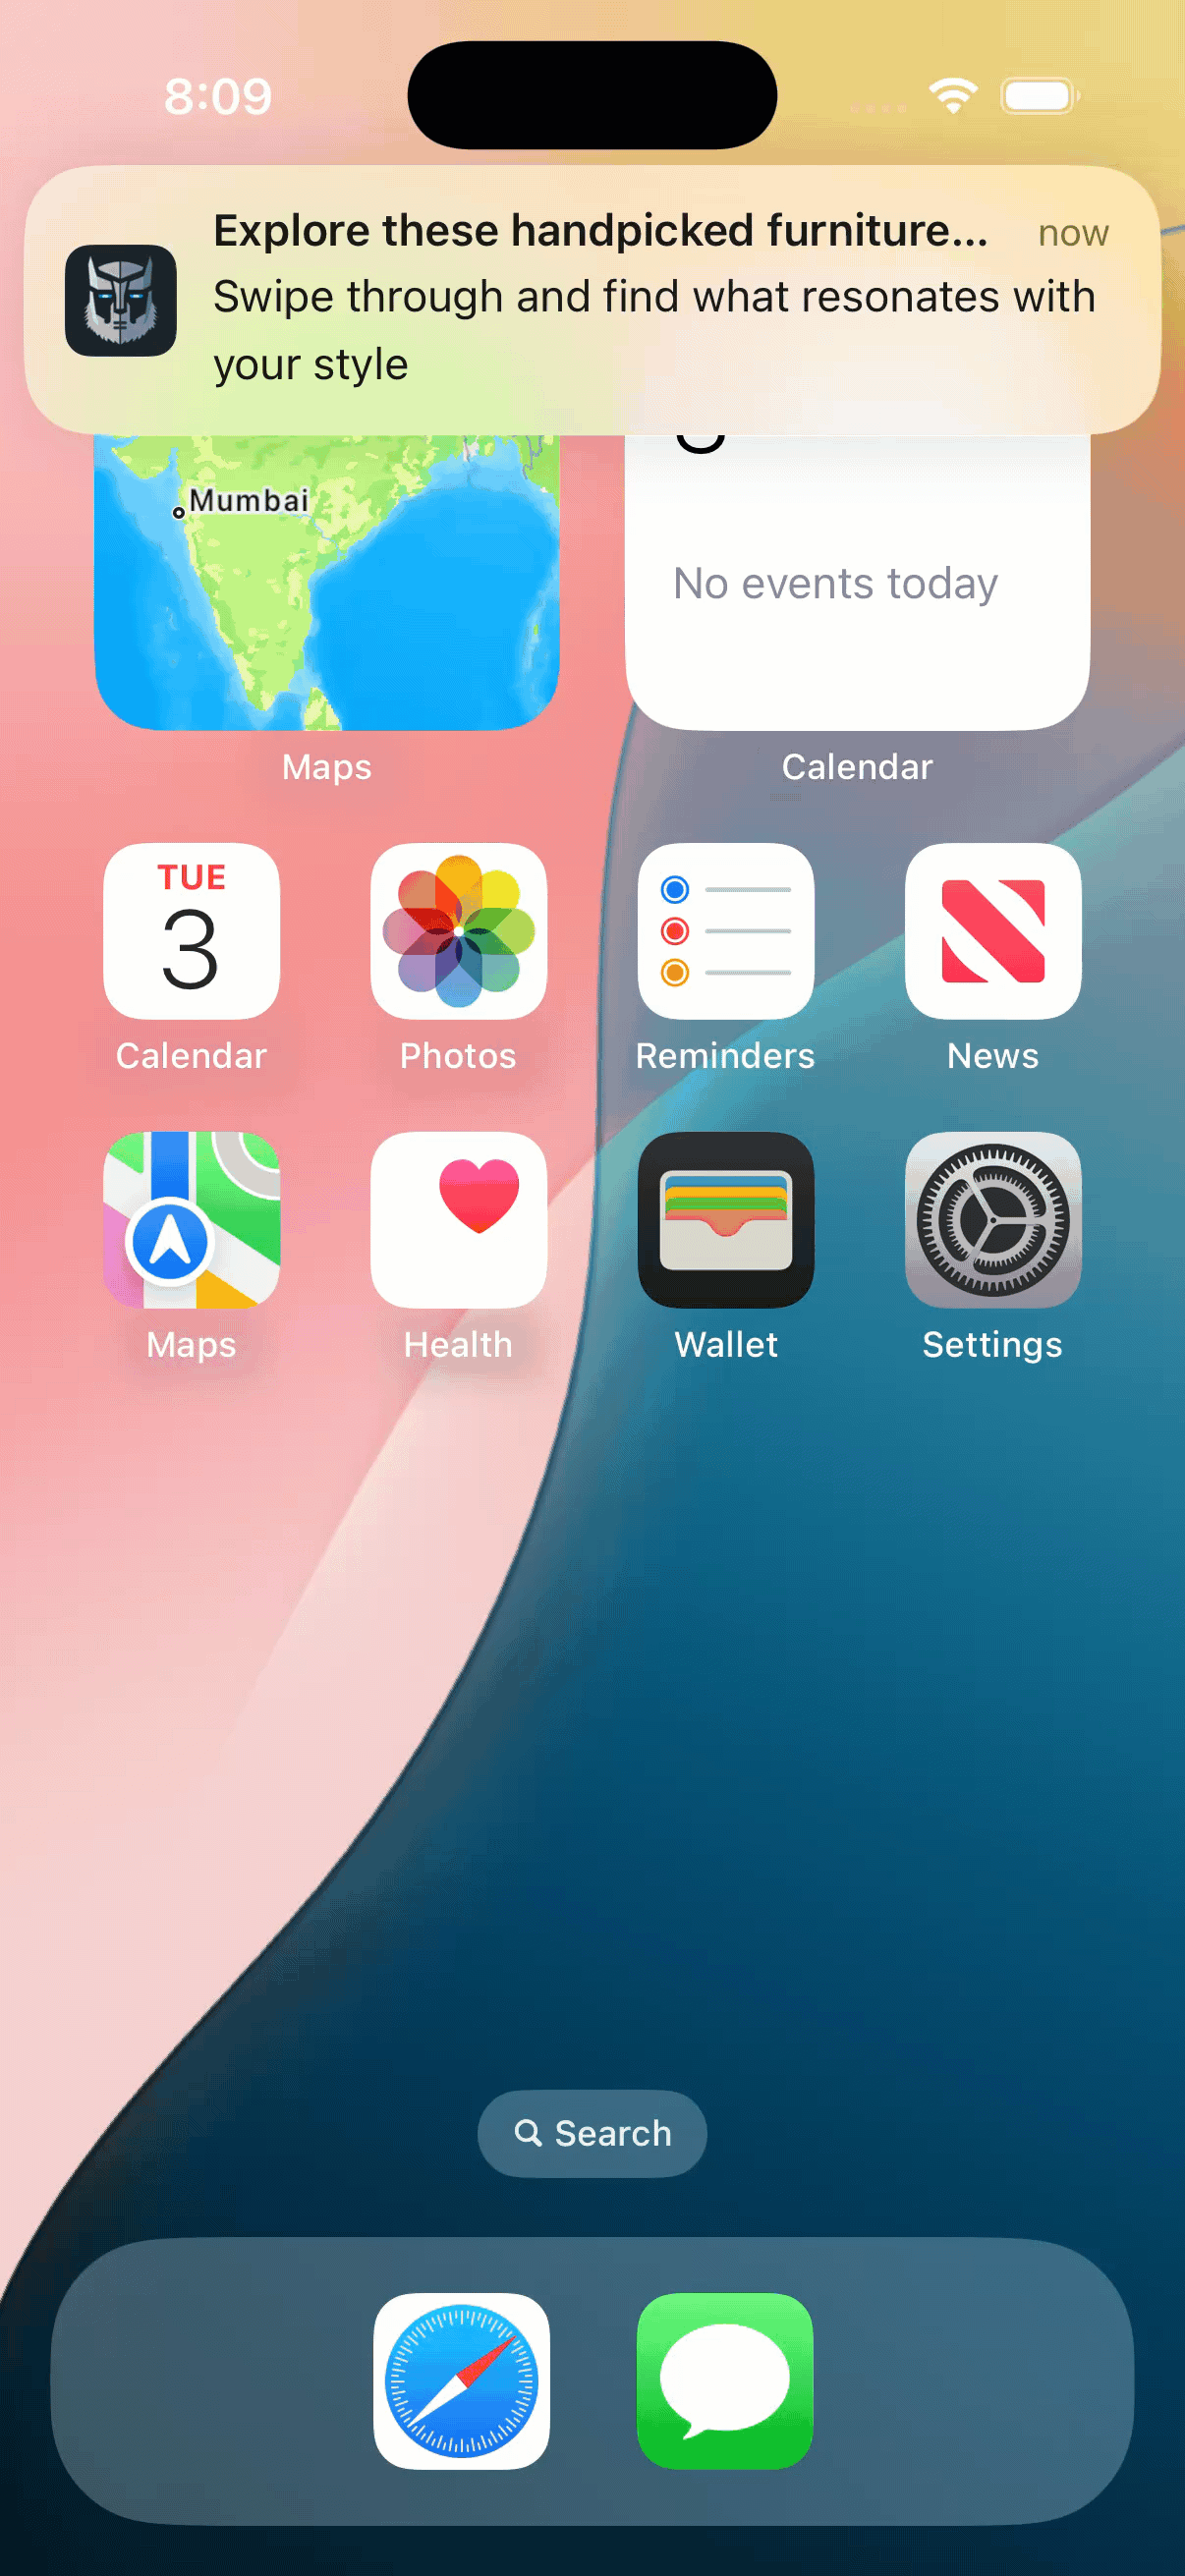
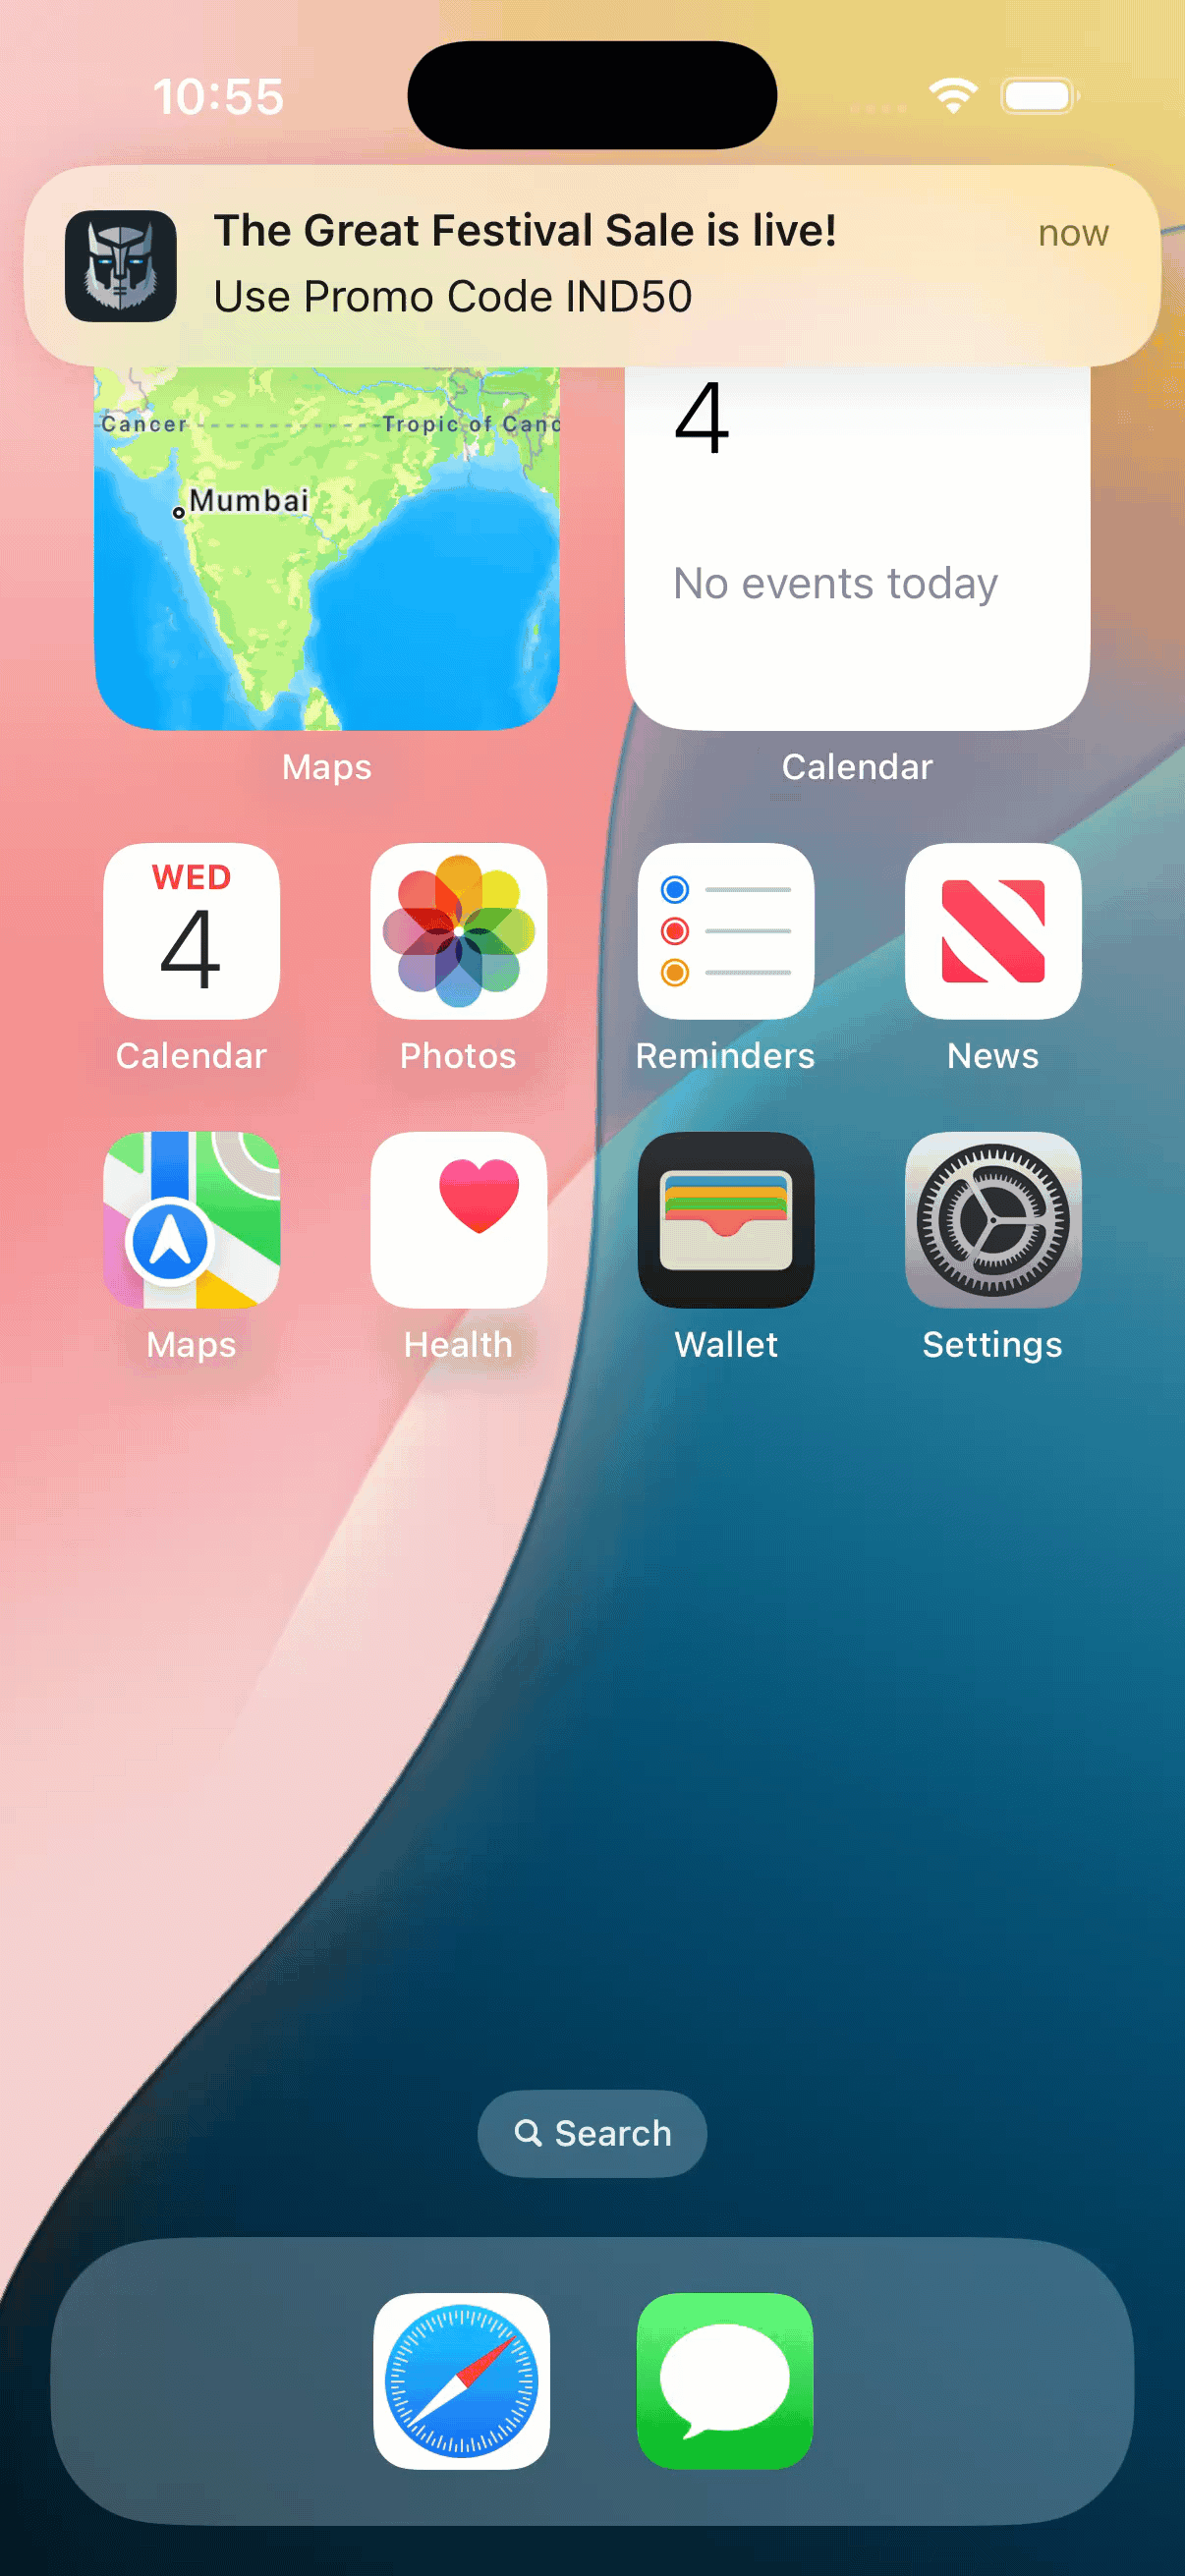
iOS 10 introduced Rich Push Notifications, allowing marketers to enhance push messages with images, videos, audio, or GIFs. These visually rich notifications enable quick, engaging interactions without requiring users to open the app, highlighting the increasing role of notifications in improving user experience.
To implement Rich Push Notifications, you must use a Notification Service Extension and a Notification Content Extension. These are separate binaries bundled within your app. Before displaying a new push notification, the system invokes your service extension to modify the payload and attach media. The content extension, on the other hand, enables a custom UI to display the notification.
- Notification Service Extension: Modifies the notification before display (for example, adds media).
- Notification Content Extension: Provides a custom UI for the notification (for example, carousels).
Prerequisites
Ensure the following prerequisites are set up to enable full functionality and optimal rendering of the iOS push notifications:
- iOS 10 or later
- Push Notifications enabled
- CocoaPods, Carthage, or SPM
- Xcode
Configure Rich Push Notifications
To configure rich push notifications, perform the following steps:
- Create a notification service extension in your Xcode project, and select File > New > Target.
- Select the Notification Service Extension from the available extensions.

Select Notification Service Extension
- Install CTNotificationService in the Notification Service Extension. You can install it manually via CocoaPods(recommended) or Carthage or SPM.
Your Podfile must be similar to the following code:
source 'https://github.com/CocoaPods/Specs.git'
platform :ios, '10.0'

use_frameworks!

target 'YOUR_NOTIFICATION_SERVICE_TARGET_NAME' do
    pod 'CTNotificationService'
end - Run the command,
pod install.
Configure Notification Service Extension to use the CTNotificationServiceExtension class
Notification Service Extension to use the CTNotificationServiceExtension classBy default, CTNotificationServiceExtension searches for the push payload with default values for media URL and media type (for example, image, video, audio, or GIF).
To use these default keys, configure the CTNotificationServiceExtension as the value for NSExtension -> NSExtensionPrincipalClass in your Notification Service Extension target’s Info.plist as follows:
NSExtension > NSExtensionPrincipalClass = CTNotificationServiceExtensionAlternatively, you can retain the NSExtensionPrincipalClass and extend CTNotificationServiceExtension in your NotificationService class. This allows you to override the default key names as required. In this case, override only the didReceive(request:contentHandler:) method, as shown in the example.
Enable App Transport SecurityIf you plan to support non-SSL URLs, set Allow Arbitrary Loads as true under App Transport Security Settings in your
Info. list. Since this reduces network security, you can use it only in trusted environments.
Configure Notification Content Extension
To support image captions, sub-captions, and carousel media, add CTNotificationContent to your Notification Content Extension. You can install it manually or using CocoaPods (recommended), Carthage, SPM.
Your Podfile must be similar to the following:
source 'https://github.com/CocoaPods/Specs.git'
platform :ios, '10.0'

use_frameworks!

target 'YOUR_NOTIFICATION_CONTENT_TARGET_NAME' do
    pod 'CTNotificationContent'
end
To configure Notification Content Extension, perform the following steps:
- Create a Notification Content Extension in your Xcode project, select File > New > Target and select the Notification Content Extension template.

Notification Content Extension Template
- Run
pod install.
To configure your Notification Content Extension to use the CTNotificationViewController class, perform the following steps:
- Set the superclass of your
NotificationViewControllertoCTNotificationViewController. You need not implement any methods from theUNNotificationContentExtensionprotocol;CTNotificationViewControllerhandles them automatically. For more information, refer to Objective-C example and Swift example. - Edit the
MainInterface.storyboardfile in your Notification Content Extension target and replace the default view with a plainUIView.
// register category with actions
    let action1 = UNNotificationAction(identifier: "action_1", title: "Back", options: [])
    let action2 = UNNotificationAction(identifier: "action_2", title: "Next", options: [])
    let action3 = UNNotificationAction(identifier: "action_3", title: "View In App", options: [])
    let category = UNNotificationCategory(identifier: "CTNotification", actions: [action1, action2, action3], intentIdentifiers: [], options: [])
    UNUserNotificationCenter.current().setNotificationCategories([category])
UNUserNotificationCenter *center = [UNUserNotificationCenter currentNotificationCenter];
UNNotificationAction *action1 = [UNNotificationAction actionWithIdentifier:@"action_1" title:@"Back" options:UNNotificationActionOptionNone];
UNNotificationAction *action2 = [UNNotificationAction actionWithIdentifier:@"action_2" title:@"Next" options:UNNotificationActionOptionNone];
UNNotificationAction *action3 = [UNNotificationAction actionWithIdentifier:@"action_3" title:@"View In App" options:UNNotificationActionOptionNone];
UNNotificationCategory *cat = [UNNotificationCategory categoryWithIdentifier:@"CTNotification" actions:@[action1, action2, action3] intentIdentifiers:@[] options:UNNotificationCategoryOptionNone];
[center setNotificationCategories:[NSSet setWithObjects:cat, nil]];- Register your notification category in your
AppDelegate. - Update Notification Content target Info.plist with the following configurations:
- Set
NSExtension -> NSExtensionAttributes -> UNNotificationExtensionCategoryto match the category identifier you registered (for example,CTNotification). - Set
UNNotificationExtensionInitialContentSizeRatioto0.1. - Set
UNNotificationExtensionDefaultContentHiddentotrue.
- Set
For more information, refer to Sample plist.
Downloading Media from Non-SSL URLsIf you plan to support non-SSL URLs, set Allow Arbitrary Loads as true under App Transport Security Settings in your
Info.plist. You can use this only in trusted environments, since it reduces network security.
Send Rich Push Notifications from Dashboard
To create a Rich Push Notification campaign on the CleverTap dashboard, follow the steps below:
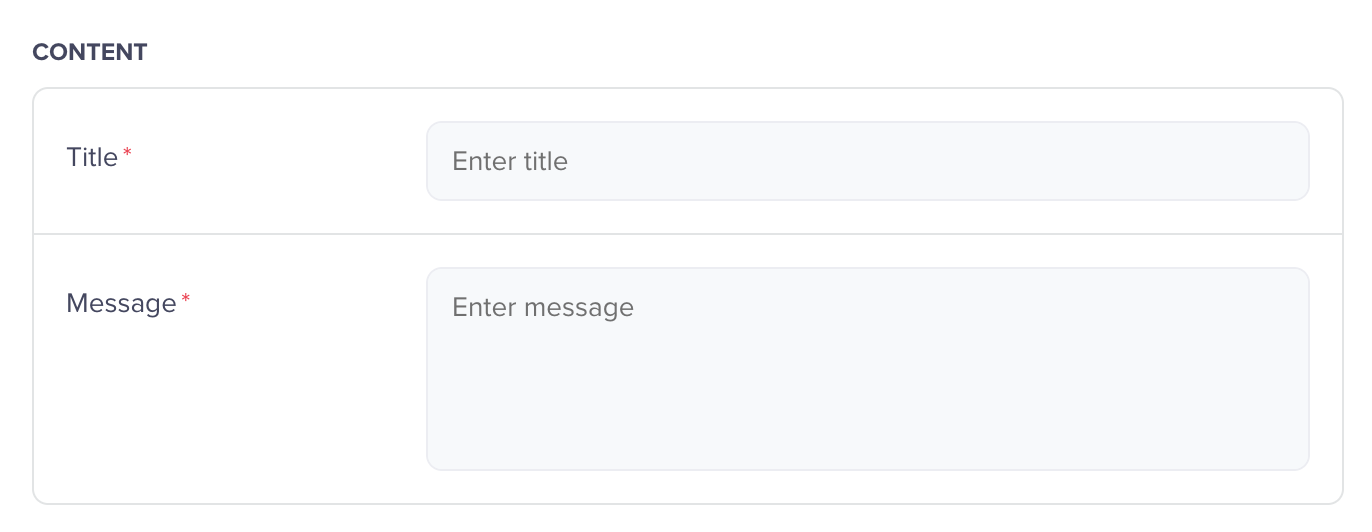
- Under the WHAT section, enter the required values in the Title and Message .
Configure What Section
- Under Rich media, select either Single Image or Carousel.
Required Category ConfigurationThe category used while creating the campaign must match the category configured in the Notification Content target’s
Info.plist. This step is mandatory.
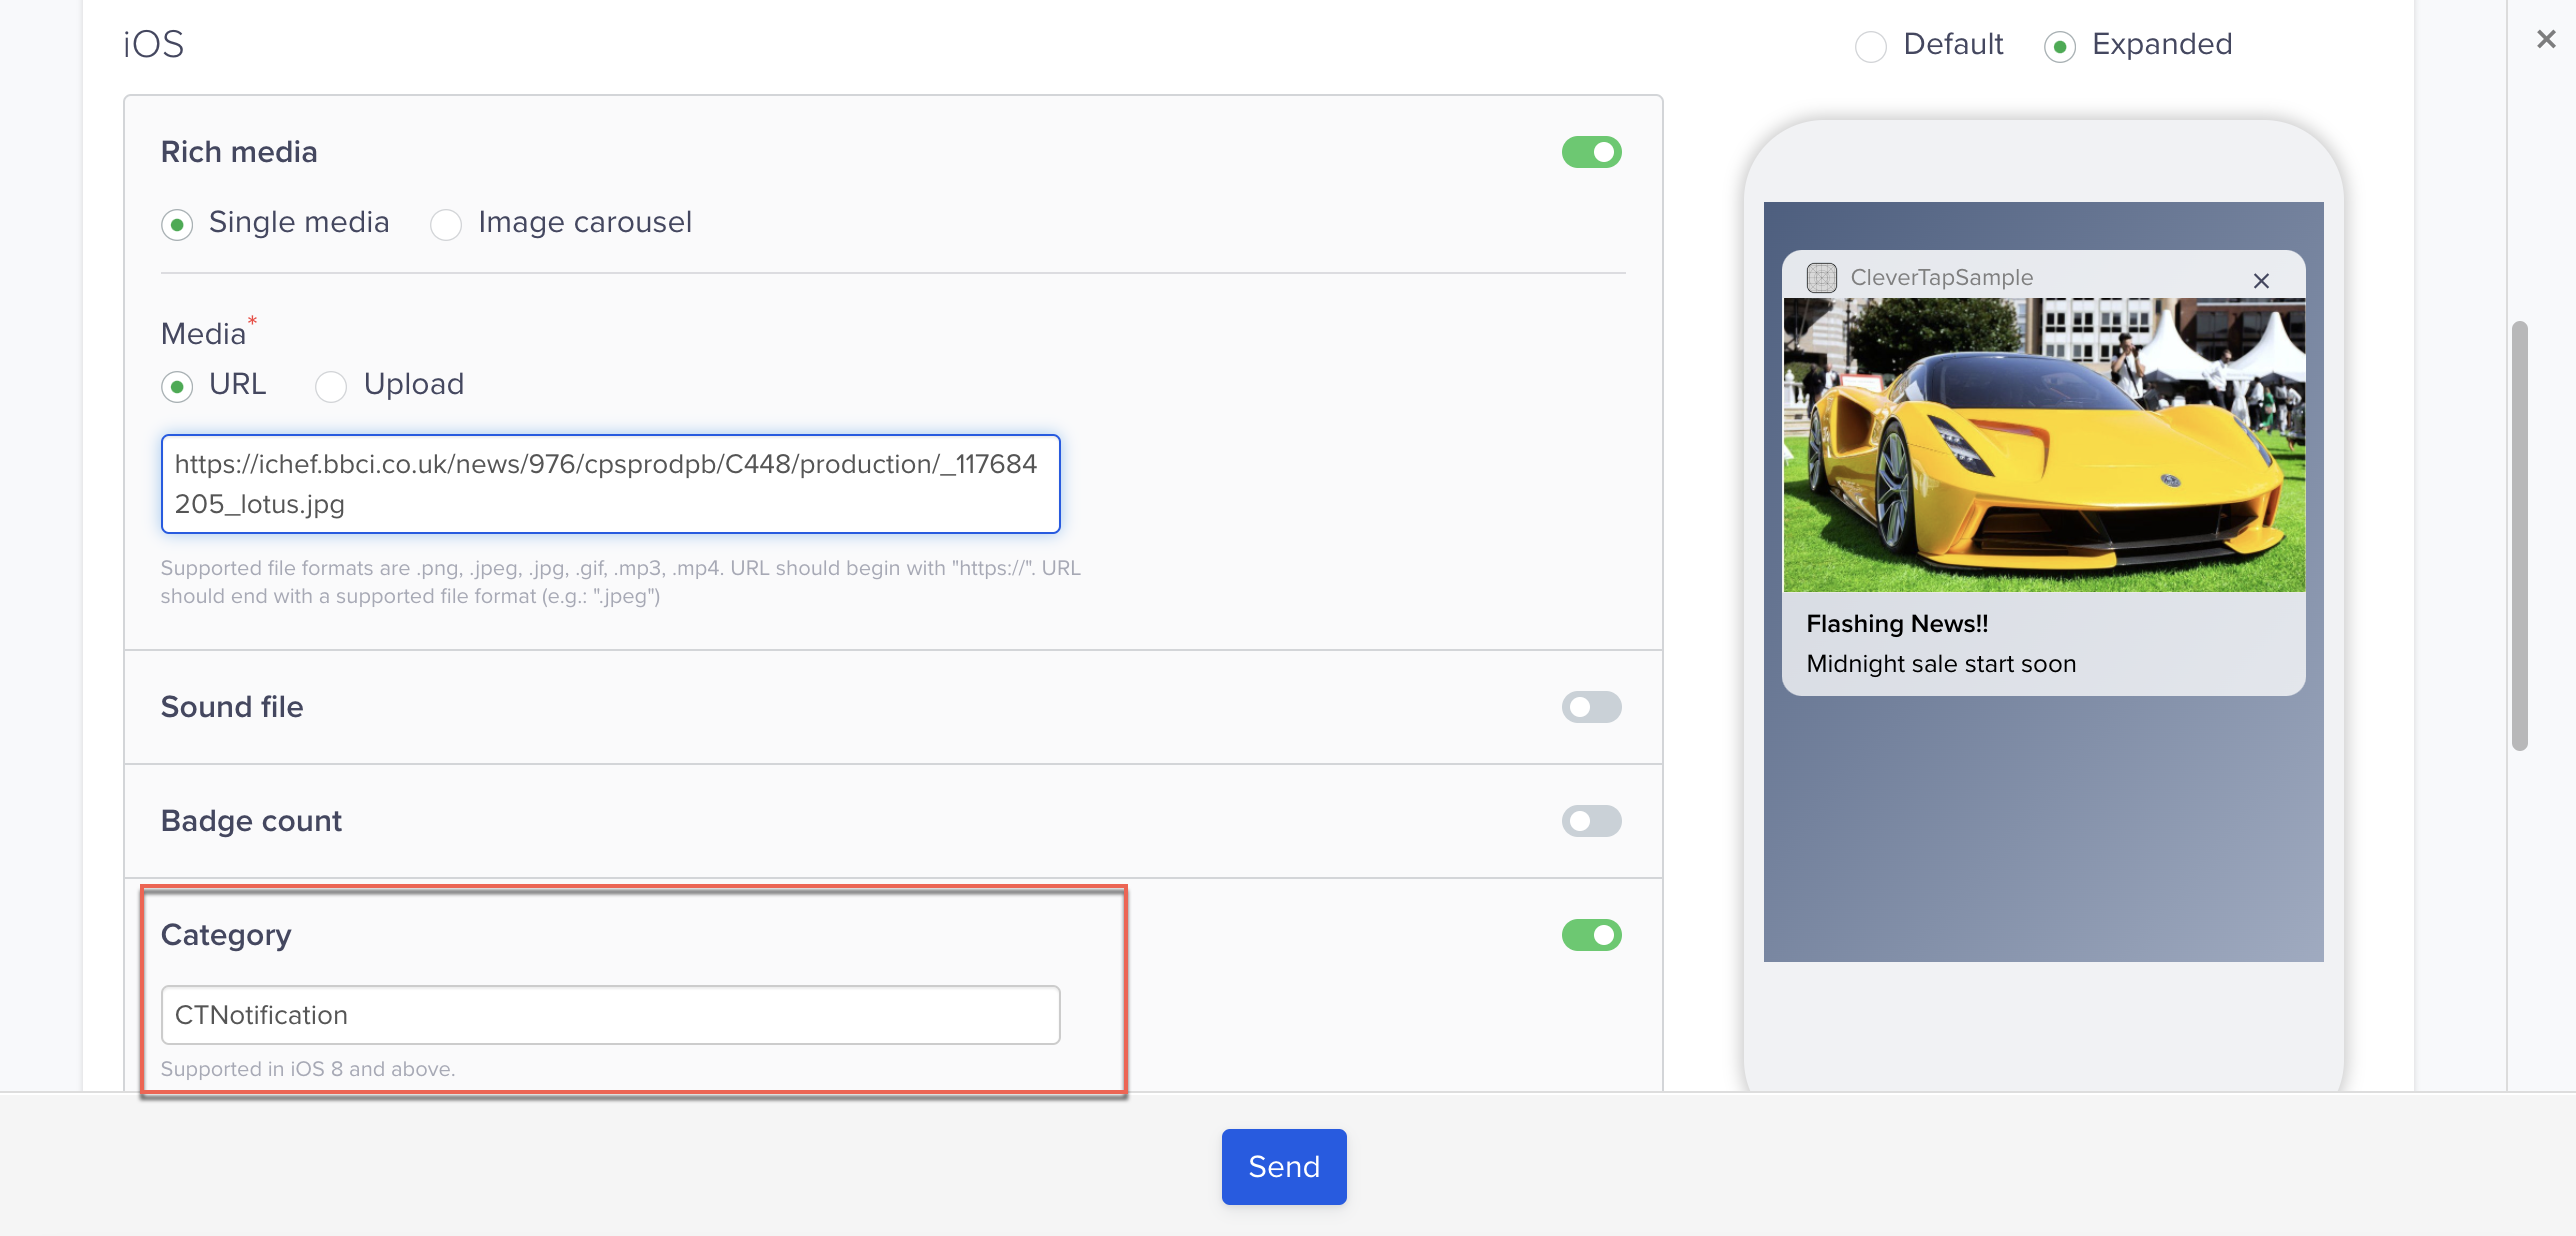
Configure Rich Push Notifications
Custom Key-Value PairYou can choose to add a custom key-value pair separately. To add the template keys separately or into one JSON object, use the
pt_jsonkey to fill in the values. For more information on template keys, refer to Template Keys.When using the CleverTap Server API to send push, include the mutable-content: true key-value pair in the platform-specific: iOS section of the request payload. For more information, refer to Key-Value Pairs.
- Schedule the Push Notification.
Rich Push Templates
Rich Push Templates enable you to enhance standard push notifications with engaging visuals and interactive elements. These templates help capture user attention and improve conversion by delivering more immersive messaging experiences.
Rich Media
Rich Media templates allow you to include multimedia elements such as images, videos, and carousels within your push notifications. These visually appealing formats highlight key content and drive user interaction.
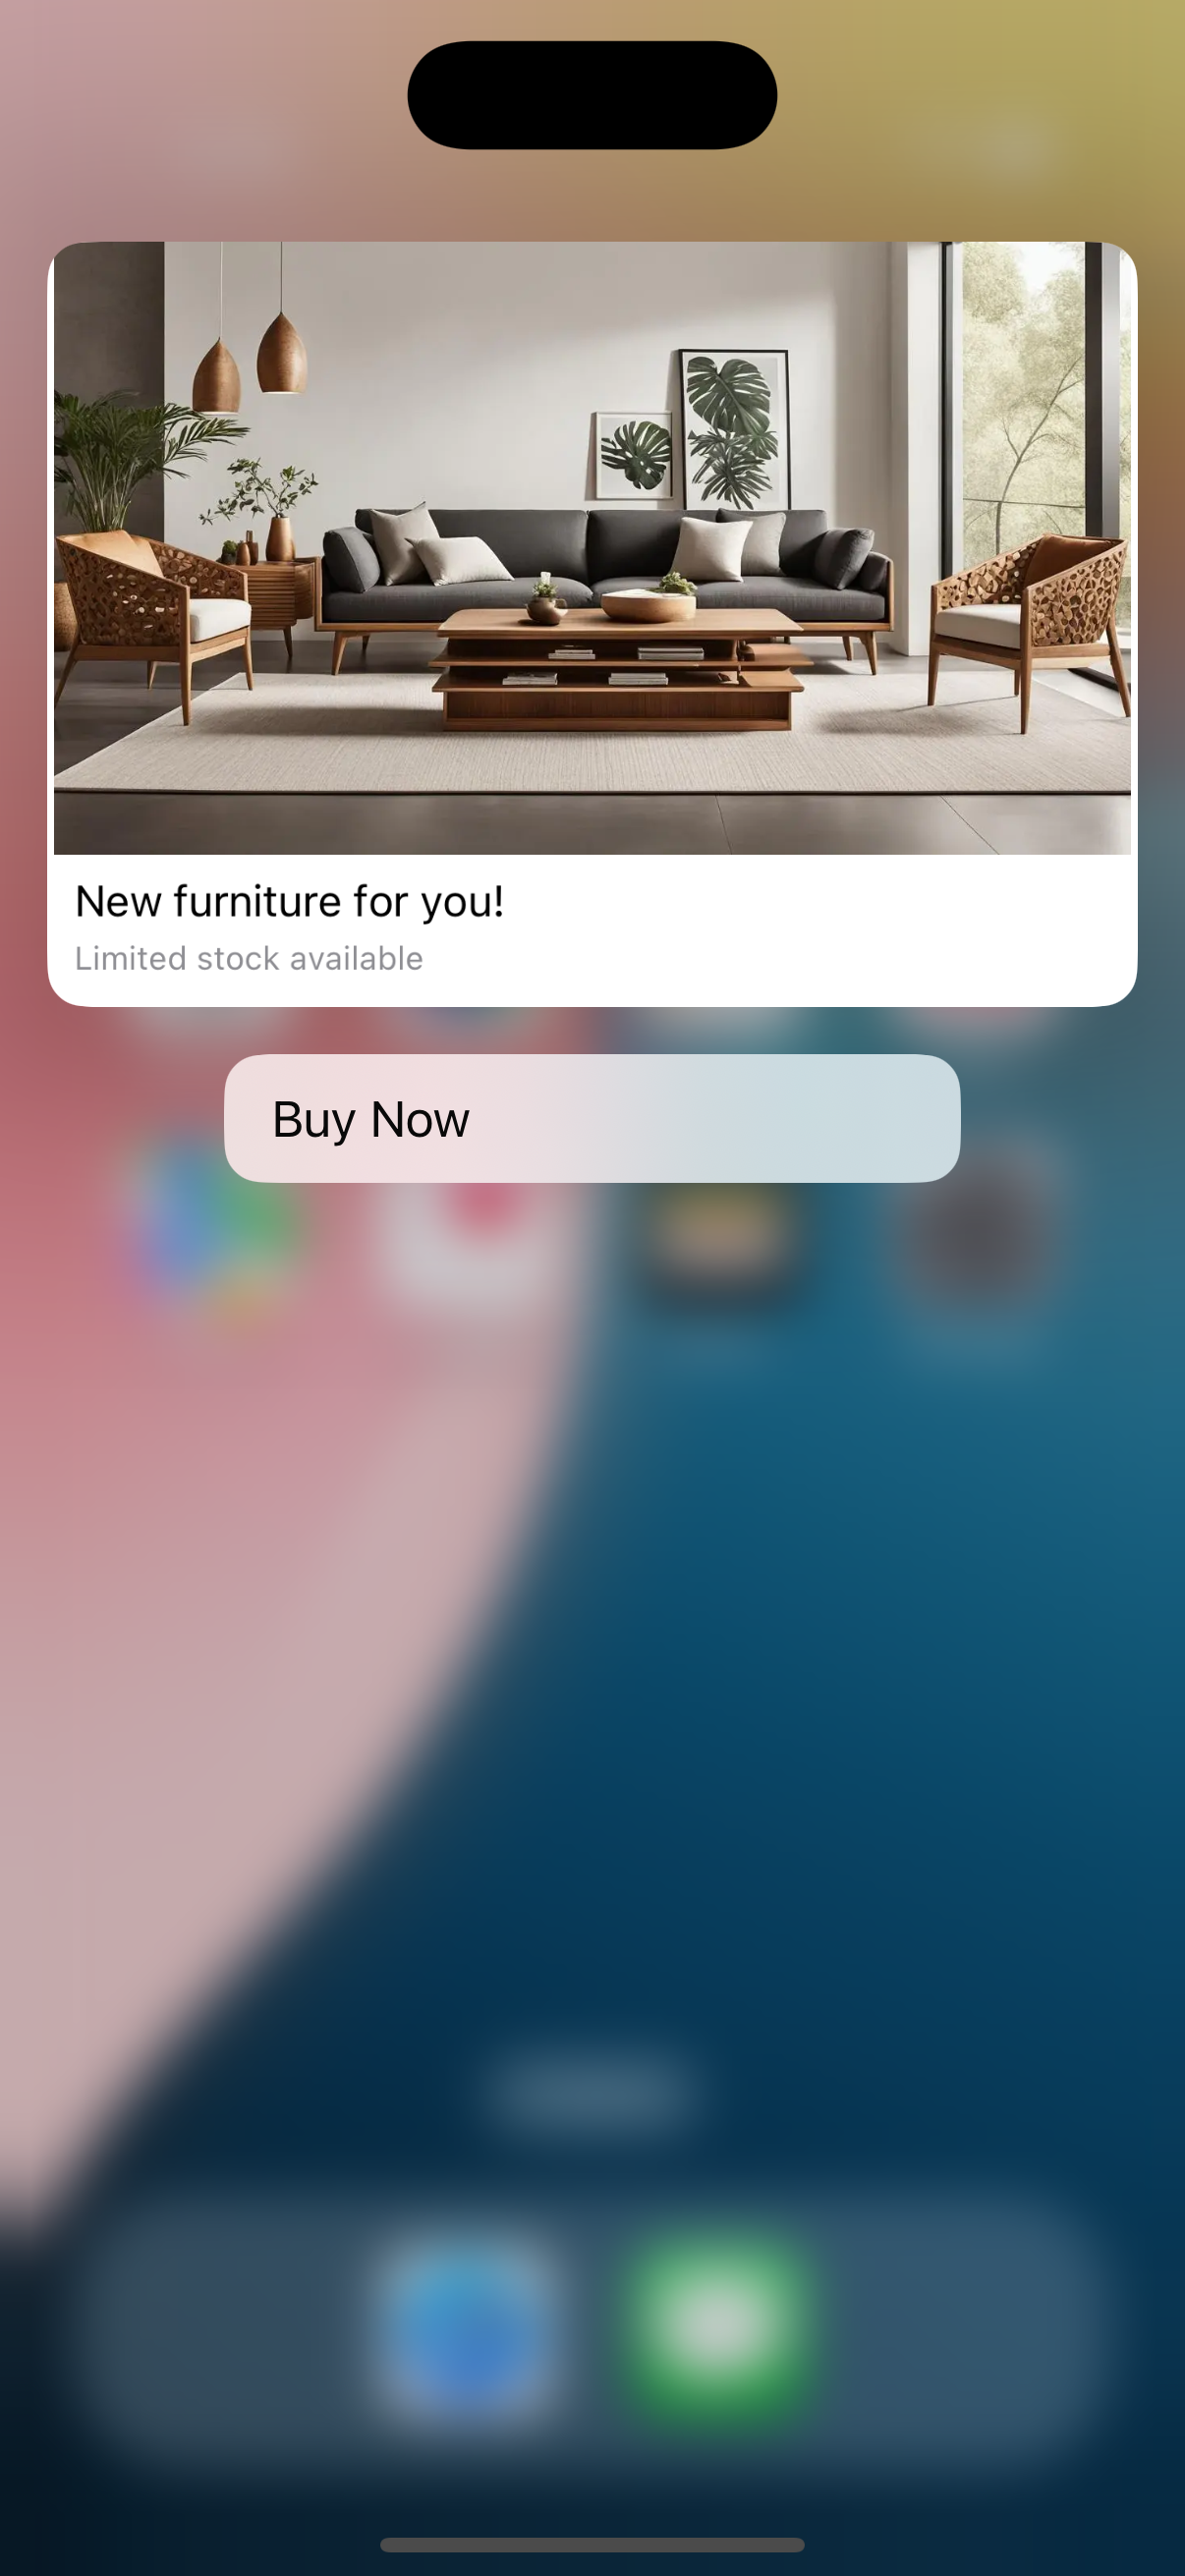
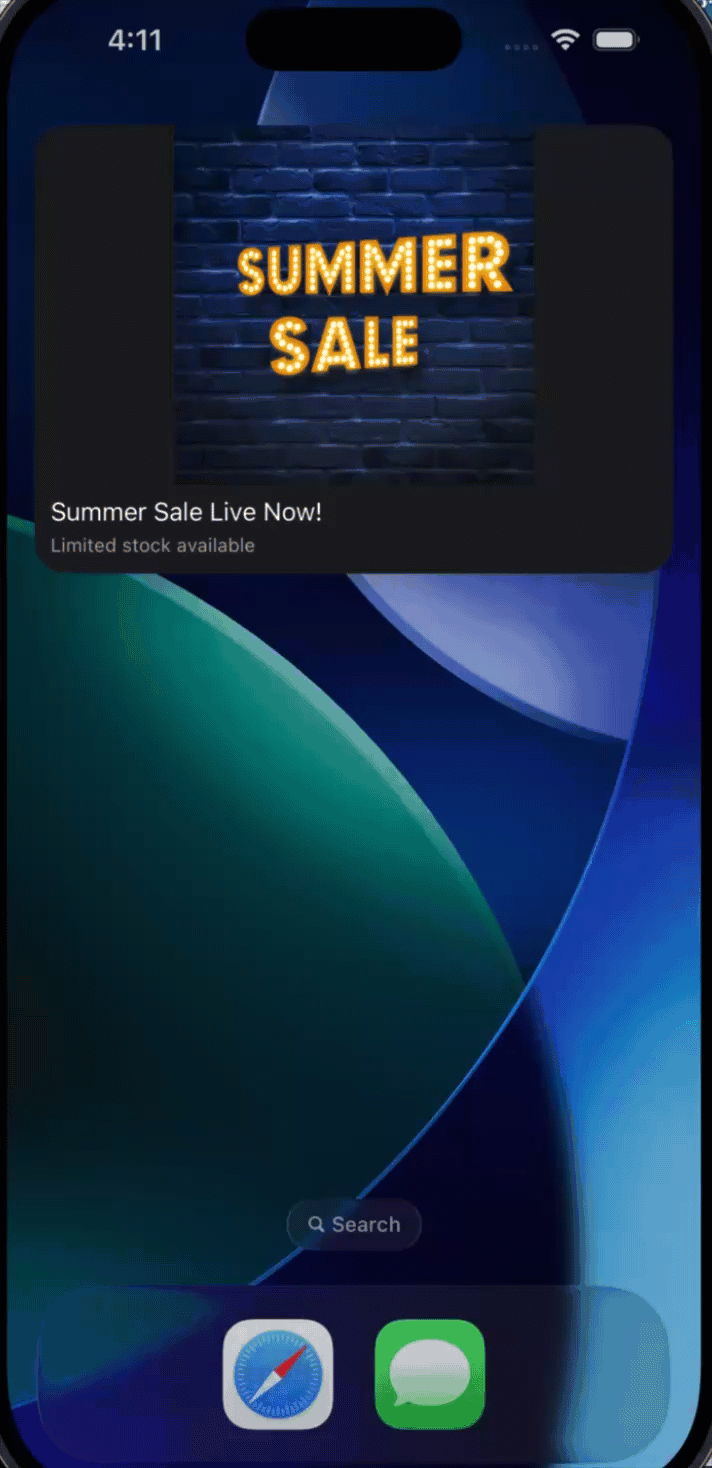
Single Image
The Single Media template is designed for a focused notification experience. It displays a single image alongside your notification content, enhancing user engagement by providing a visually rich preview that complements the message. This template is ideal for promotions, announcements, product highlights, or event reminders.
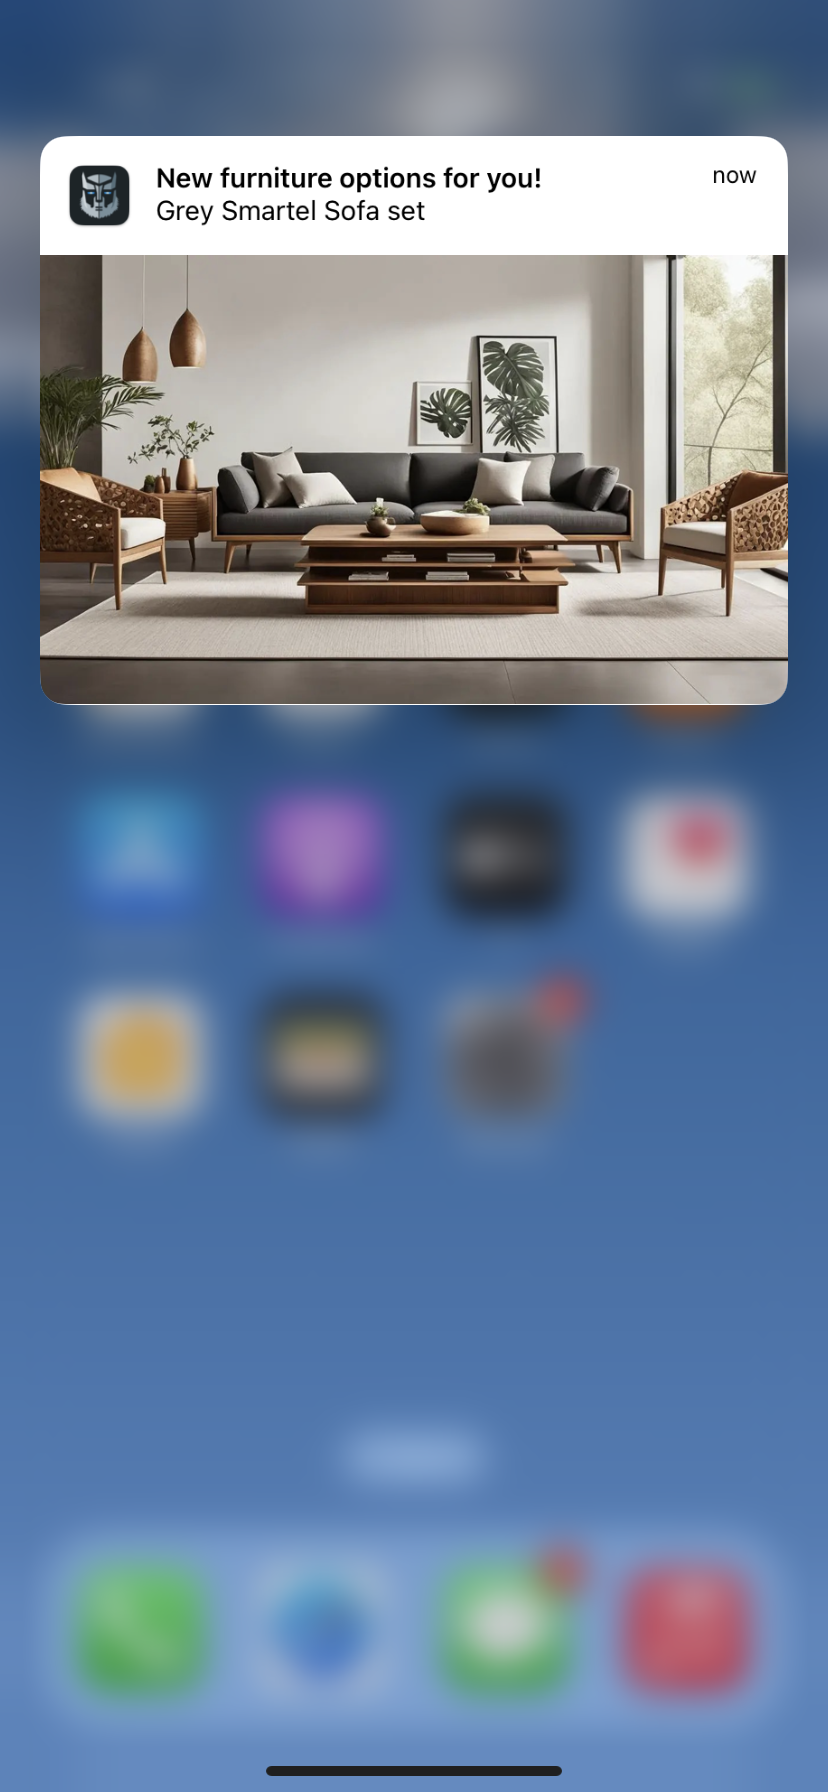
Rich Media - Single Image Template
Content Slider
The Content Slider template enables a dynamic and interactive notification experience by allowing users to swipe through a carousel of images, each with its unique messaging and call-to-action. This rich push format is ideal for showcasing multiple offers, features, or updates in a single notification, providing a multi-frame storytelling capability within the native iOS notification interface.
Rich Media- Content Slider Template
Other Templates
Other Templates offer flexible notification formats beyond rich media, allowing you to tailor your messages for different use cases such as simple alerts, quick updates, or branded announcements.
Advanced Template
The Advanced Template is the most versatile notification format. It delivers an image-based message with optional text and background color customization. It is ideal for simple alerts, updates, or announcements that prioritize clarity and speed of delivery while still offering a branded look and feel through color customization.
Advanced Template
Auto Carousel Template
The Auto Carousel template delivers an engaging and visually dynamic Push Notification through an automatic image slider. Unlike the manual content slider, this version cycles through multiple images automatically, drawing user attention without requiring interaction. Each slide can include custom text and background color options, directly allowing for a branded, animated storytelling format in the notification tray.

Auto Carousel Template
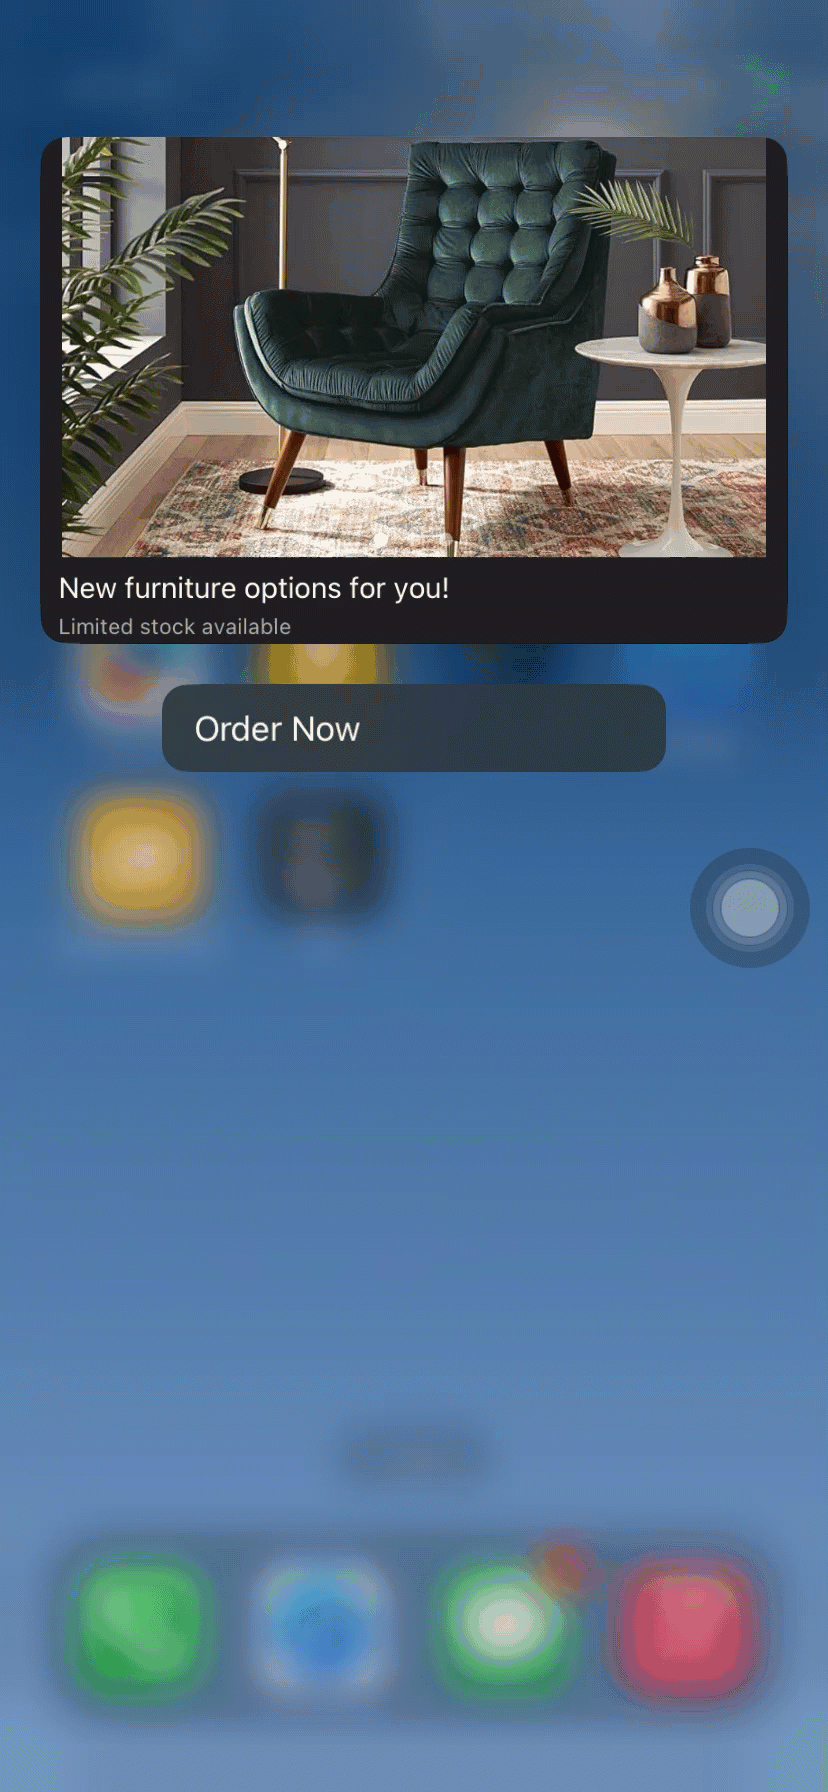
Manual Carousel Template
The Manual Carousel template allows users to manually swipe or tap through images using the Next and Back buttons. Each image (slide) includes a title, subtitle, and optional action.
Unlike the Auto Carousel, this version allows users to navigate the content at their own pace, making it ideal for more detailed or exploratory messages.
Manual Carousel Template
Timer Template
This template features a live countdown timer. After the timer expires, you can show a different title, message, and background image.
Timer Template
If the image is not downloaded, the template falls back to the basic template with only the Title and Message.
Theme-based RenditionPush Notification appears dark or light based on the following settings in your iOS device:
- Dark mode is enabled- Notification renders in dark background.
- Dark mode is disabled - Notification renders in light background.
The templates also support custom color definitions that adapt to light and dark themes, ensuring visual consistency across modes.
GIF Support
CleverTap supports GIFs in push templates starting with SDK version 1.2.0 on devices running iOS 10 or later. This allows you to add animated media to push notifications, enhancing user engagement through dynamic visuals.
Specifications and Design Guidelines
- Supported on iOS- with SDK v1.2.0 or later.
- For older iOS versions or SDKs, CleverTap shows the first frame of the GIF as a static image.
- Use the recommended aspect ratio for the selected template to avoid cropping or distortion.
- Keep file size under 1MB for smooth rendering.
- Opt for looped, visually clear GIFs that work well even if partially cropped.
Limitations
- Devices running iOS 9 and below do not support GIF playback; a static fallback image is shown.
- Some OEMs may not fully support GIF rendering, even on iOS 10 and later.
Use HTML Tags Support in Rich Push Notification Titles and Messages
Starting with v0.3.0, CTNotificationContent supports bold, italic, underline, and strikethrough HTML tags in Title and Message for rich push notifications. This allows you to format text and add visual emphasis to your rich push notifications.
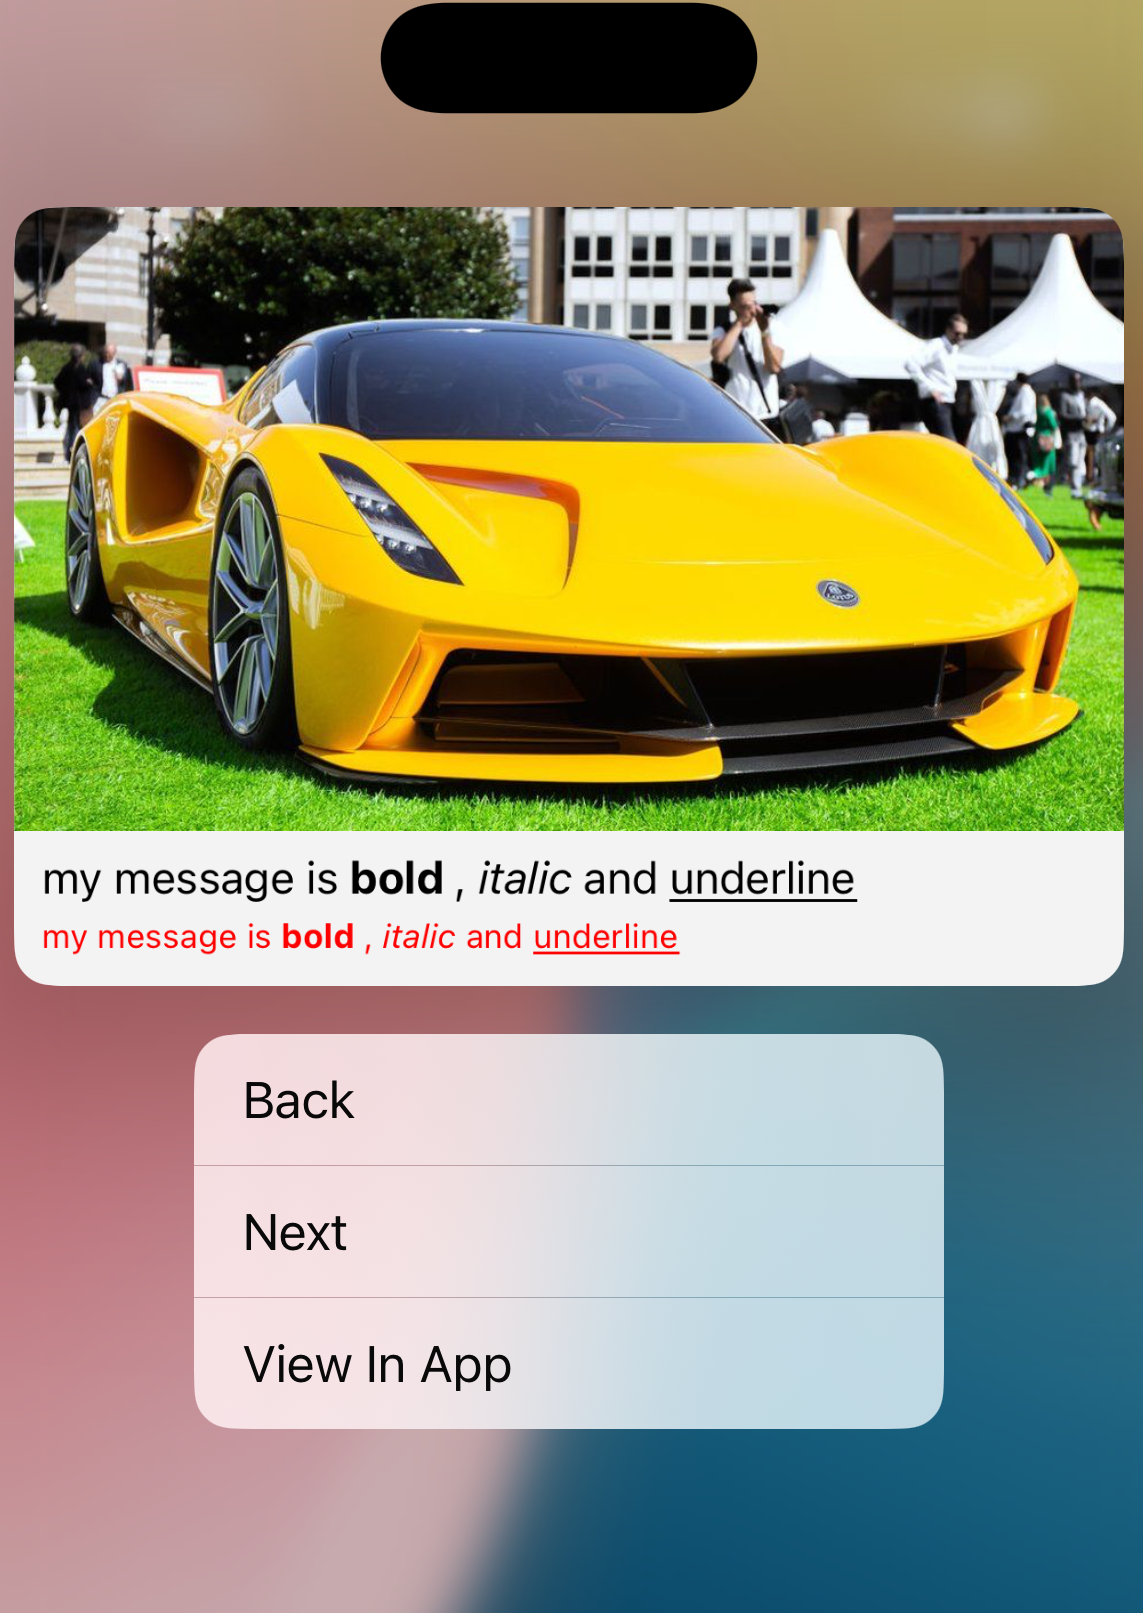
HTML Tags
The following is a sample APN payload using the pt_msg key with HTML tags. The message supports bold, italic, underline, and font color styling.
{
    "Simulator Target Bundle": "com.clevertap.static",
    "W$dt": "APPLE",
    "W$id": "0_0",
    "W$pivot": "wzrk_default",
    "W$rnv" : 0,
    "aps":  {
        "alert" :         {
            "body" : "my message",
            "title" : "my title",
        },
        "badge":42,
        "sound":"default",
        "category":"CTNotification",
        "mutable-content": 1
    },
    "pt_id" : "pt_basic",
    "pt_json" : "{\"pt_title\":\"my message is <b> bold </b>, <i> italic </i> and <u> underline </u>\",\"pt_dl1\":\"https://www.google.com\",\"pt_big_img\":\"https://ichef.bbci.co.uk/news/976/cpsprodpb/C448/production/_117684205_lotus.jpg\",\"pt_bg\":\"#F3F3F3\",\"pt_msg_clr\":\"#FF0000\"}",
    "wzrk_acct_id" : "test-account-id"
}
Integrate Push Templates: Examples and Usage
Use the following code samples to learn how to integrate and use Push templates:
Updated 4 months ago