Web Inbox
Learn about the configurations required to set up Web Inbox on your website.
Private BetaCurrently, this feature is a Private Beta Release. If you want access to this feature, contact your Account Manager.
Overview
Web Inbox channel enables you to deliver personalized notifications to your website users in real time based on the actions they perform on your website. These notifications are stacked under the Web Inbox window, and users can access them later.
Prerequisite
NoteEnsure that you have integrated CleverTap's new Web SDK to your website
Web Inbox Element ID
To begin with, you need to specify the Element ID of the HTML element on which you wish to place your Web Inbox Window. Clicking this web element, CleverTap will toggle the Web Inbox. This element can be present anywhere on your page. Learn more about it in the Web Inbox Setup.
Web Inbox Operational Scenarios
Listed below are the basic operations defined for the Web Inbox window:
- If the inbox is closed and the user clicks on the inbox selector, the inbox is opened.
- If the inbox is open and the user clicks on the inbox selector, the inbox is closed.
- If the inbox is open and the user clicks anywhere else on the page, the inbox is closed.
Notification Viewed and Notification Clicked Events-
Notification Viewed and Notification Clicked events are handled by the CleverTap SDK. The Notification Viewed event is raised only once for a given message. The Notification Clicked event is raised each time the user clicks on the message.
Recommended Image Specifications
Template | Image Aspect Ratio |
|---|---|
Text with icon template | Icon - 1:1 |
Text with icon and image | Icon - 1:1 |
Font Family
Text within the Inbox inherits the font family set at the document level. To explicitly specify a font family for your Web Inbox, you can define it as :
ct-web-inbox {
  font-family: monospace;
}
Position of the Inbox
You can have your inbox selector placed anywhere on your website. Below are a few examples of how the inbox will be positioned with respect to the bell icon.
- If the bell icon is on the top right corner, the inbox will display on top-right side just below the bell icon.
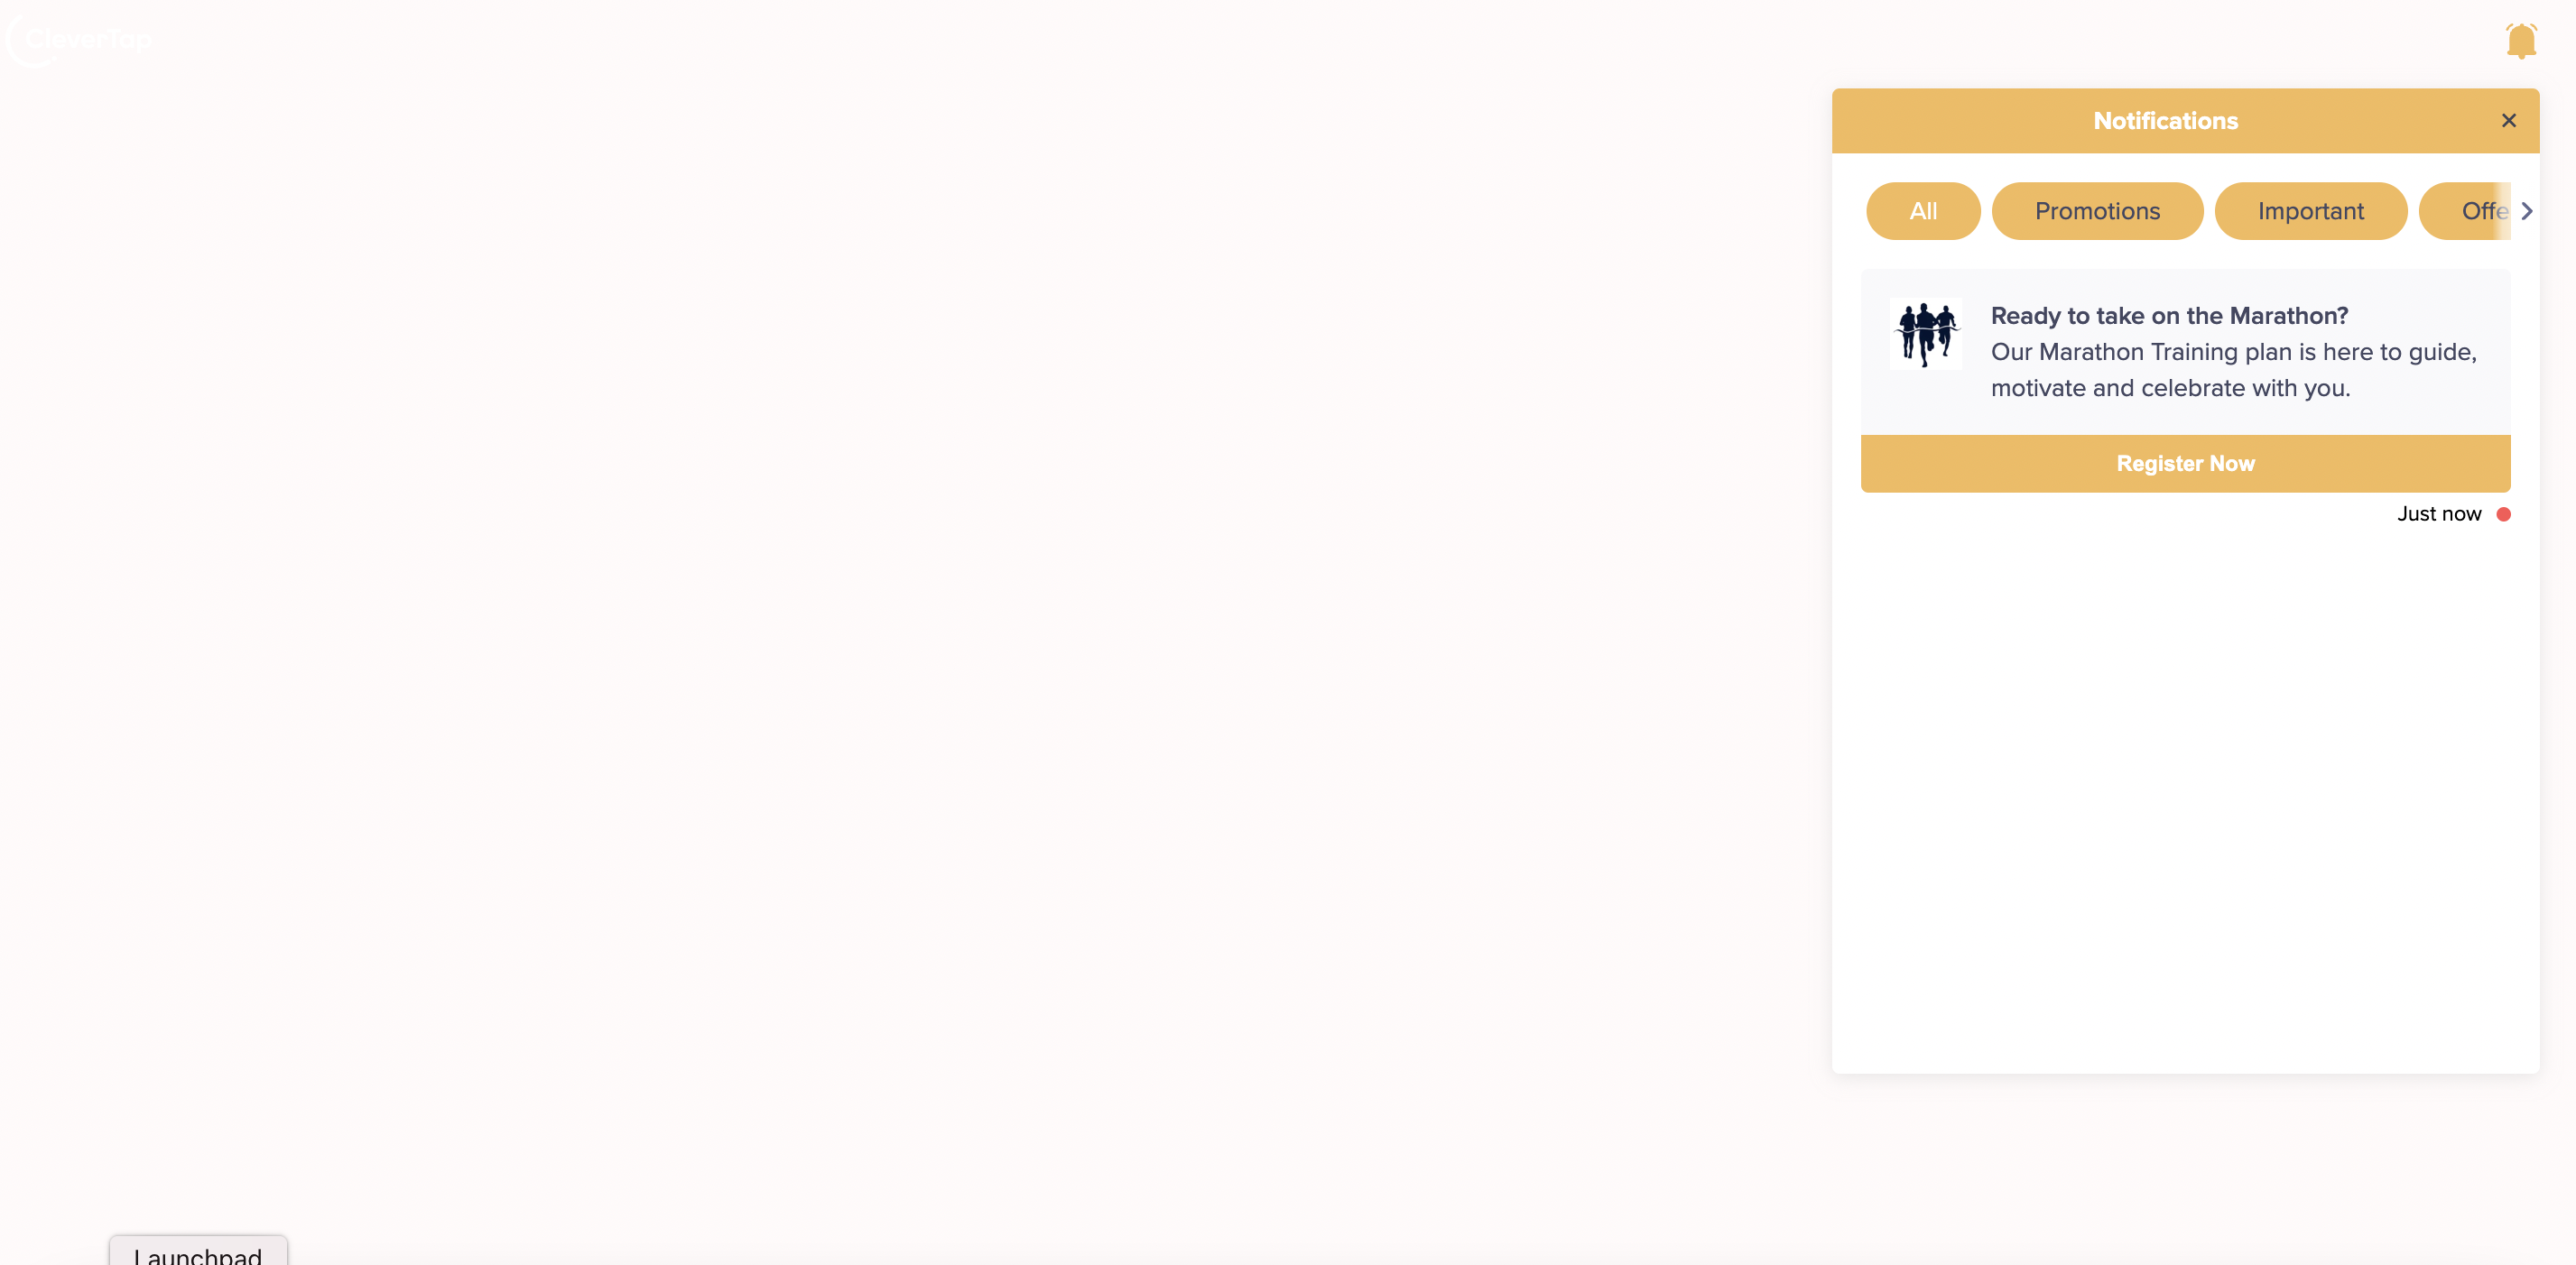
Position of the Inbox-Right Side Below the Bell Icon
- If the bell icon is on the bottom right corner, the inbox will be displayed on the right side just above the bell icon.
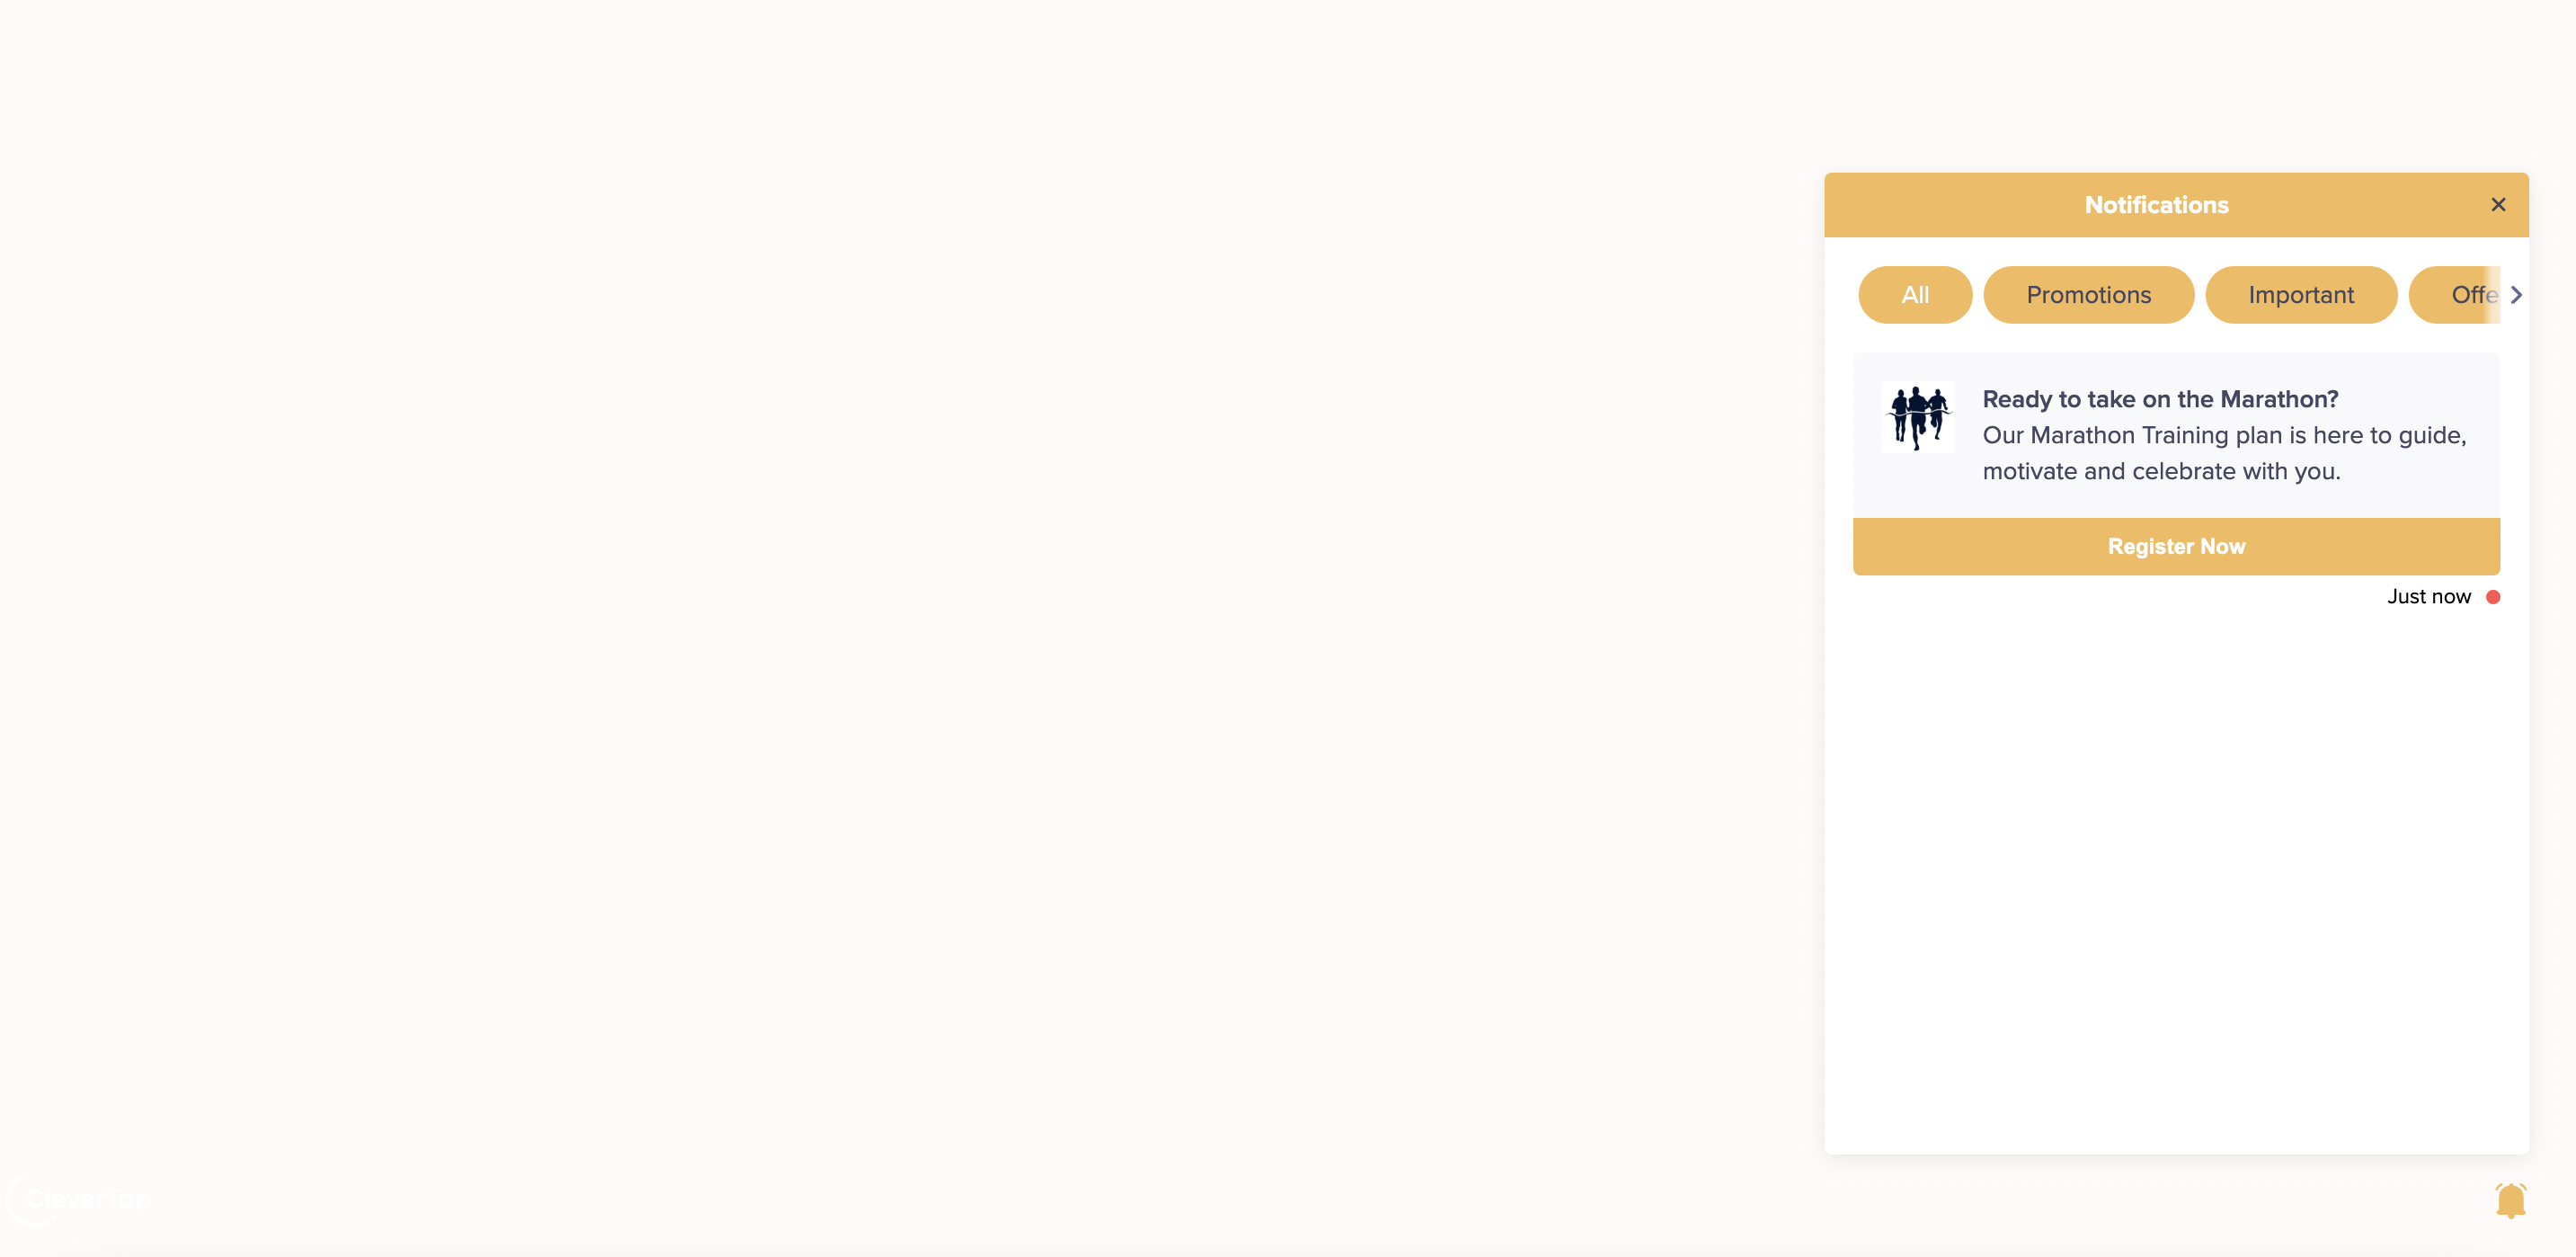
Position of the Inbox-Right Side Above the Bell Icon
- If the bell icon is on the top left corner, the inbox will be displayed on the left side just below the bell icon.
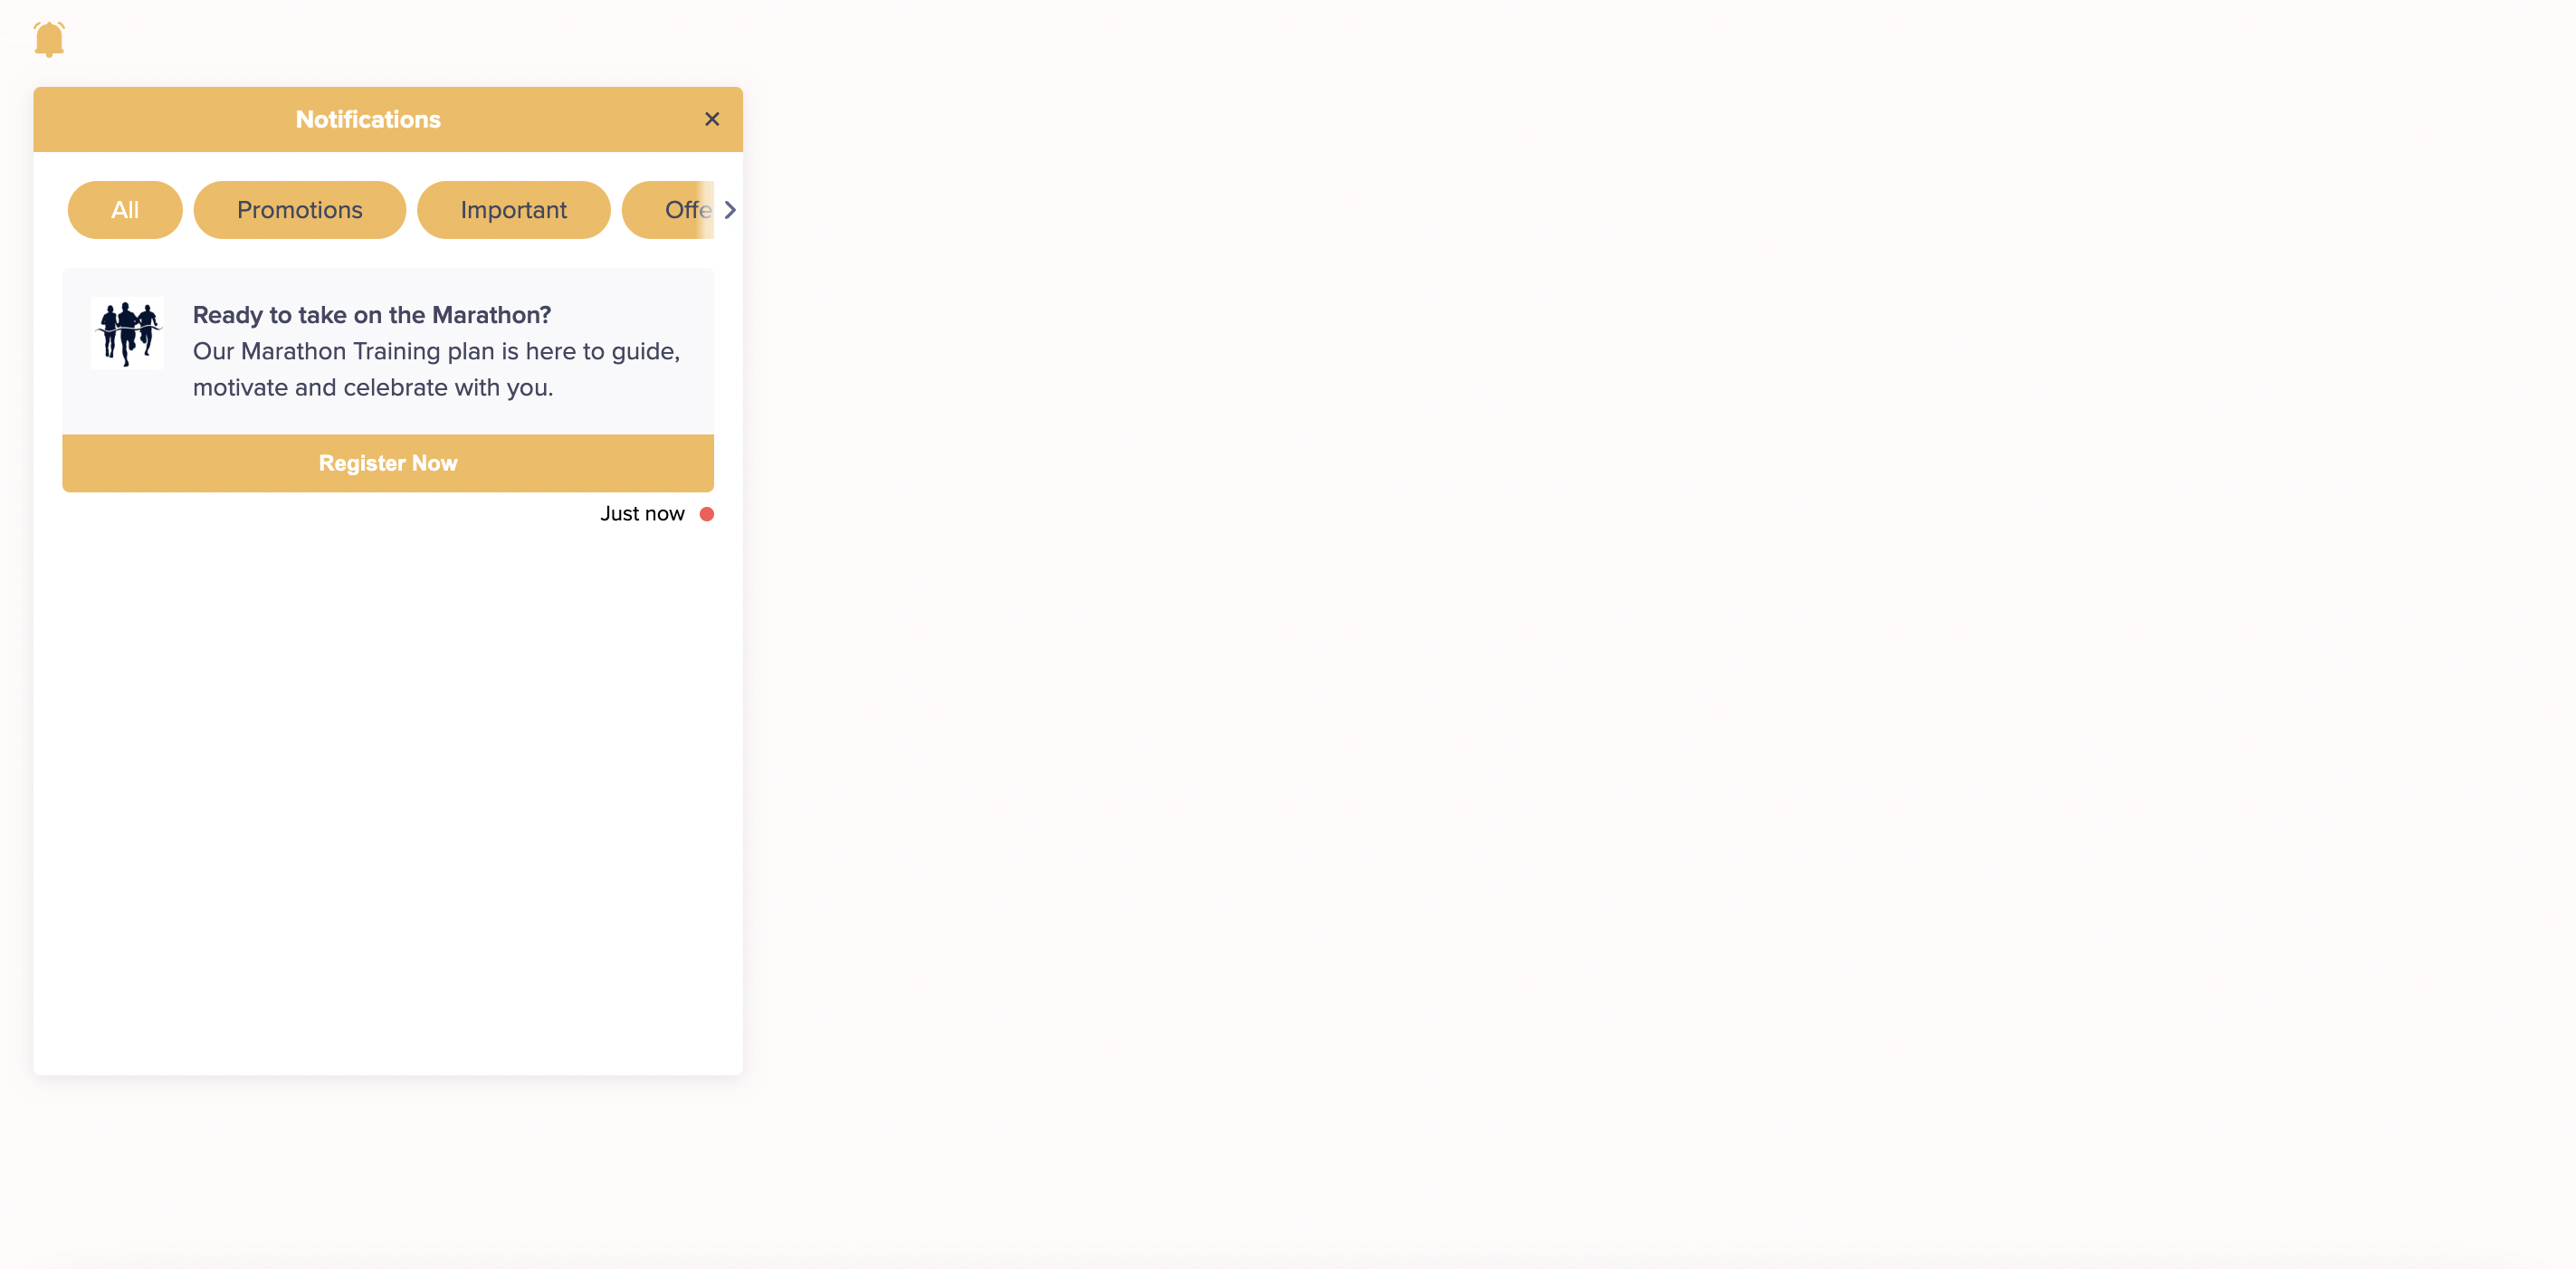
Position of the Inbox-Left Side Below the Bell Icon
- If the bell icon is on the bottom left corner, the inbox will be displayed on the left side just above the bell icon.
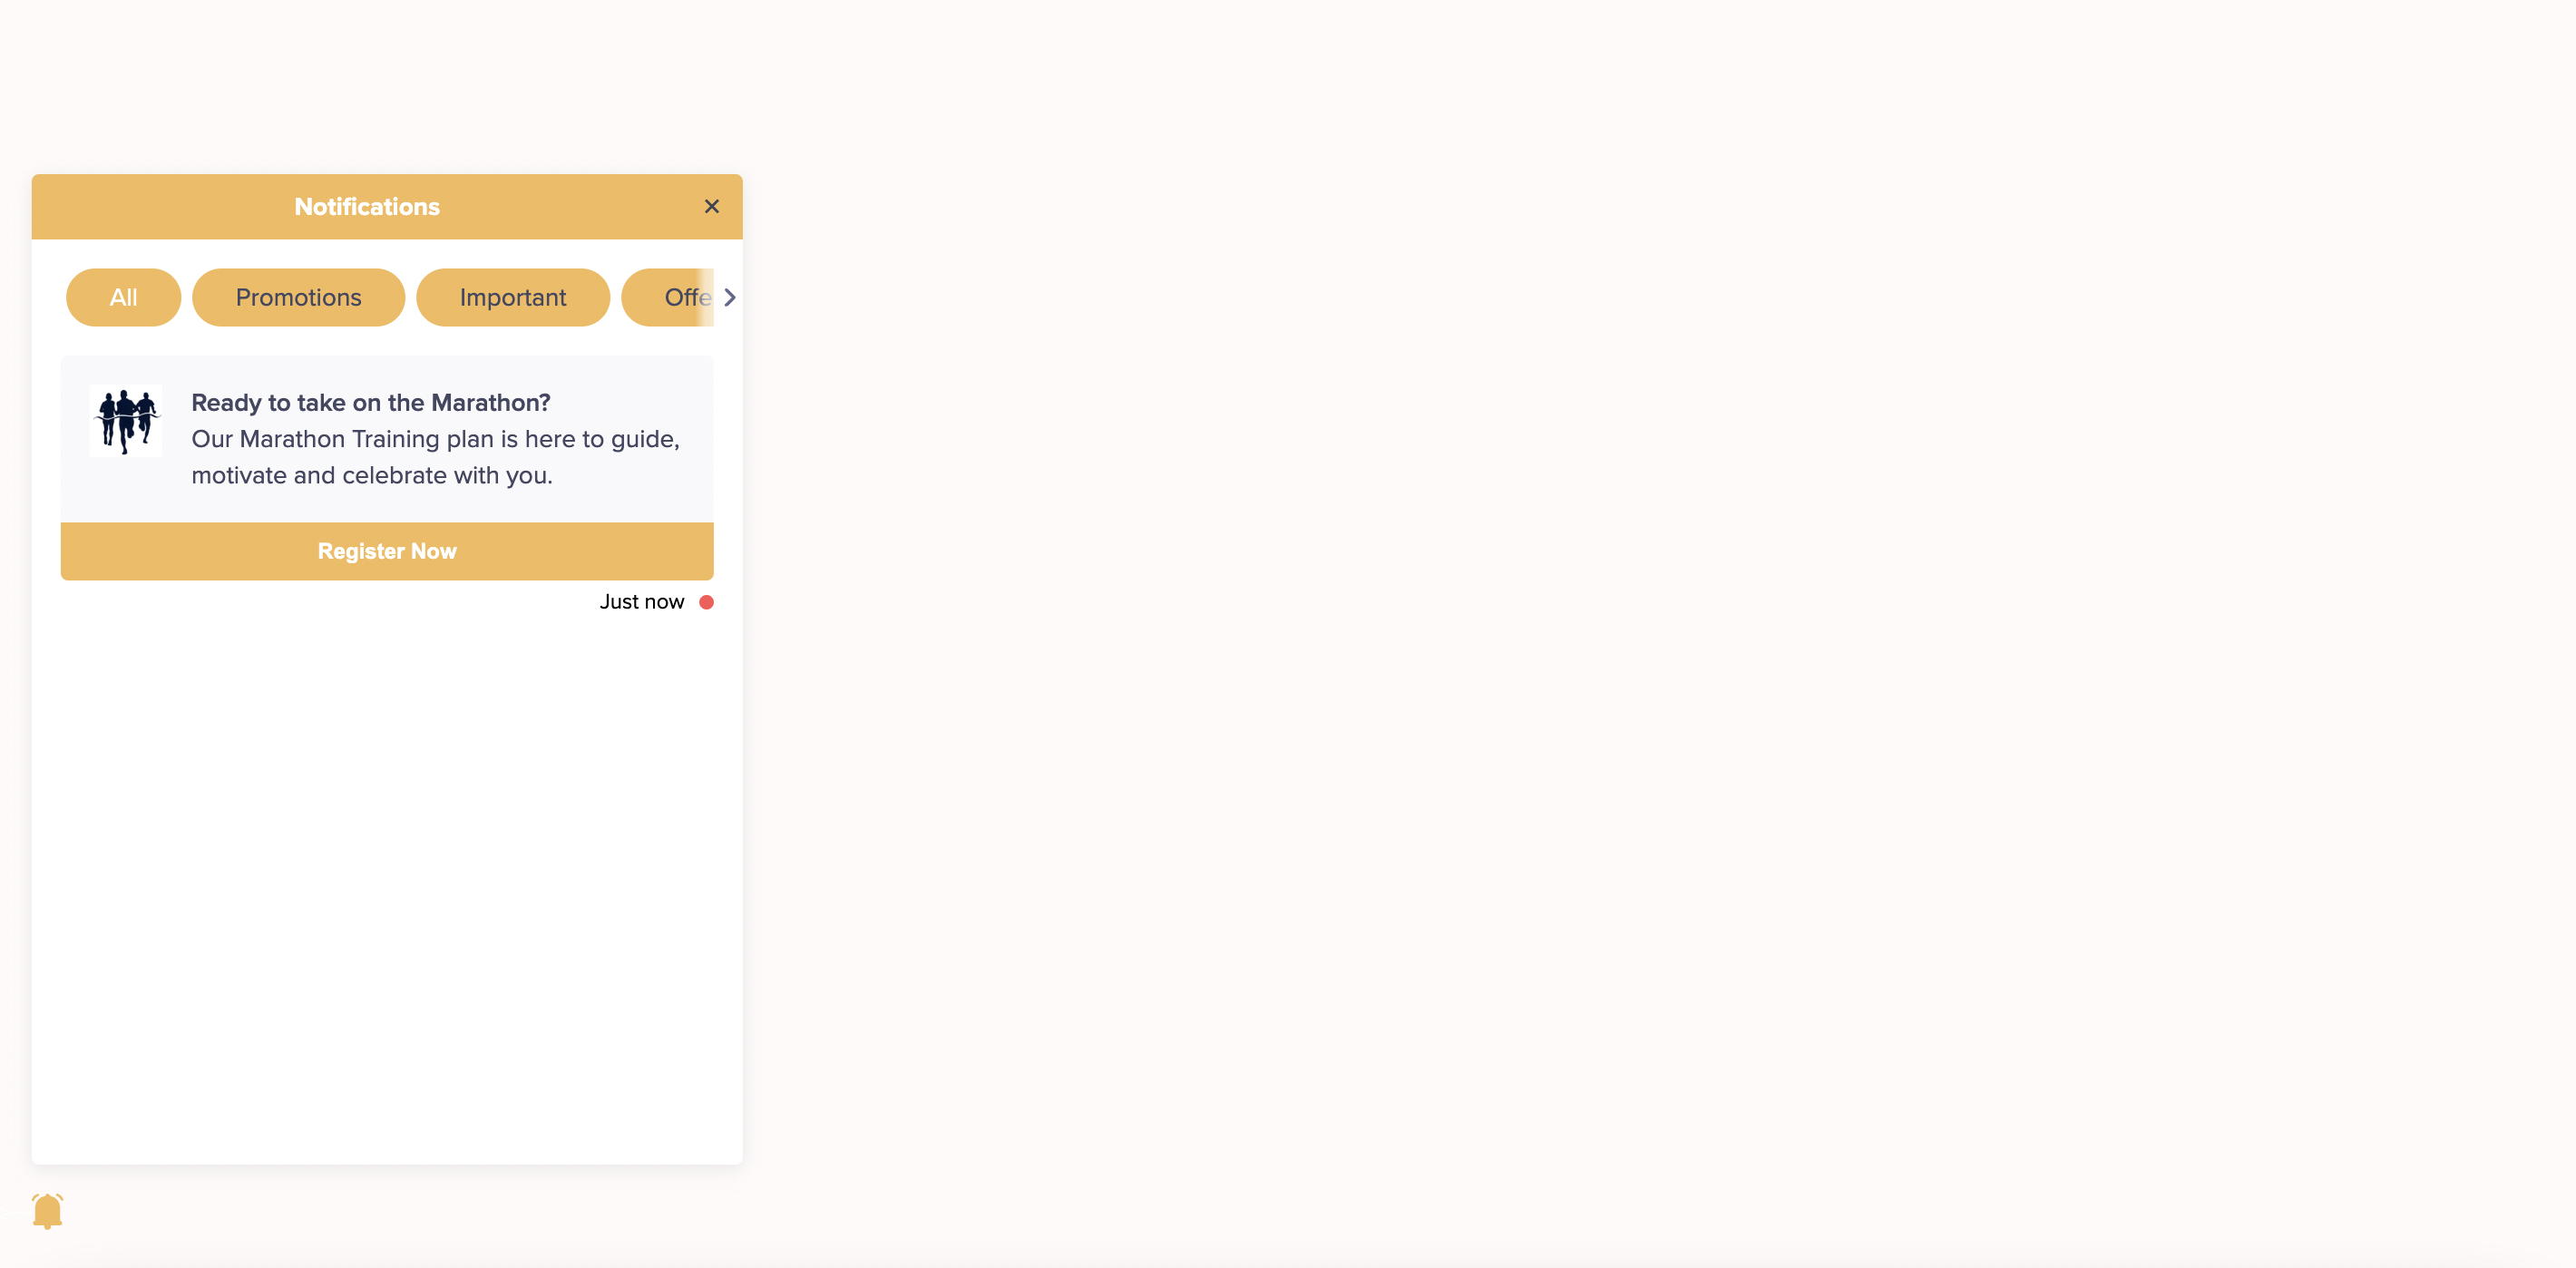
Position of the Inbox-Left Side Above the Bell Icon
- When the icon is on the top center, the inbox will be displayed just below the bell icon.
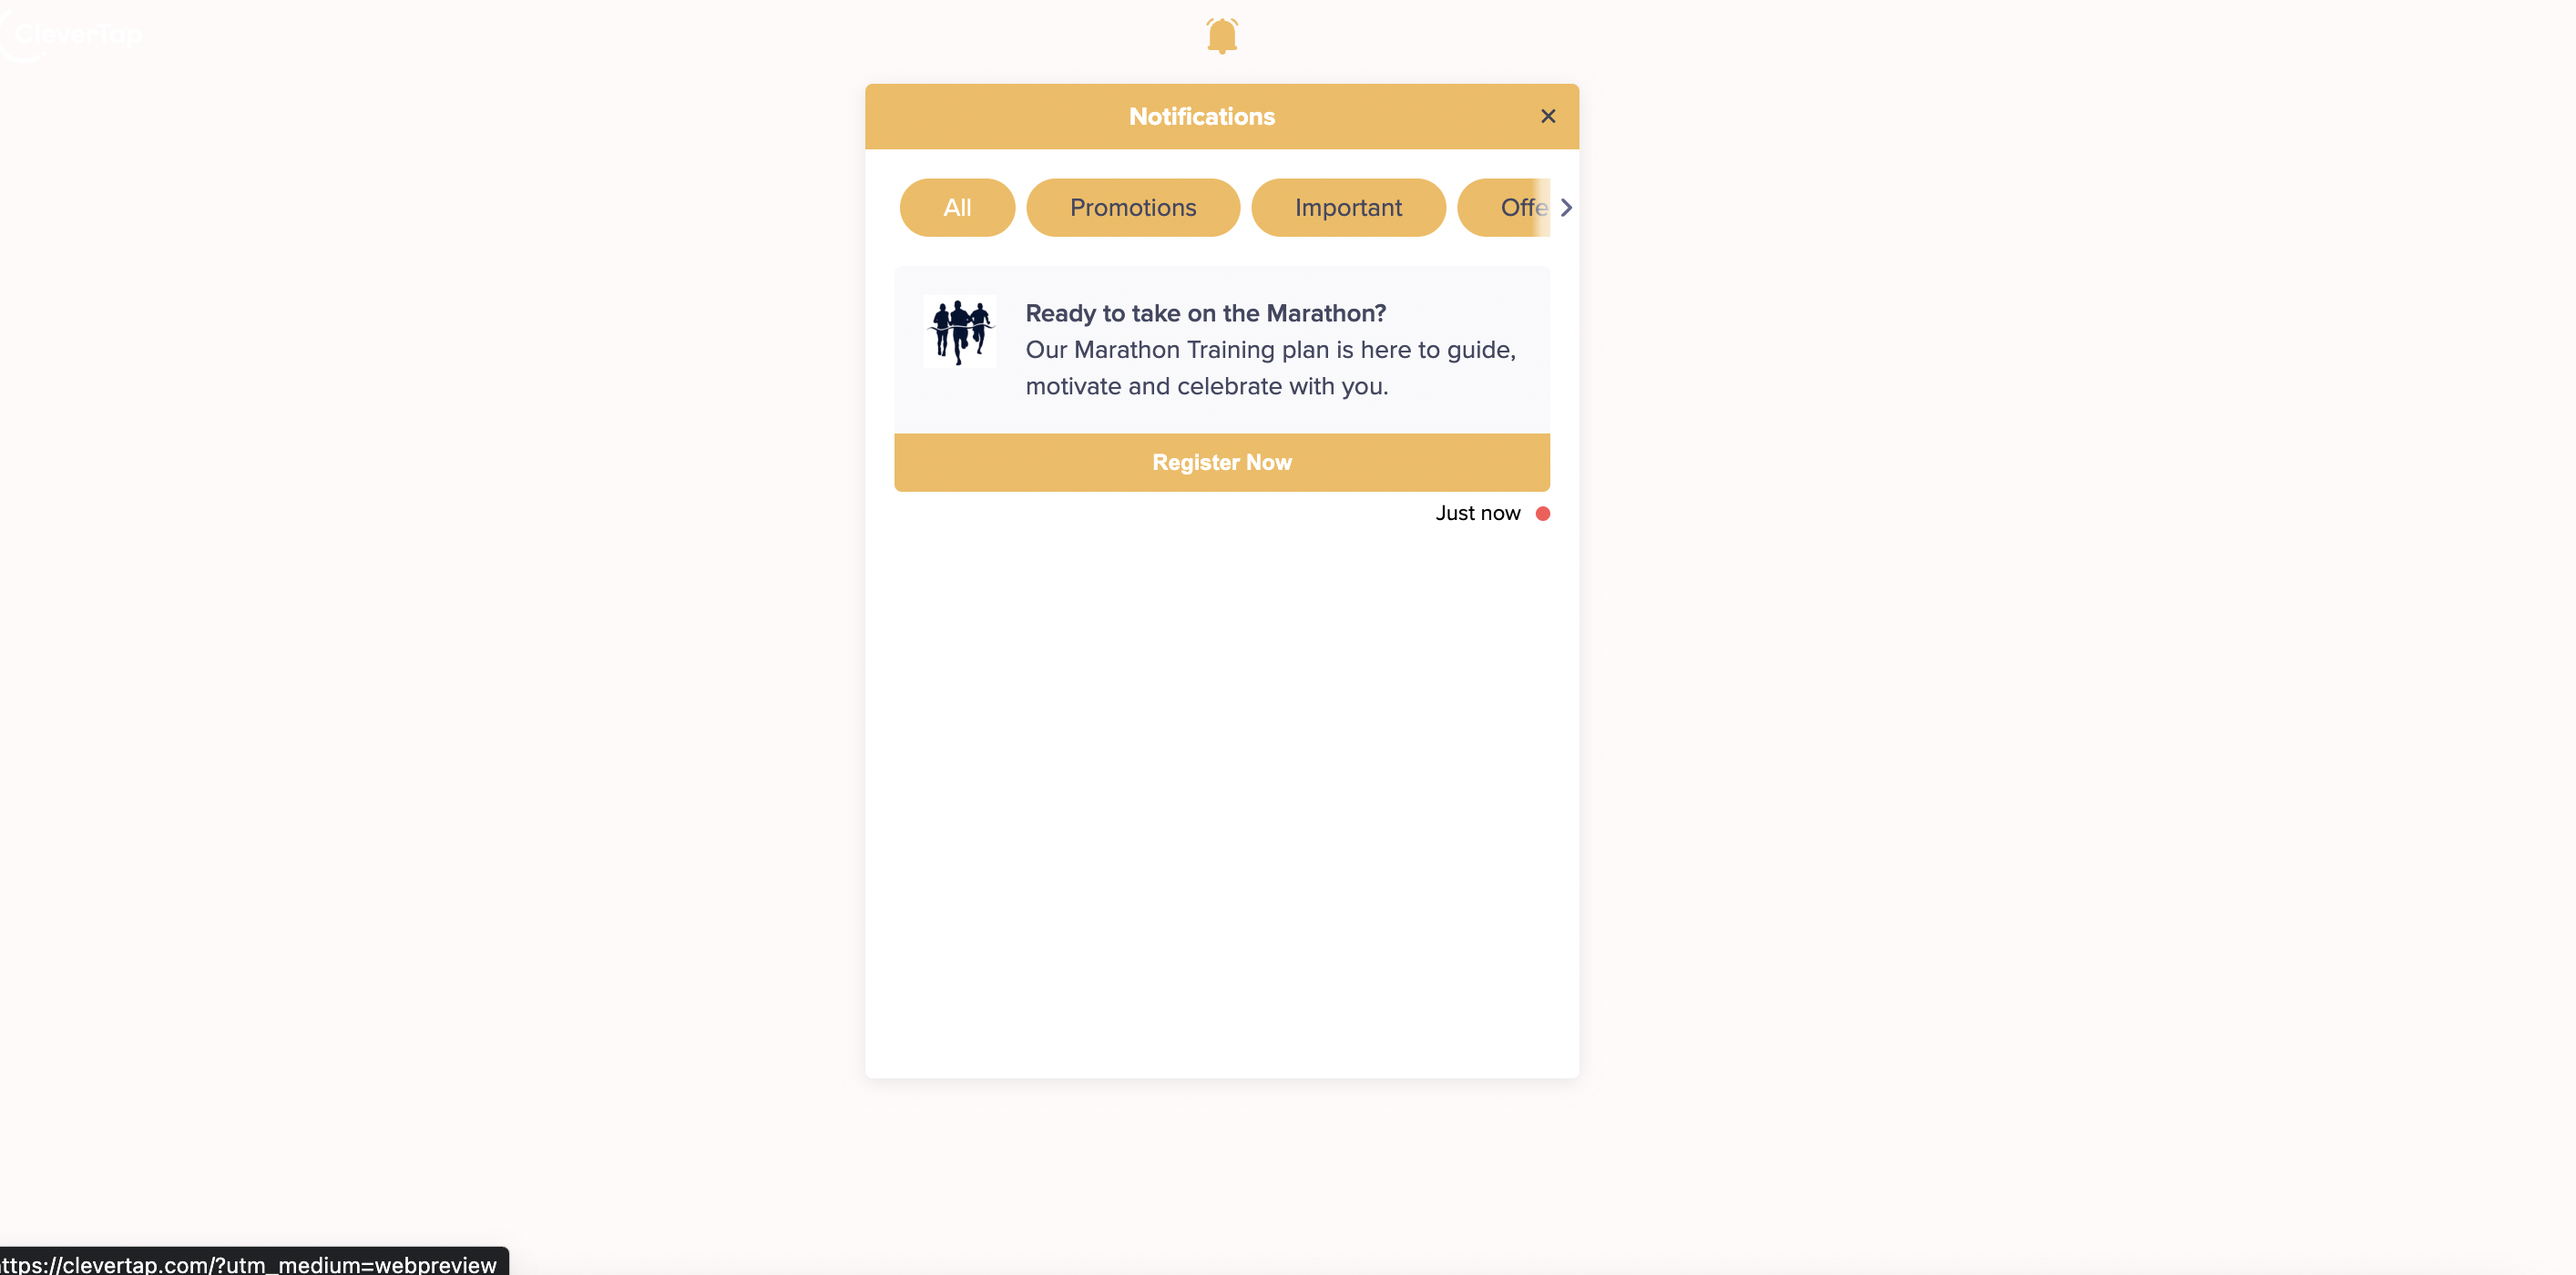
Position of the Inbox-Top Center Below the Bell Icon
- When the icon is on the bottom center, the inbox will be displayed just above the bell icon.
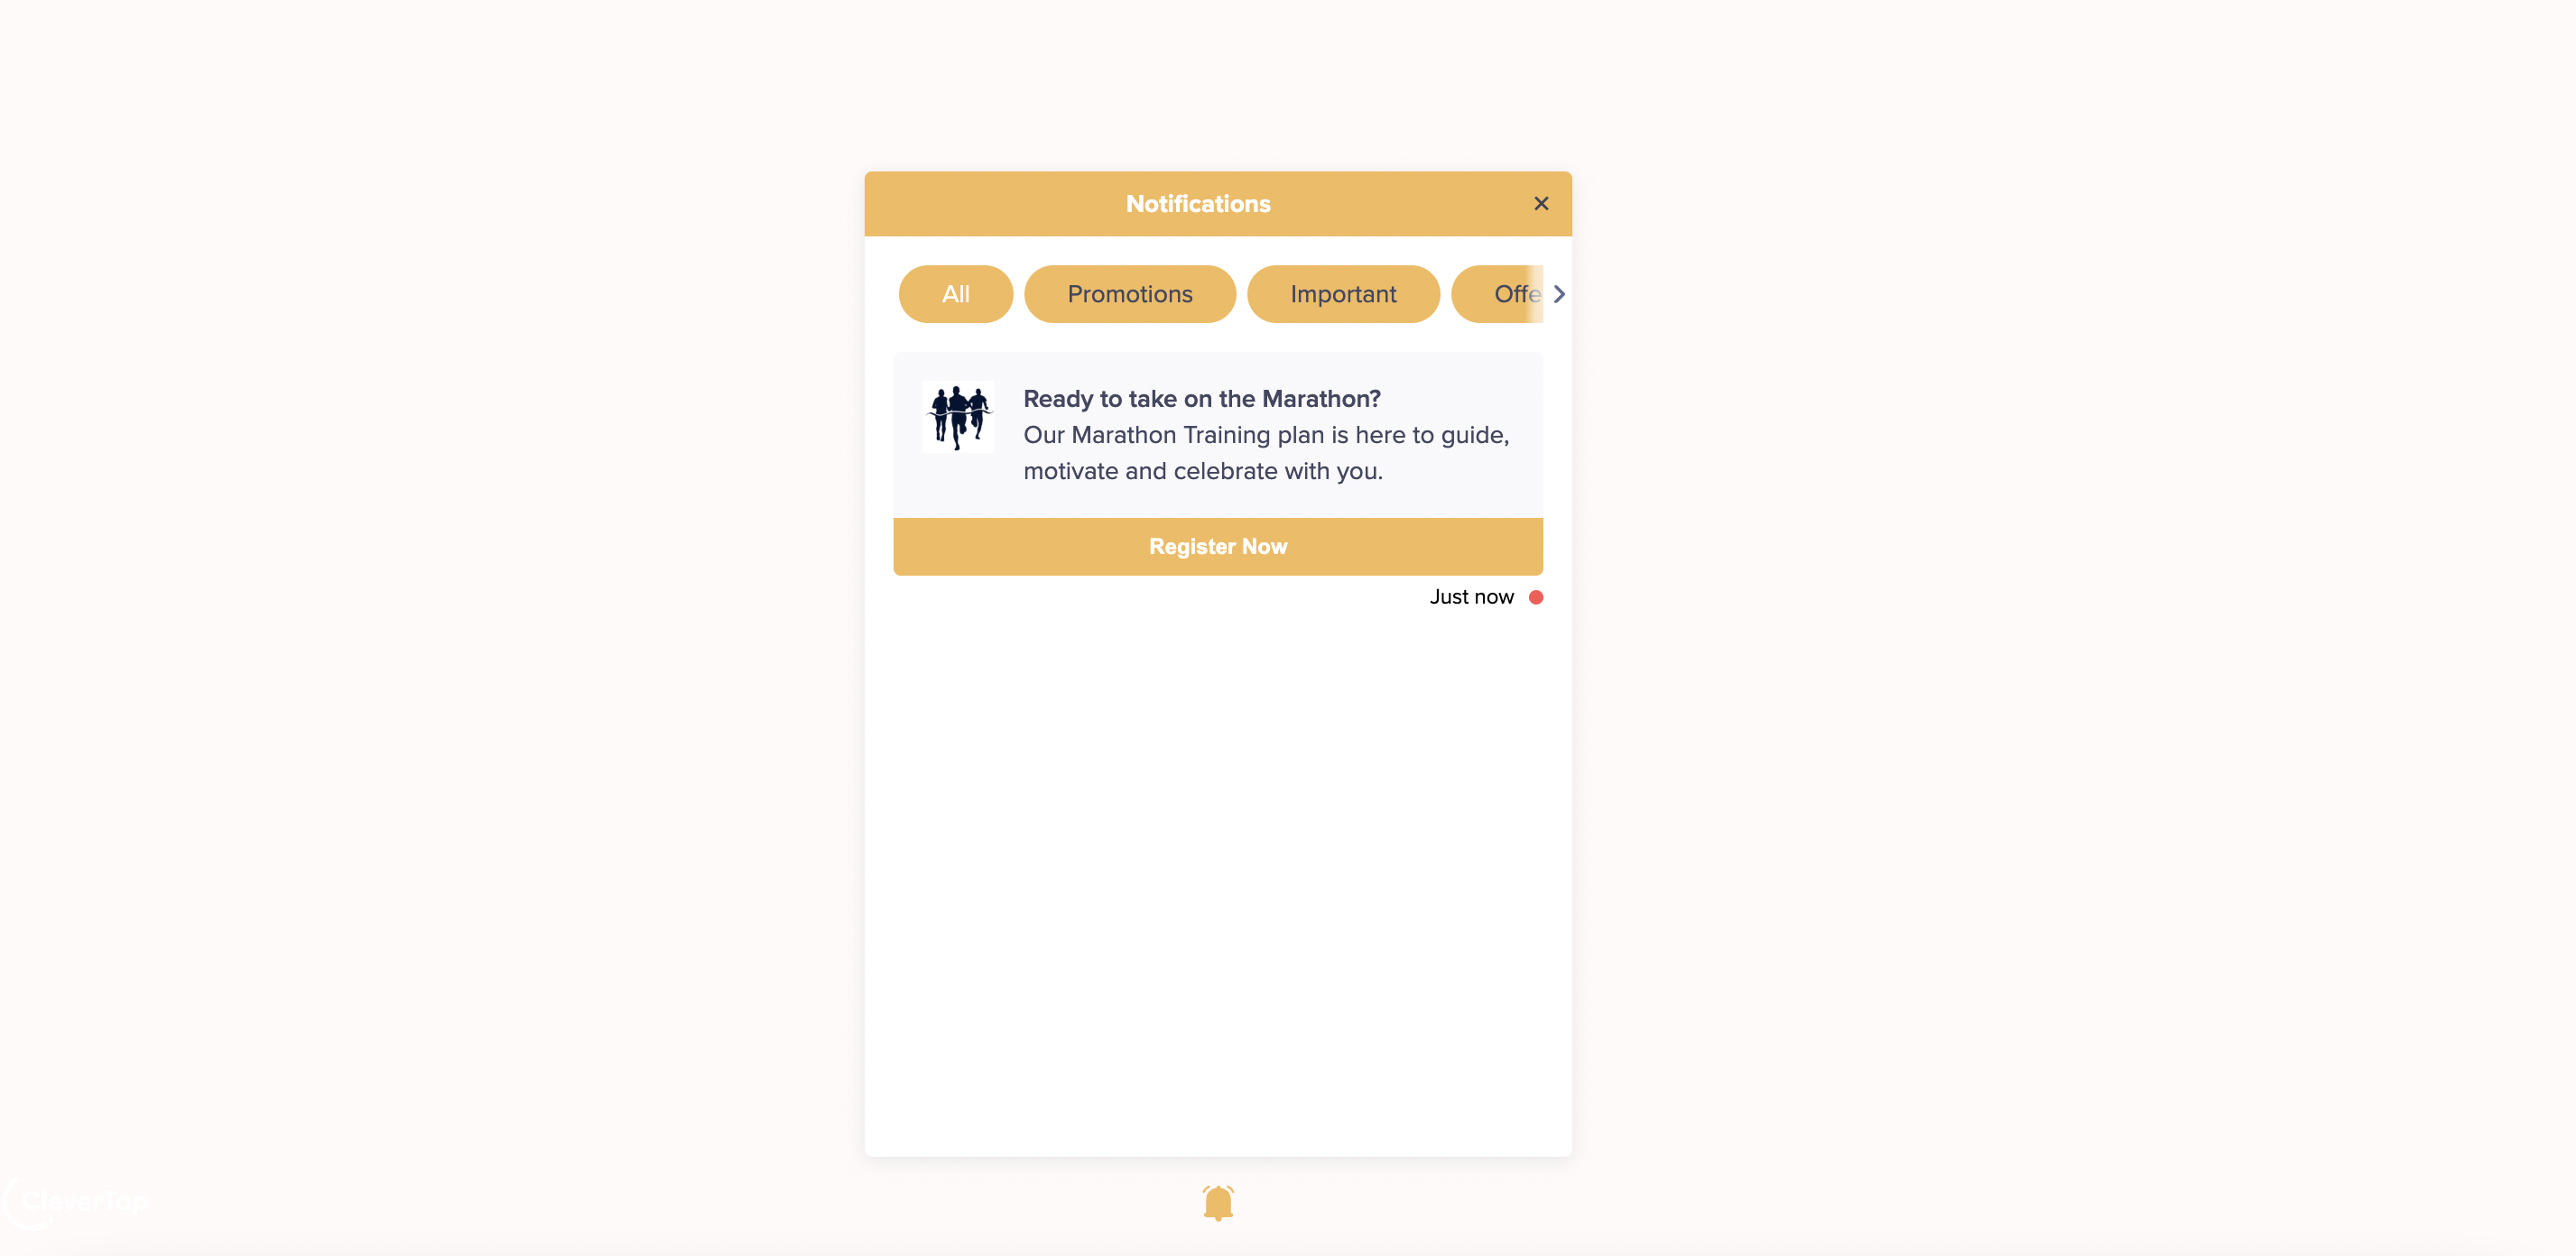
Position of the Inbox-Bottom Center Above the Bell Icon
- When the icon is on the left center, the inbox will be displayed to the right of the bell icon.
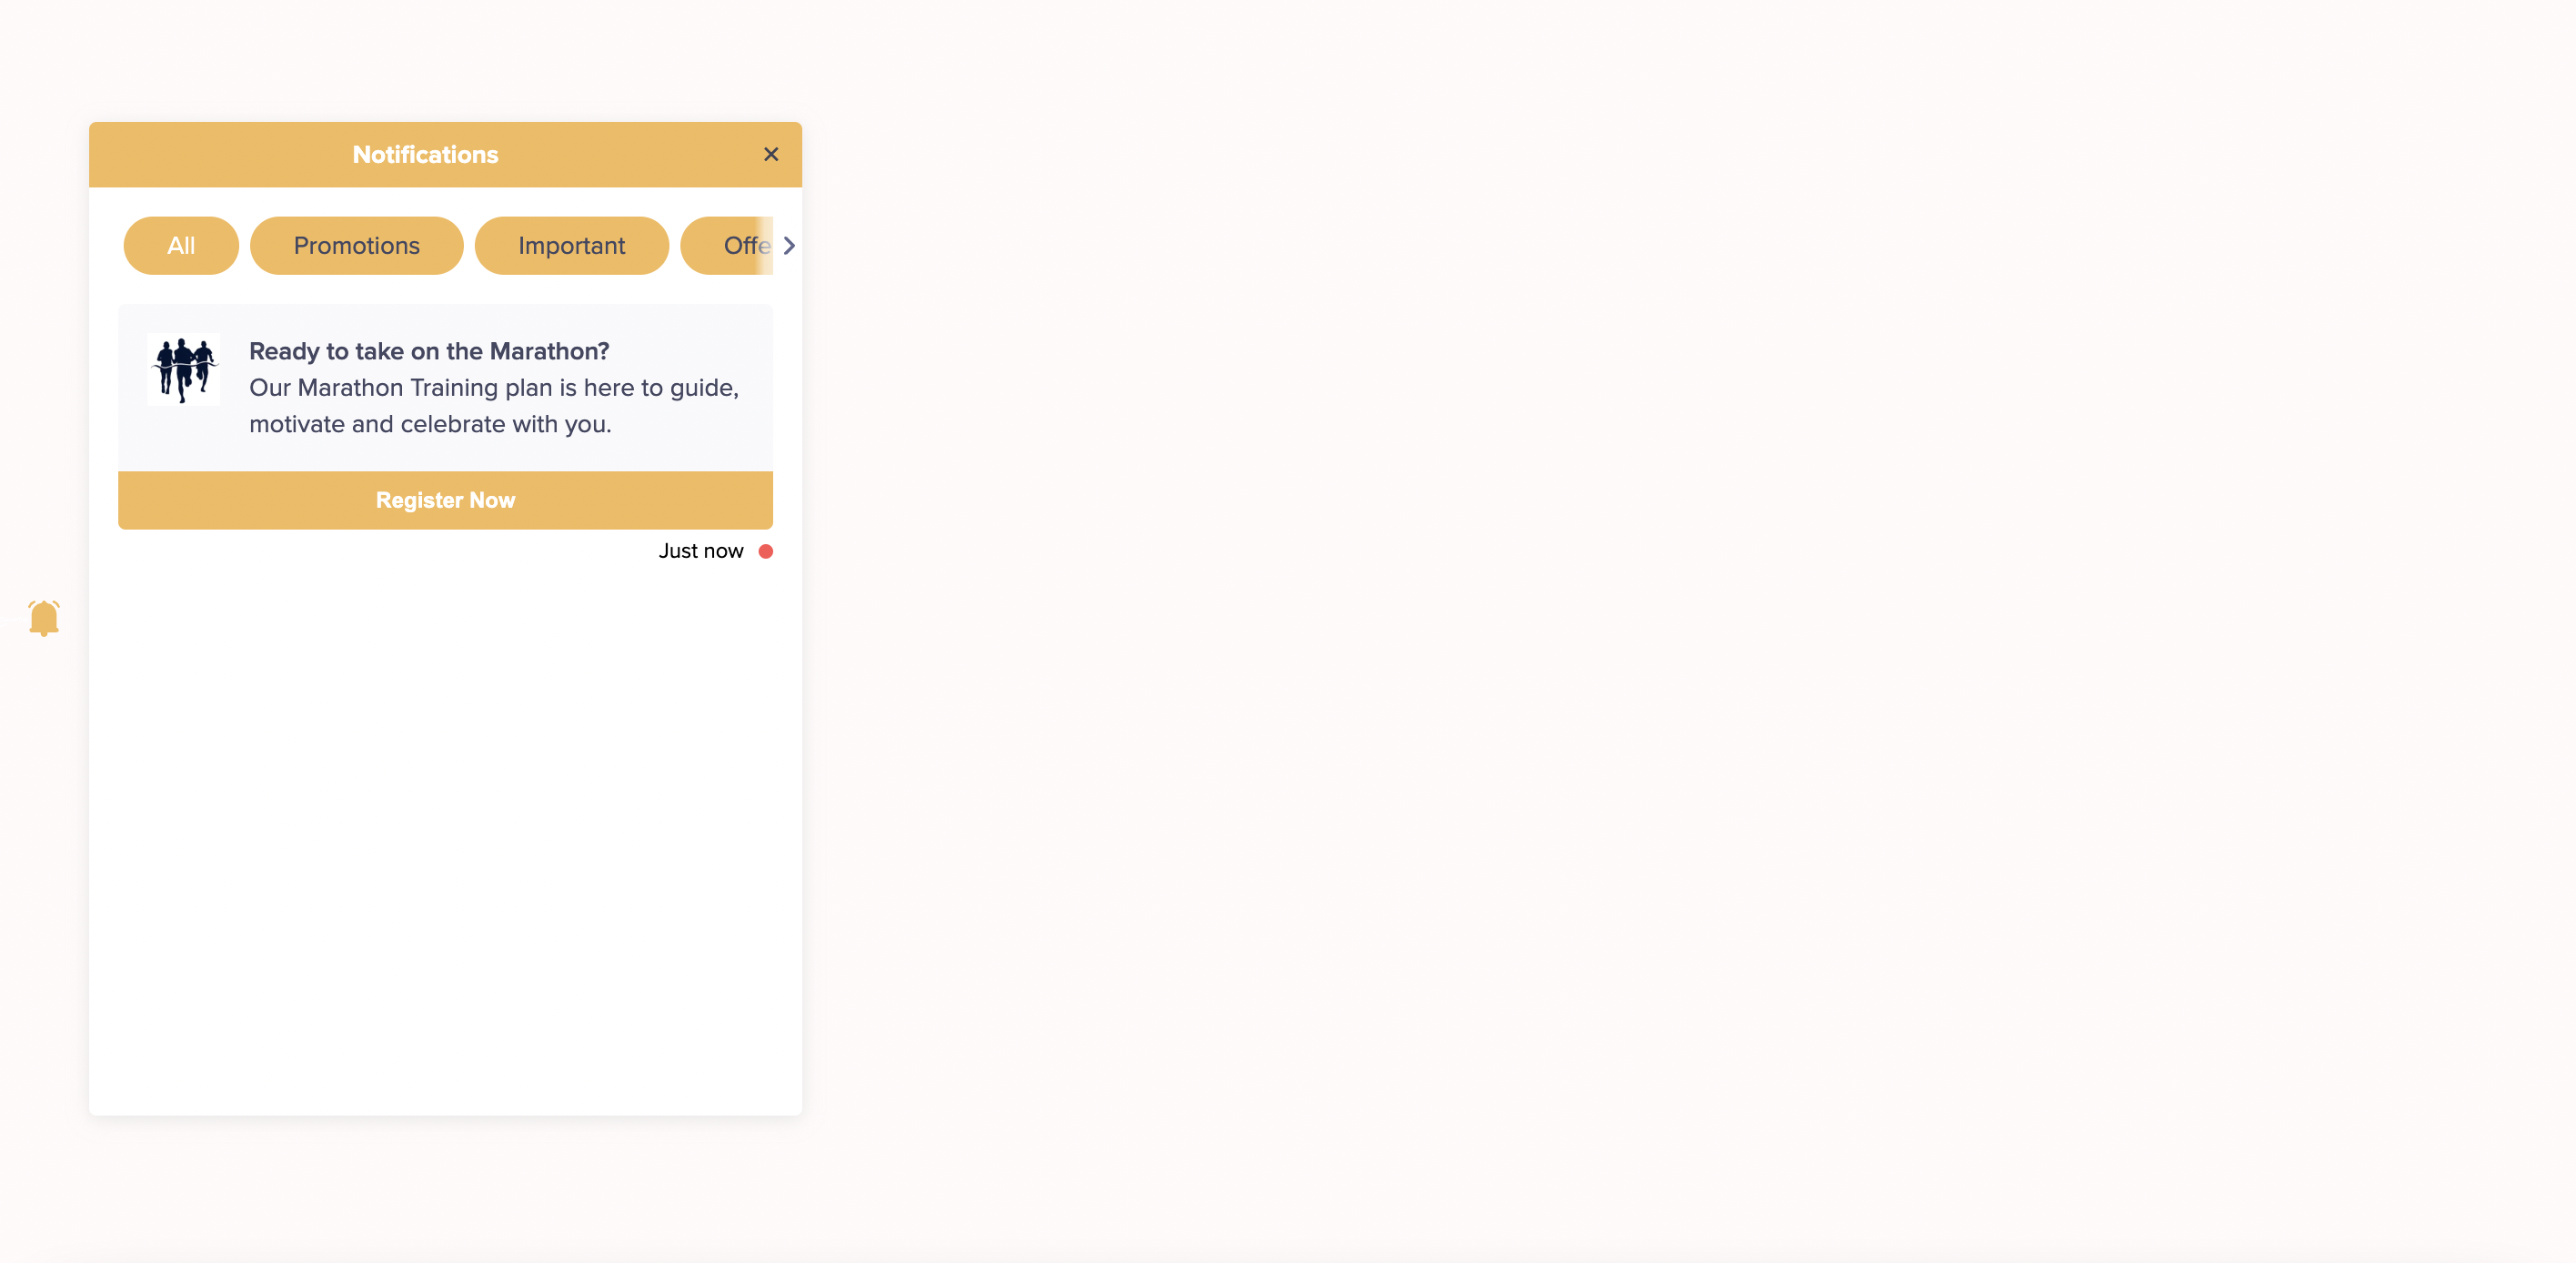
Position of the Inbox-Left Center Right of the Bell Icon
- When the icon is on the right center, the inbox will be displayed to the left of the bell icon.
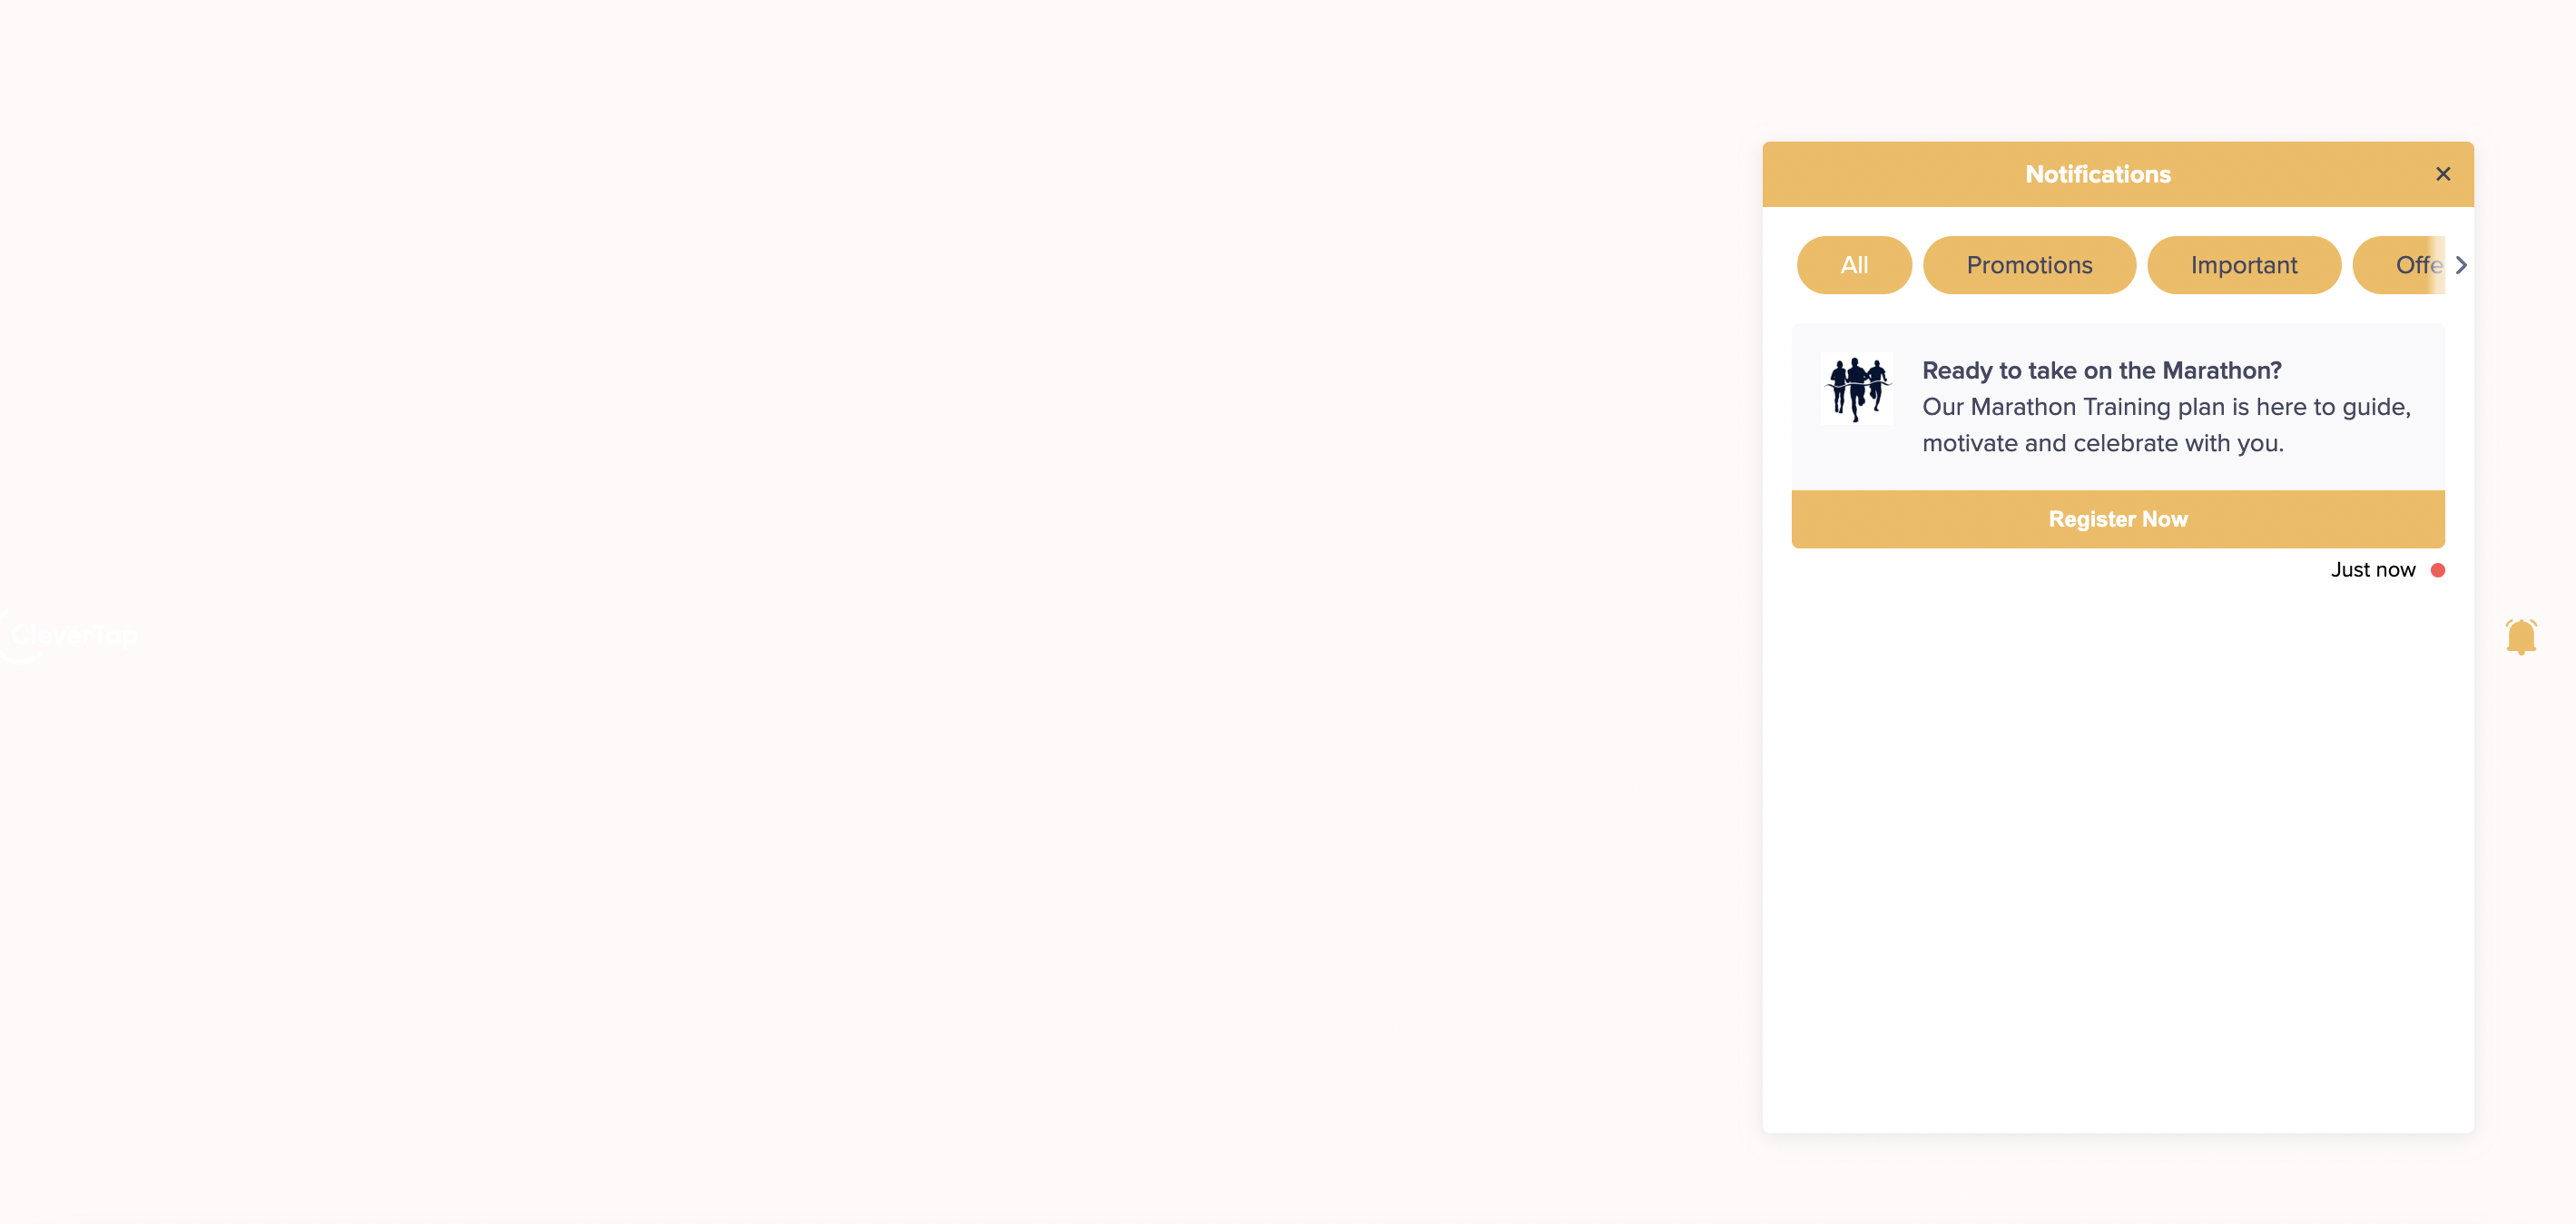
Position of the Inbox-Right Center Left of the Bell Icon
Note:For the inbox, the CSS property position is set as fixed.
How to Override The Inbox Styles
The look and feel of most elements within the inbox can be customized from the dashboard. Refer to the Web Inbox Setup document to learn more about customizing Web Inbox.
Default ConfigurationThe default width of the inbox is 392px, and the default height is 546px.
If you want to override styles for the elements that can not be configured from settings, add custom styles to your website.
For example, if you want to set the height to 100% and the width to 400px, you can do so by adding the below styles to your website.
ct-web-inbox {
  --inbox-width:400px;
  --inbox-height:100%;
}
Following is an example to customize the positioning of the inbox to always open on the right side. Configure the inbox position as follows:
ct-web-inbox {
  --inbox-top:0px;
  --inbox-left:unset;
  --inbox-right:0px;
  --inbox-bottom:unset;
}
Note:All the customizations are applied to desktops and tablets only. For mobile devices, the Web Inbox occupies the entire width and height.
Create Your Web Inbox
You can use the Web Inbox provided by CleverTap or create your own Web Inbox. Creating your own Web inbox requires additional coding effort and debug skills.
Use the following APIs to create, read, and delete inbox messages in your own Web Inbox:
clevertap.getInboxMessageCount() 								// Get Inbox Message Count

clevertap.getInboxMessageUnreadCount() 					// Get Inbox Unread Message Count

clevertap.getAllInboxMessages()                 // Get All Inbox Messages

clevertap.getUnreadInboxMessages() 							// Get only Unread messages

clevertap.getInboxMessageForId(messageId) 			// Get message object belonging to the given message id only. Message id should be a String

clevertap.deleteInboxMessage(messageId) 			  // Delete message from the Inbox. Message id should be a String

clevertap.markReadInboxMessage(messageId) 		  // Mark Message as Read. Message id should be a String

clevertap.markReadAllInboxMessage() 				   // Mark all messages as read
Tracking Views and Clicks for Custom Web Inbox
For custom rendering of Web Inbox notifications, CleverTap provides the following methods to track views and clicks:
renderNotificationViewed(): Marks a notification as viewed.renderNotificationClicked(): Marks a notification as clicked.
These methods require wzrk_id and wzrk_pivot, which can be retrieved from the inbox messages using clevertap.getAllInboxMessages().
The following is an example code for Notification Viewed and Notification Clicked Event.
clevertap.renderNotificationViewed({
    msgId: "MESSAGE ID",
    wzrk_pivot: "wzrk_default",
})

clevertap.renderNotificationClicked({
    msgId: "MESSAGE ID",
    wzrk_pivot: "wzrk_default",
})
Updated 2 months ago
