Web Custom Proxy Domain
Custom Proxy Domain
A custom proxy domain allows you to proxy all events raised from the CleverTap Web SDK through your required domain. If you want to use your application server, use a proxy domain to handle and/or relay CleverTap events. You can use AWS or Cloudflare to route event traffic through a domain you control.
Data filtering with Custom Proxy
Using your own custom proxy domain allows you to collect data and enforce compliance or firewall rules effectively. Custom Proxy Domain ensures:
- Users have fine control over filtering, auditing, and/or cleaning data before sending it to CleverTap.
- Users can turn event collection on or off across all platforms quickly.
- Users can use their own application server and a proxy domain to handle and/or relay CleverTap events.
Integration
To set up the proxy domain, you must have a domain and access to the DNS site settings. Follow the instructions below to configure an AWS Certificate and CloudFront distribution. Then integrate CleverTap SDK with your proxy domain configuration. You can do this via AWS Lambda or Cloudflare Workers.
Prerequisites
- A registered domain, for example
eu1.yourdomain.com. - An AWS account with permissions for Lambda, API Gateway, and ACM.
- DNS access to your domain registrar or provider.
AWS Lambda
To create a certificate using ACM in the required region:
- Create Lambda Function
- Add Lambda Proxy Code
- Create API Gateway
- Create API Proxy Resource
- Set up Lambda Integration
- Deploy the API
- Set up Custom Domain in API Gateway
- Update DNS Record
Step 1: Create Lambda Function
- Navigate to AWS Lambda Console and click Create Function.
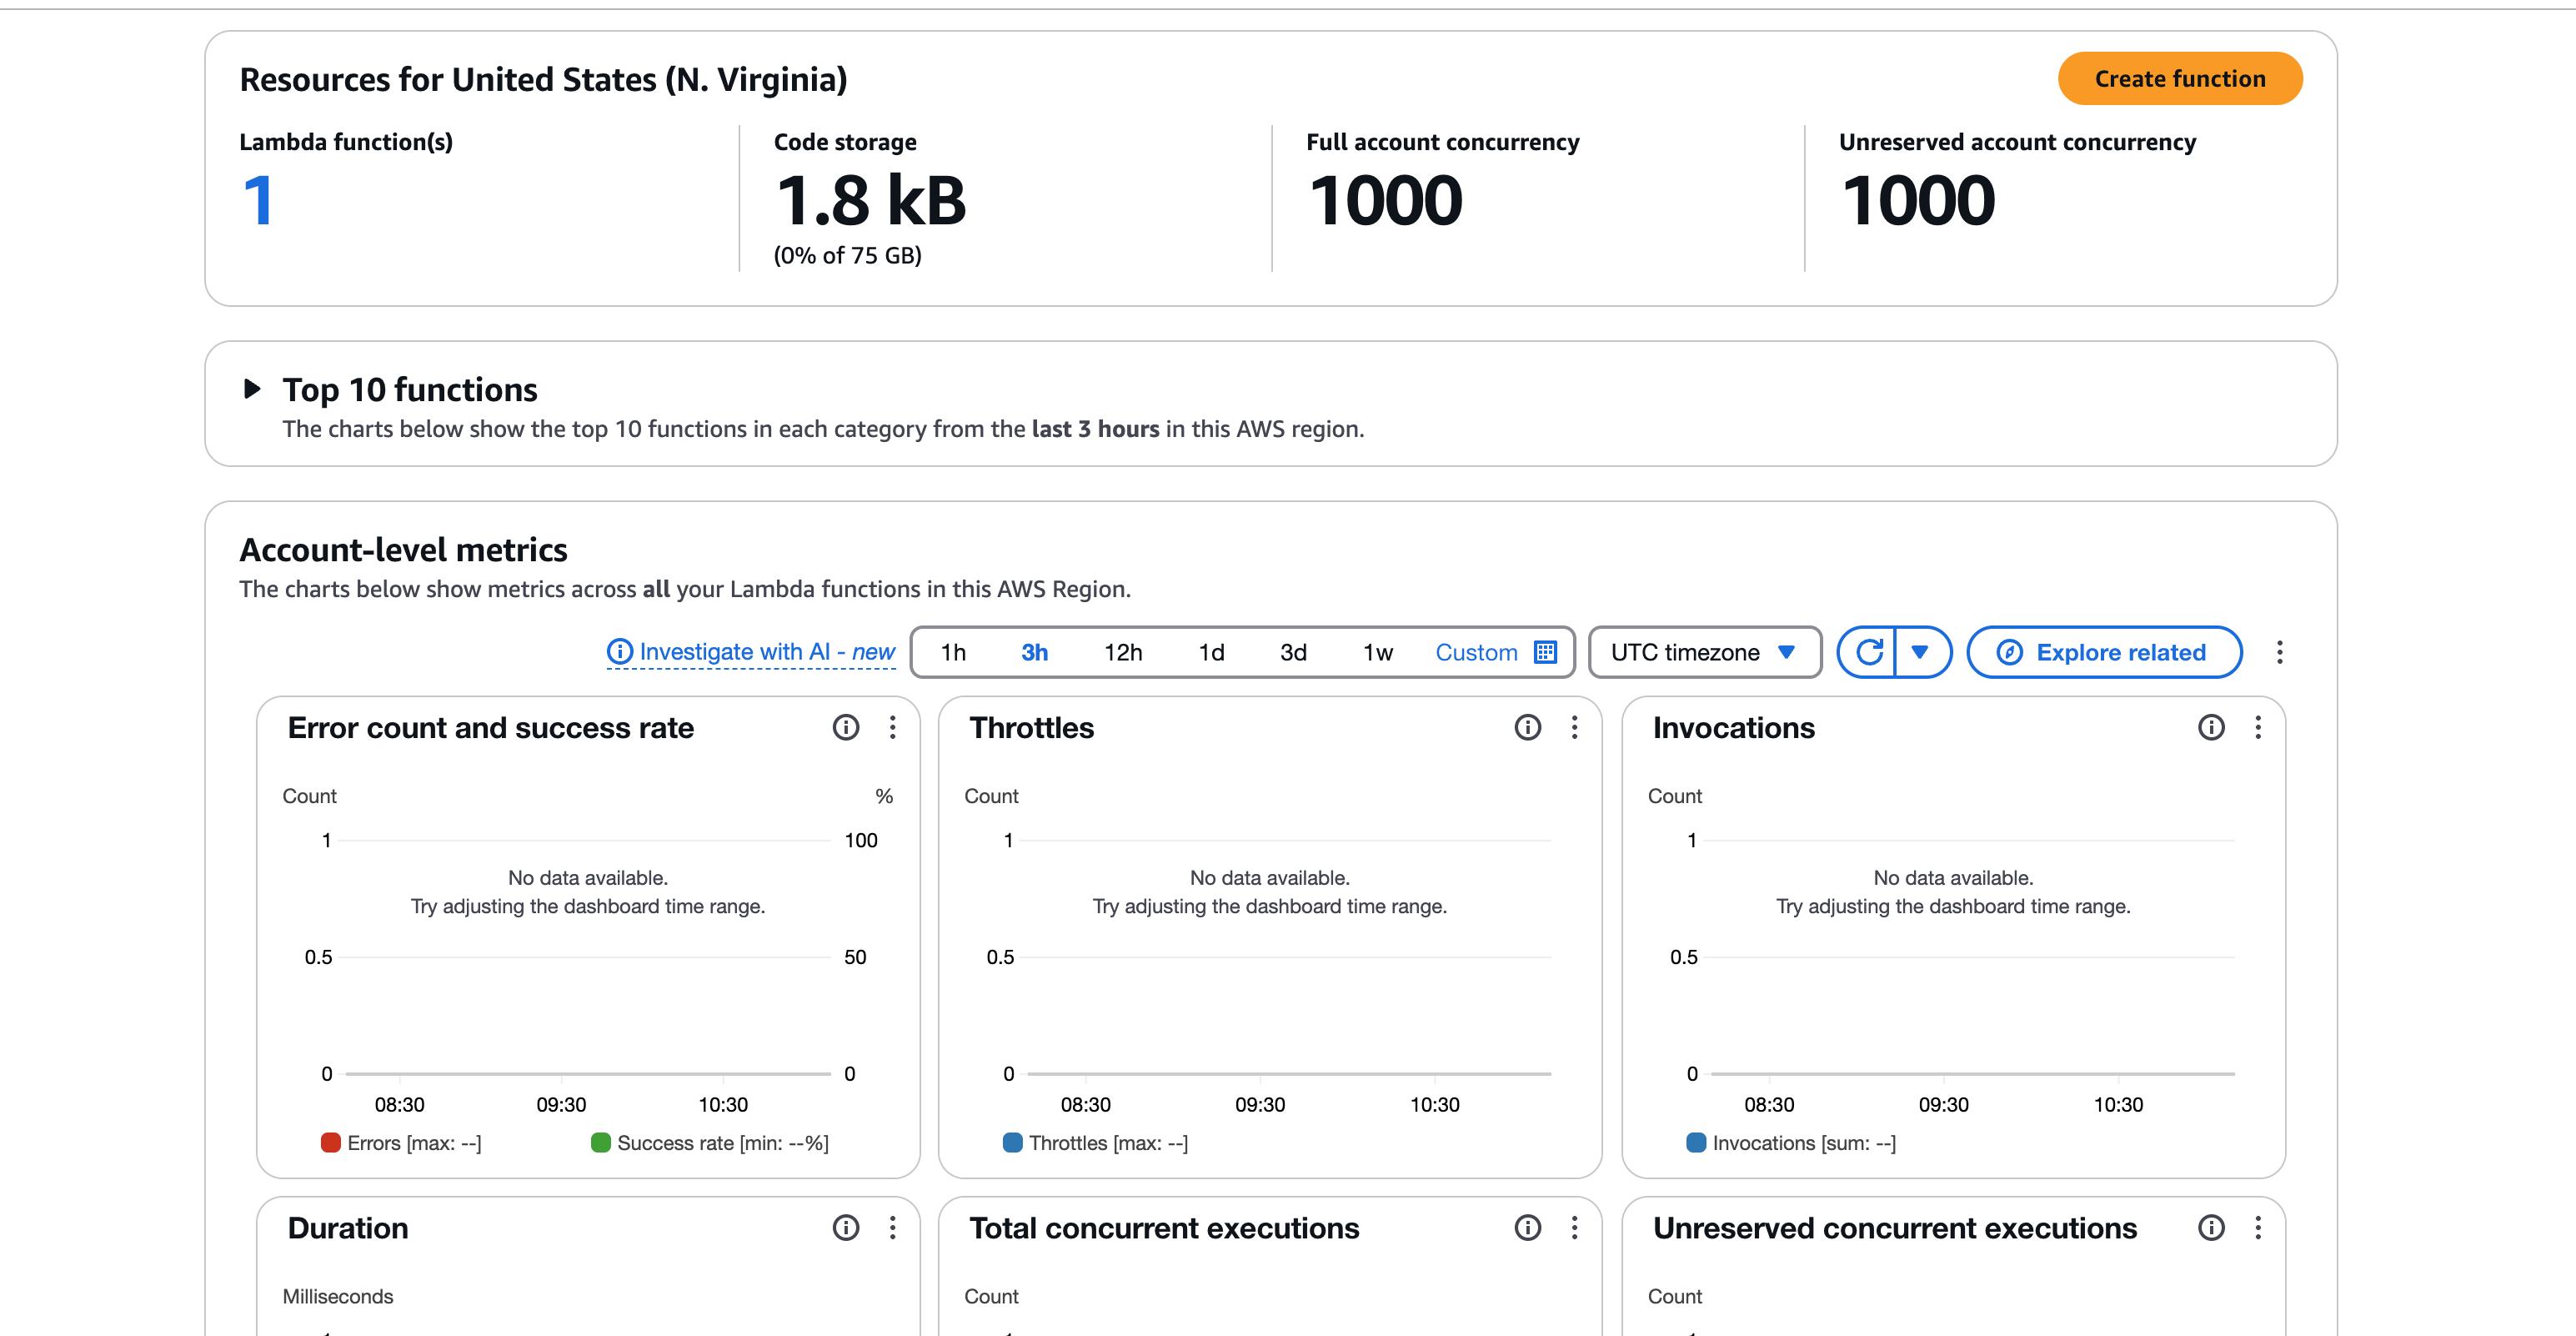
AWS Lambda Console
- Select Author from scratch.
- Enter a name (for example,
clevertap-proxy-lambda) - Choose the latest default node runtime.
- Under Permissions, select Create a new role with basic Lambda permissions.
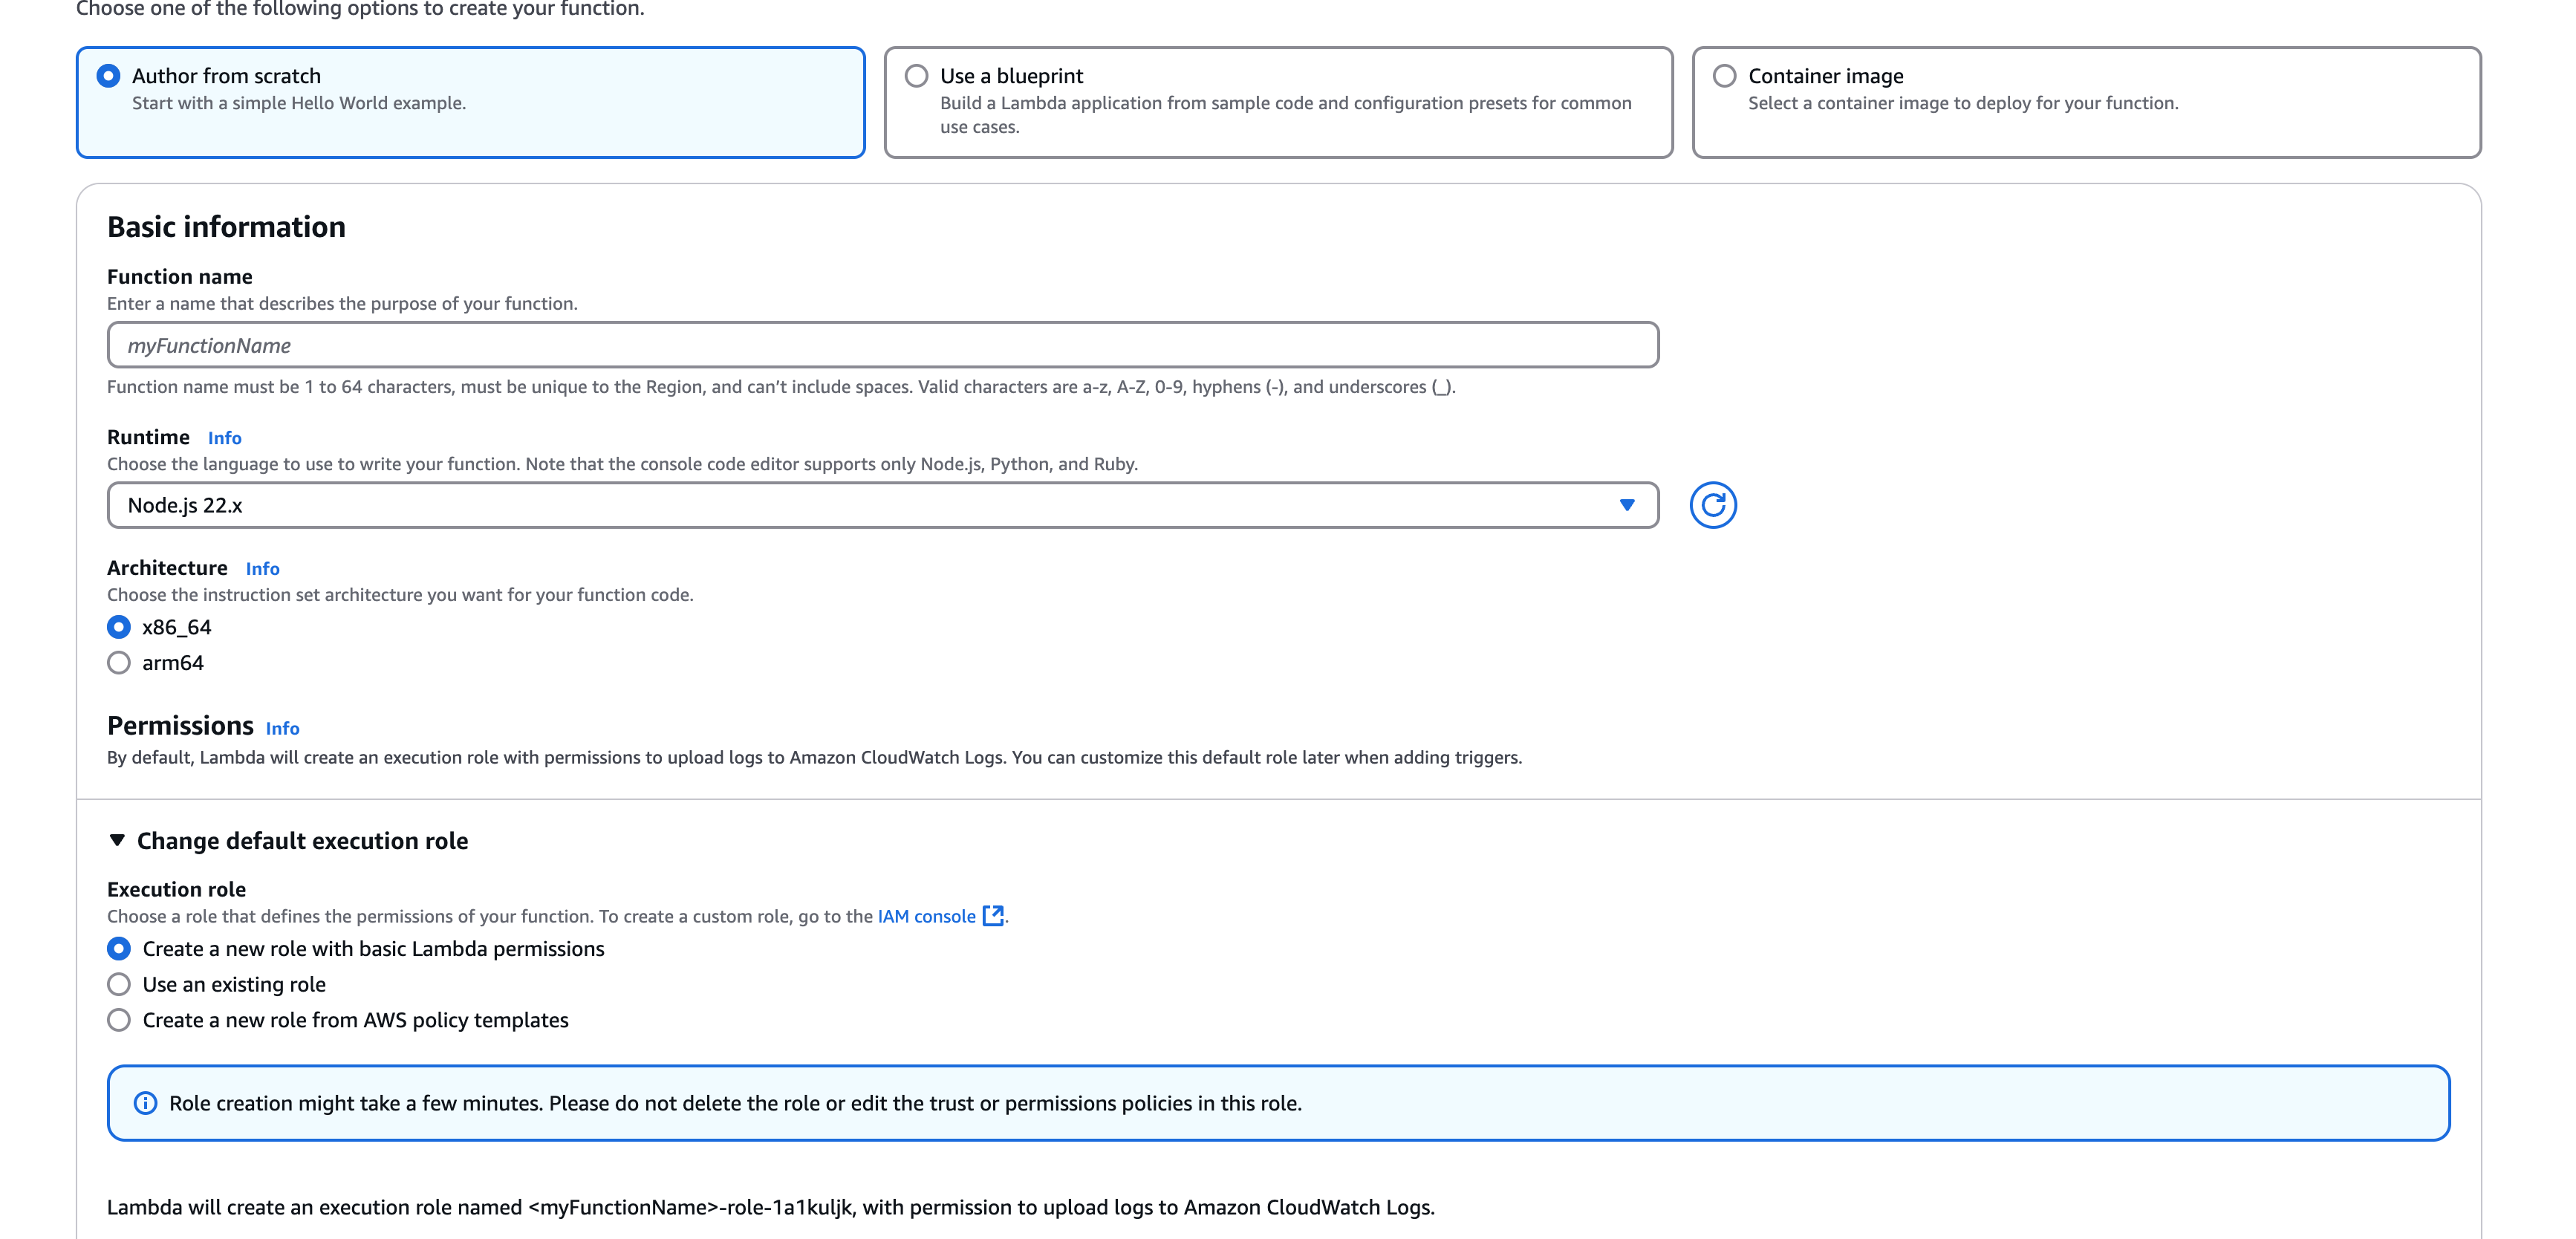
Basic Information
- Click Create Function at the bottom of the page.
Step 2: Add Lambda Proxy Code
Refer to the below console:
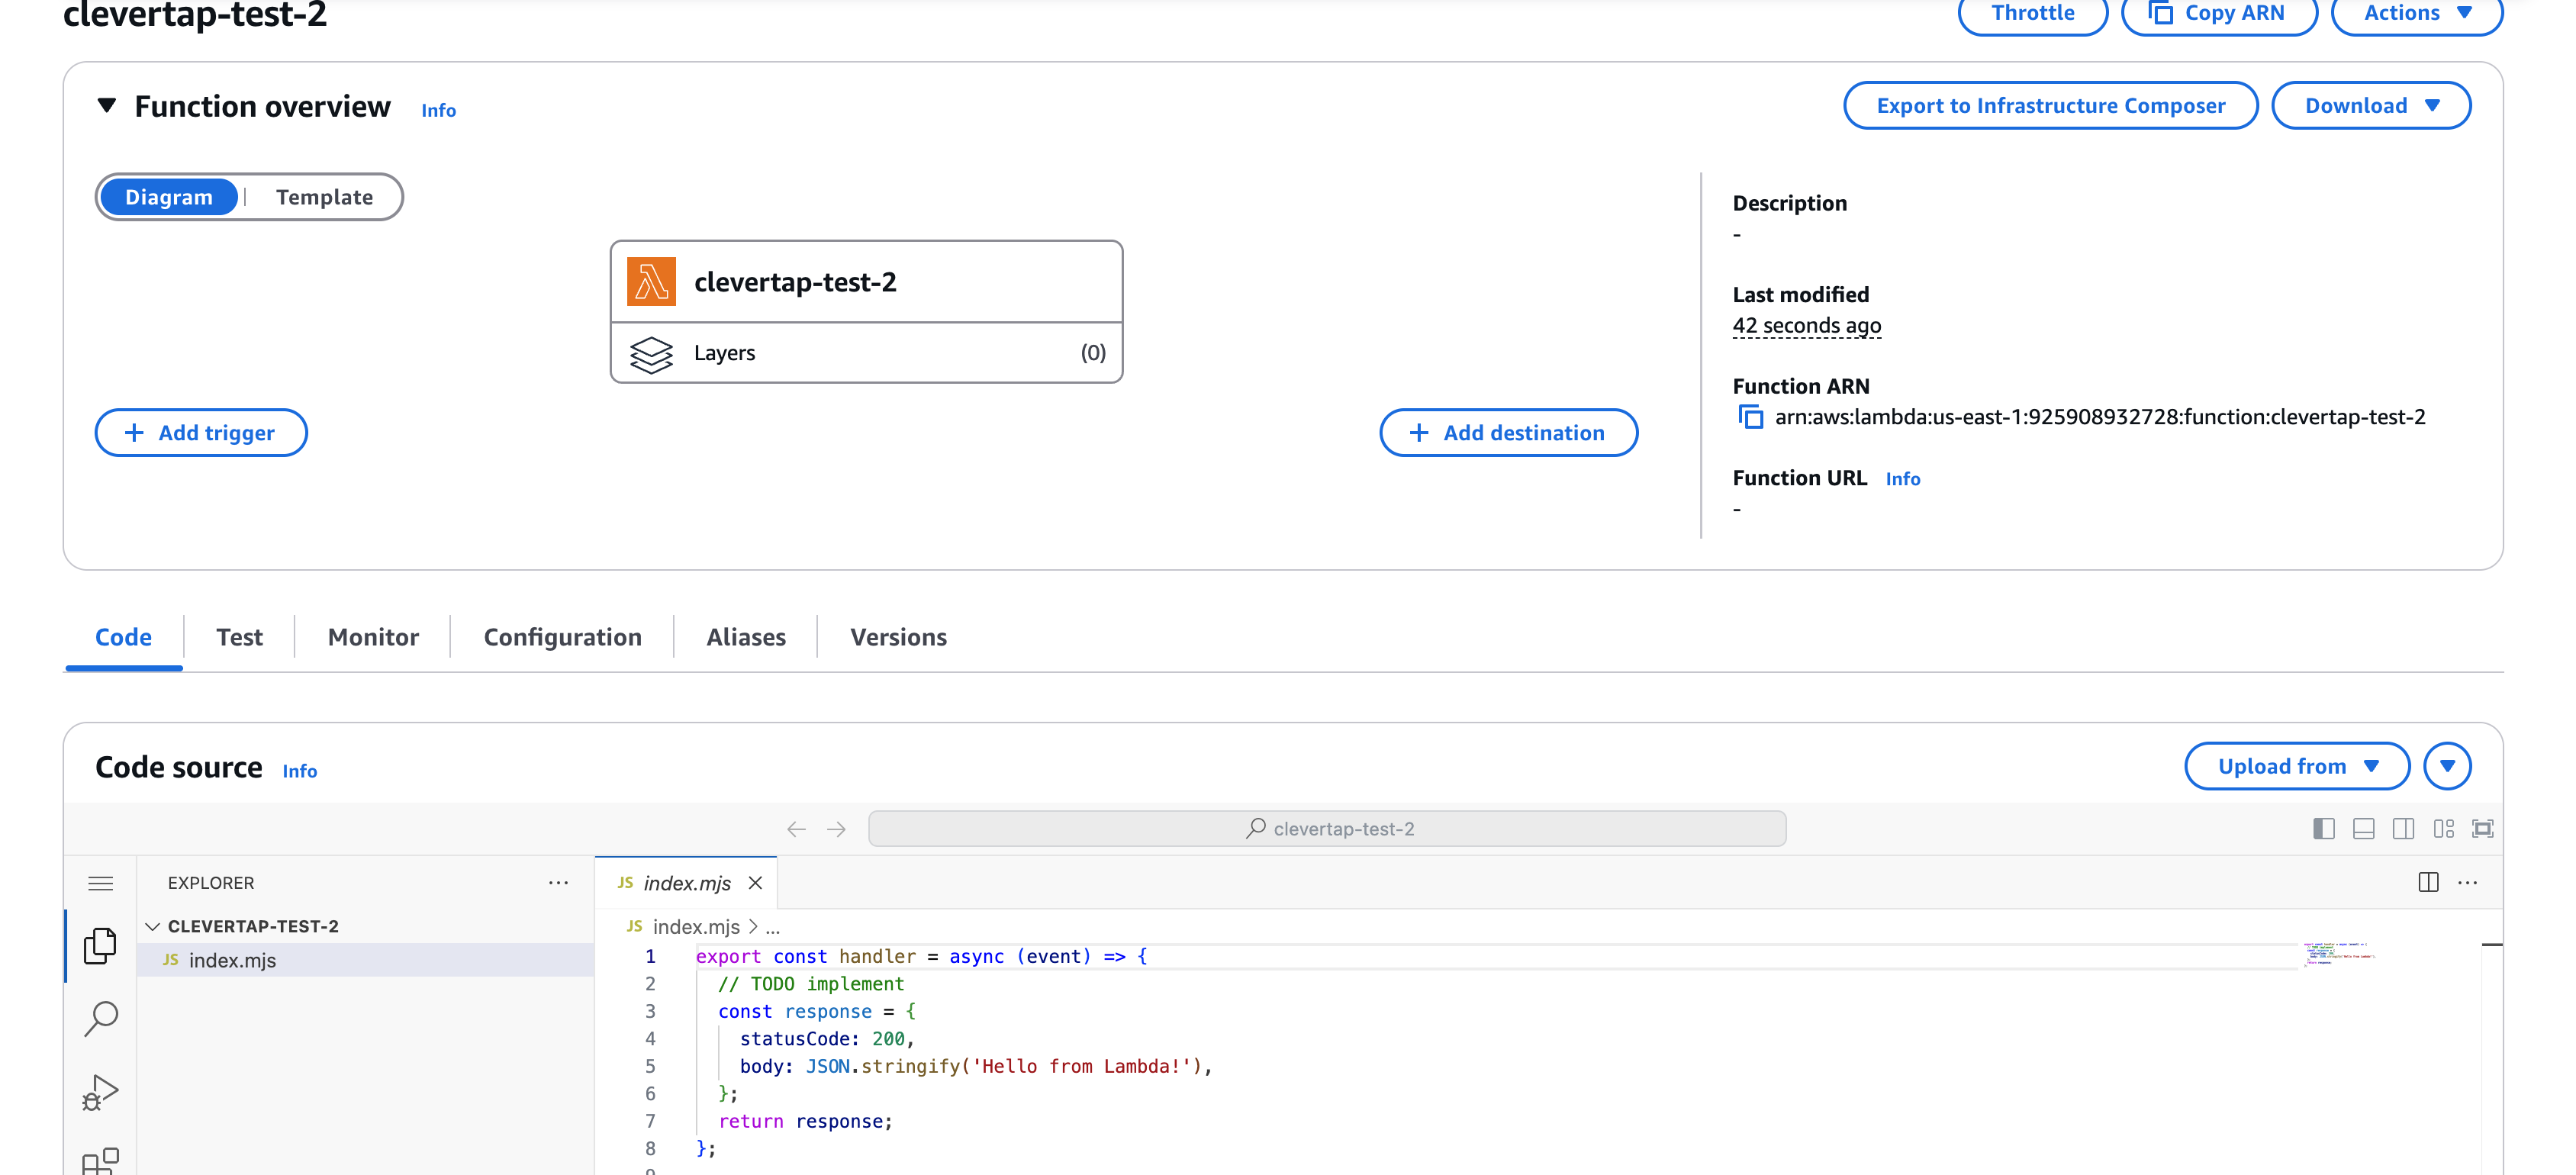
AWS Console
Replace the default code with this proxy implementation:
import https from 'https';
import url from 'url';
import zlib from 'zlib';

export const handler = async (event) => {
    return new Promise((resolve, reject) => {
        try {
            // Log the incoming request for debugging
            console.log('Received event:', JSON.stringify(event, null, 2));

            // Extract query parameters from the event
            const queryParams = event.queryStringParameters || {};

            // Create URL object for the target
            const targetUrl = new url.URL('https://eu1.clevertap-prod.com/a');

            // Add all query parameters to the target URL
            Object.keys(queryParams).forEach(key => {
                targetUrl.searchParams.append(key, queryParams[key]);
            });

            console.log(`Proxying request to: ${targetUrl.toString()}`);

            // Extract headers from the event, excluding host header
            const headers = { ...event.headers };
            if (headers.Host || headers.host) {
                delete headers.Host;
                delete headers.host;
            }

            // Accept compressed responses but handle decompression ourselves
            headers['accept-encoding'] = 'gzip, deflate';

            // Set up the request options
            const requestOptions = {
                method: event.httpMethod || 'GET',
                headers: headers
            };

            // Make the request to the target endpoint
            const req = https.request(targetUrl, requestOptions, (res) => {
                const encoding = res.headers['content-encoding'];
                let responseBody = [];

                // Set up appropriate decompression stream based on content-encoding
                let stream = res;

                // Handle compressed responses
                if (encoding === 'gzip') {
                    stream = res.pipe(zlib.createGunzip());
                } else if (encoding === 'deflate') {
                    stream = res.pipe(zlib.createInflate());
                }

                // Collect response data as Buffer chunks to handle binary data correctly
                stream.on('data', (chunk) => {
                    responseBody.push(chunk);
                });

                // When the response is complete
                stream.on('end', () => {
                    console.log(`Response status: ${res.statusCode}`);

                    // Combine all chunks into a single Buffer and then convert to string
                    const bodyBuffer = Buffer.concat(responseBody);
                    const bodyString = bodyBuffer.toString();

                    // Convert response headers to a plain object
                    const responseHeaders = {};
                    Object.keys(res.headers).forEach(key => {
                        // Skip content-encoding since we've already decompressed
                        if (key.toLowerCase() !== 'content-encoding') {
                            responseHeaders[key] = res.headers[key];
                        }
                    });

                    // Ensure content type is set correctly for JSONP
                    if (bodyString.trim().startsWith('(') ||
                        bodyString.includes('callback(') ||
                        bodyString.includes('jsonp(')) {
                        responseHeaders['content-type'] = 'application/javascript';
                    }

                    // Return the response from the target to the caller
                    resolve({
                        statusCode: res.statusCode,
                        headers: responseHeaders,
                        body: bodyString,
                        isBase64Encoded: false
                    });
                });

                // Handle stream errors
                stream.on('error', (error) => {
                    console.error('Error processing response stream:', error);
                    handleError(error);
                });
            });

            // Handle request errors
            req.on('error', (error) => {
                console.error('Error making request:', error);
                handleError(error);
            });

            // Helper function for handling errors
            function handleError(error) {
                // Check if the original request was expecting JSONP
                const callback = queryParams.callback || 'callback';

                if (callback) {
                    // Return error as JSONP
                    resolve({
                        statusCode: 500,
                        headers: {
                            'content-type': 'application/javascript'
                        },
                        body: `${callback}({"error": "Internal Server Error", "message": "${error.message}"});`,
                        isBase64Encoded: false
                    });
                } else {
                    // Return error as regular JSON
                    resolve({
                        statusCode: 500,
                        headers: {
                            'content-type': 'application/json'
                        },
                        body: JSON.stringify({
                            message: 'Internal Server Error',
                            error: error.message
                        }),
                        isBase64Encoded: false
                    });
                }
            }

            // Send the request body if it exists
            if (event.body) {
                req.write(event.body);
            }

            // End the request
            req.end();

        } catch (error) {
            console.error('Error in proxy lambda:', error);

            // Check if the original request was expecting JSONP
            const callback = event.queryStringParameters?.callback || 'callback';

            if (callback) {
                // Return error as JSONP
                resolve({
                    statusCode: 500,
                    headers: {
                        'content-type': 'application/javascript'
                    },
                    body: `${callback}({"error": "Internal Server Error", "message": "${error.message}"});`,
                    isBase64Encoded: false
                });
            } else {
                // Return error as regular JSON
                resolve({
                    statusCode: 500,
                    headers: {
                        'content-type': 'application/json'
                    },
                    body: JSON.stringify({
                        message: 'Internal Server Error',
                        error: error.message
                    }),
                    isBase64Encoded: false
                });
            }
        }
    });
};
NoteUpdate the region in the above script on line 15 in
targetUrl, as it is currently hardcoded to https://eu1.clevertap-prod.com/a.
Step 3: Create API Gateway
- Navigate to API Gateway Console.
- Click Create API.

API Gateway Console
- Select REST API and click Build.

Rest API
- Set API name (for example,
clevertap-proxy-api), and choose Regional endpoint type. - Click Create API.
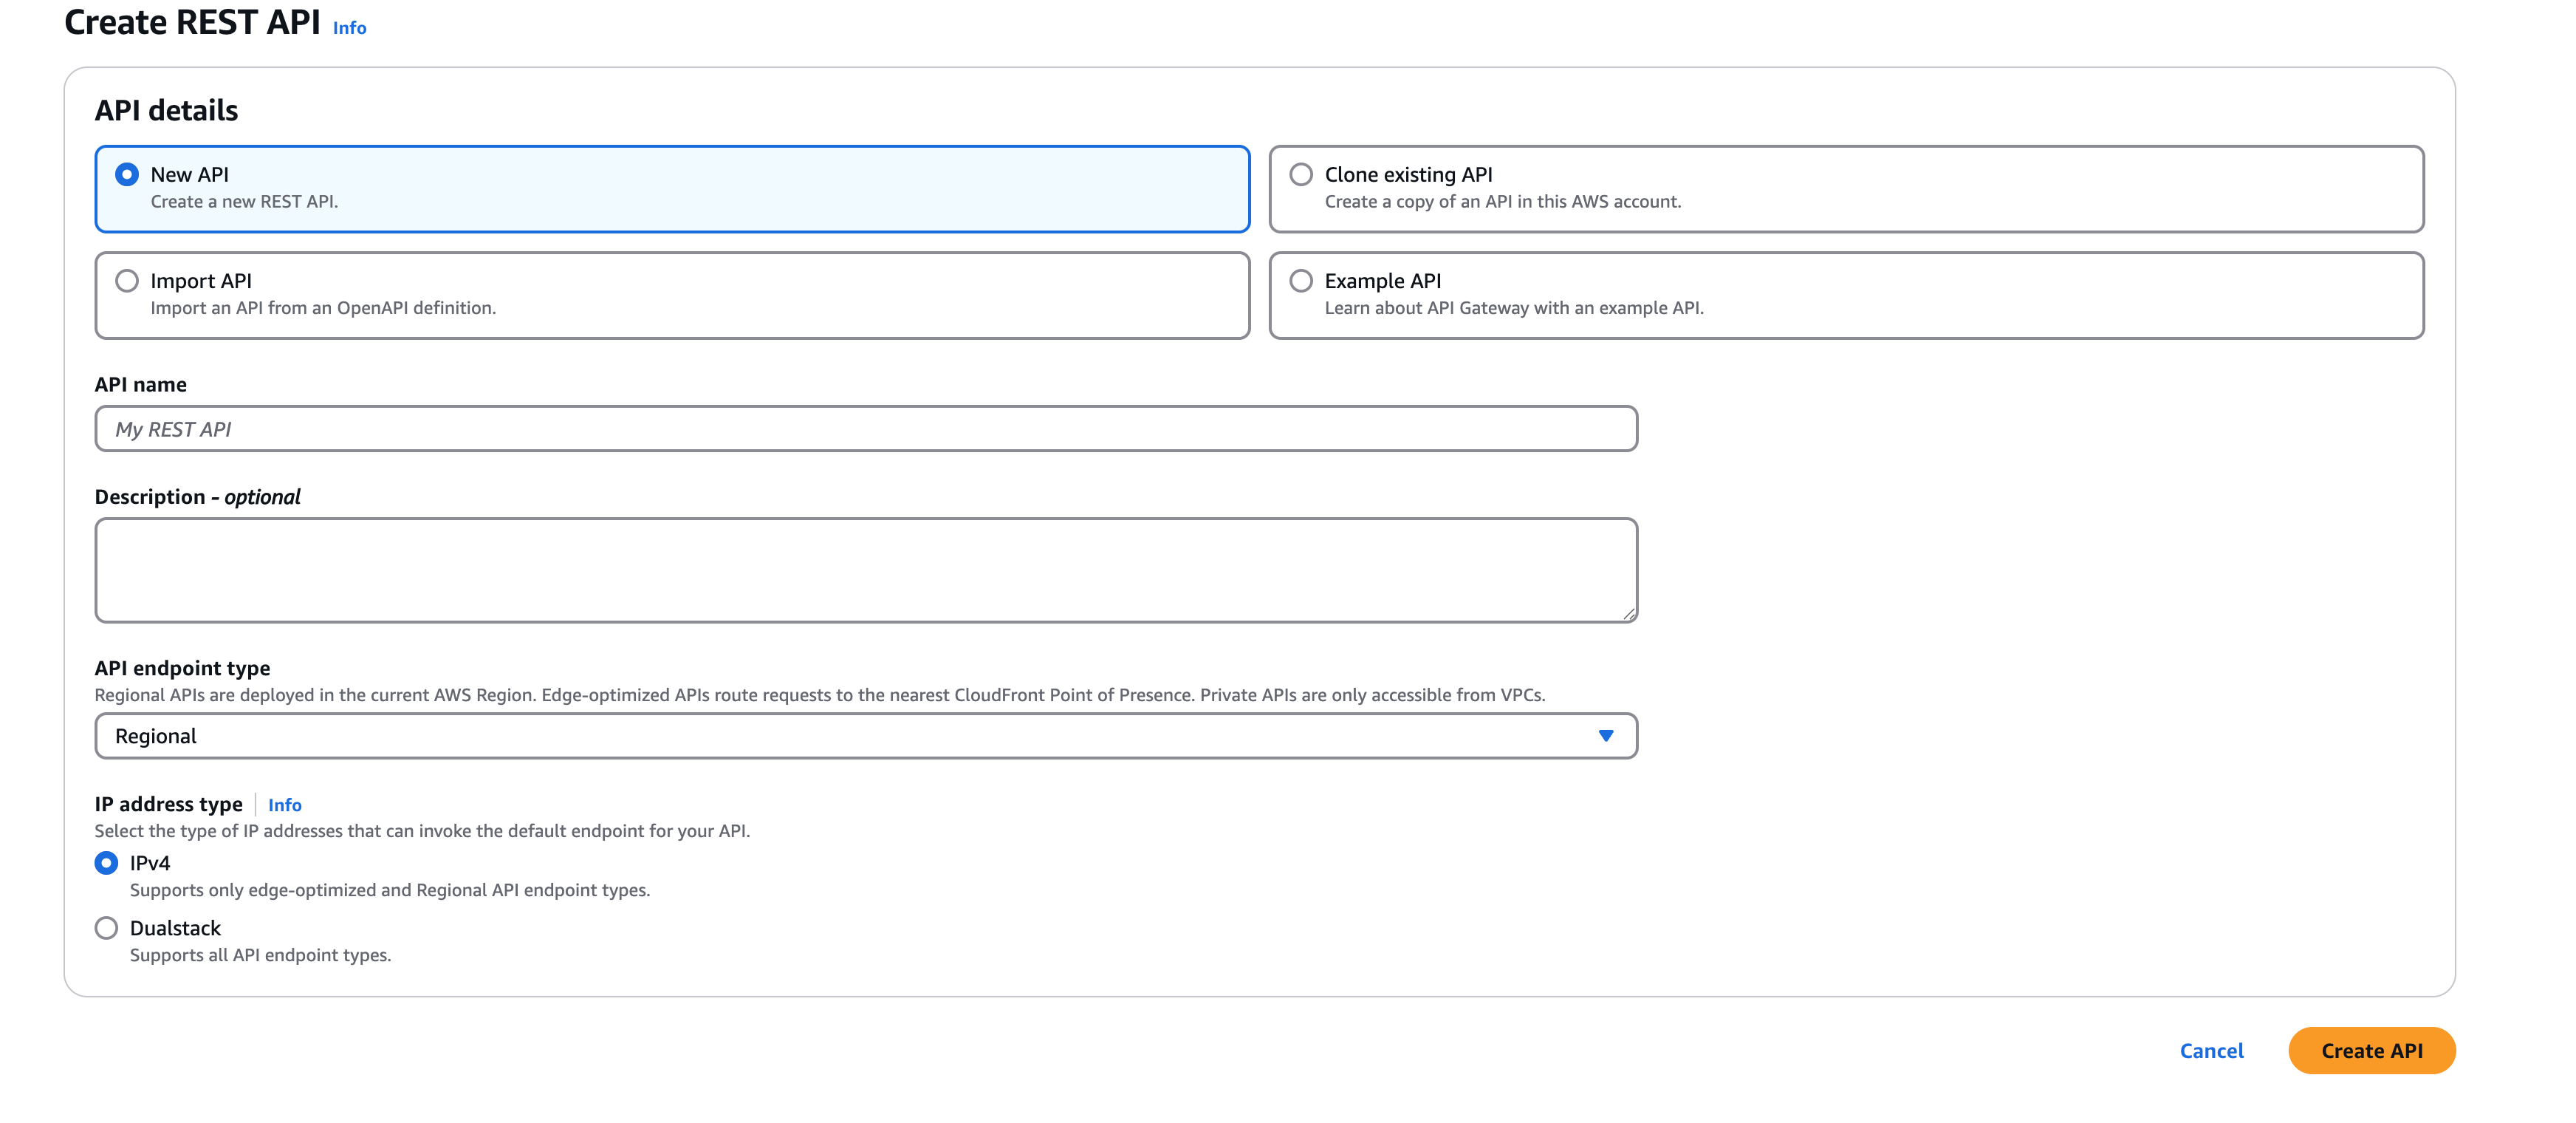
Create REST API
Step 4: Create API Proxy Resource
- Click Actions → Create Resource in the left sidebar.
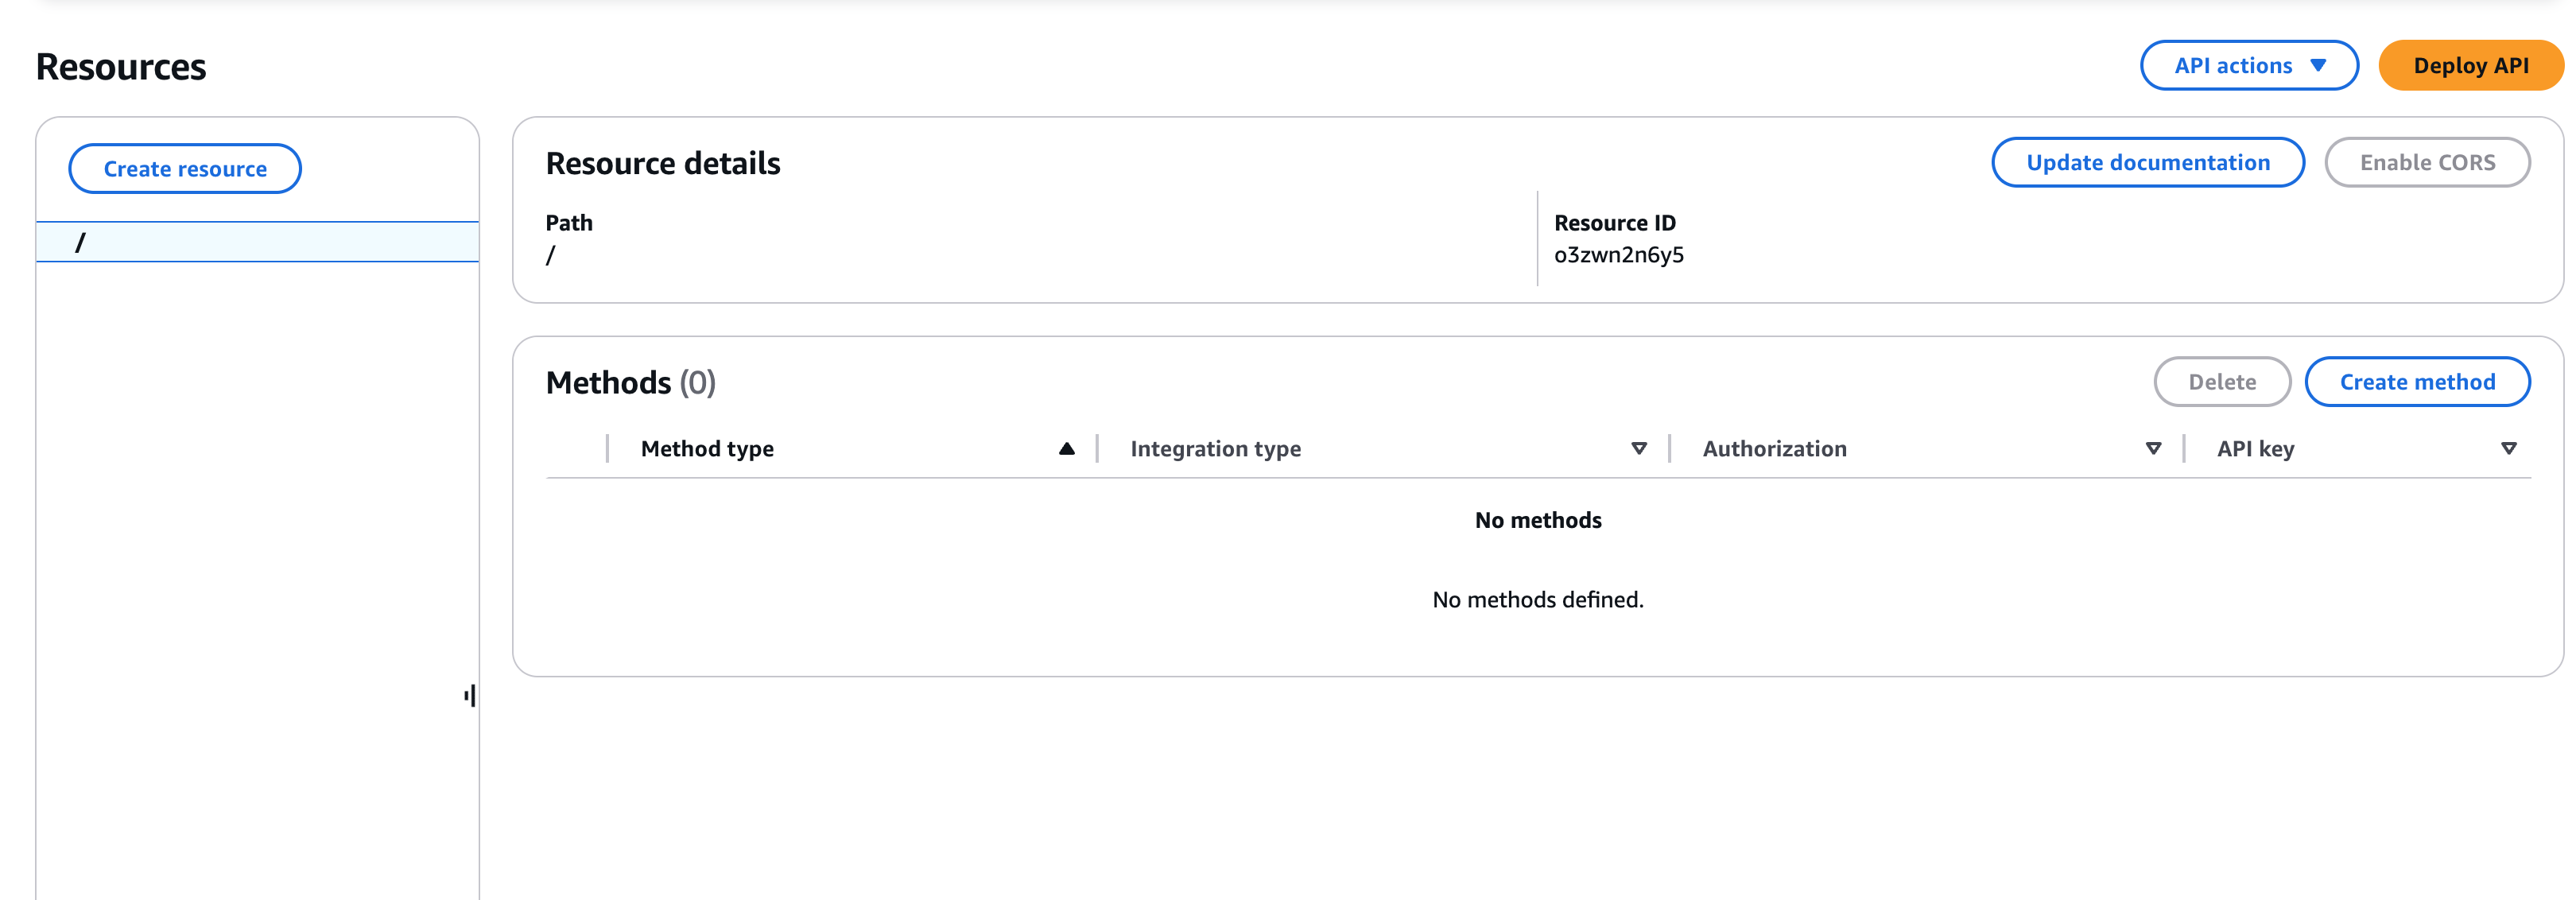
API Resource
-
Enable Configure as proxy resource.
-
Enter:
- Resource Name:
proxy - Resource Path:
{proxy+}
- Resource Name:
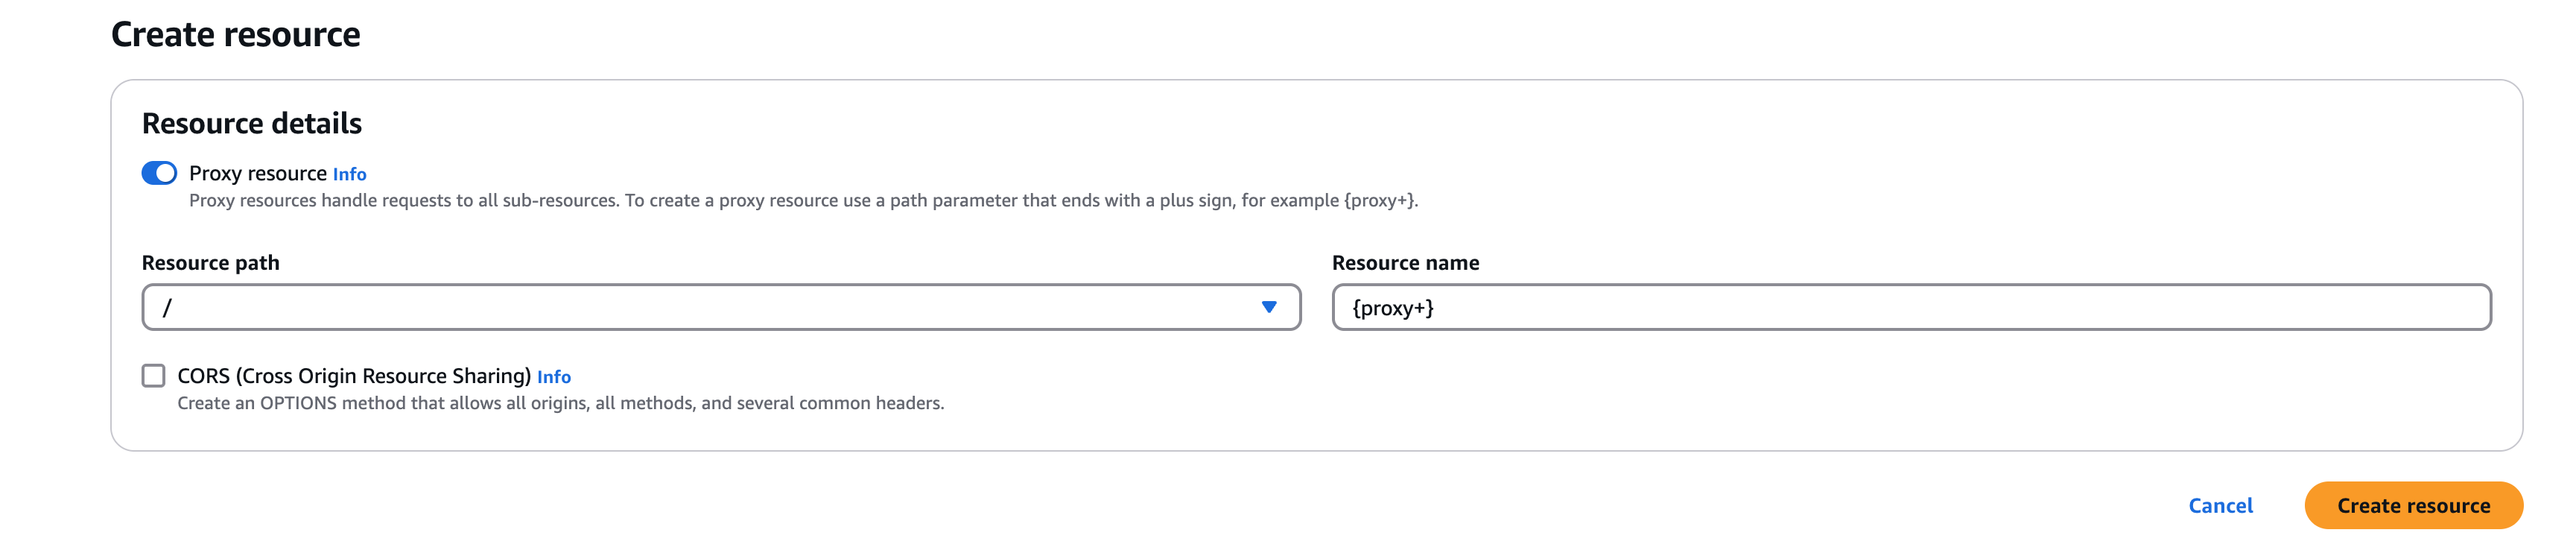
Create Resource
- Click Create Resource.
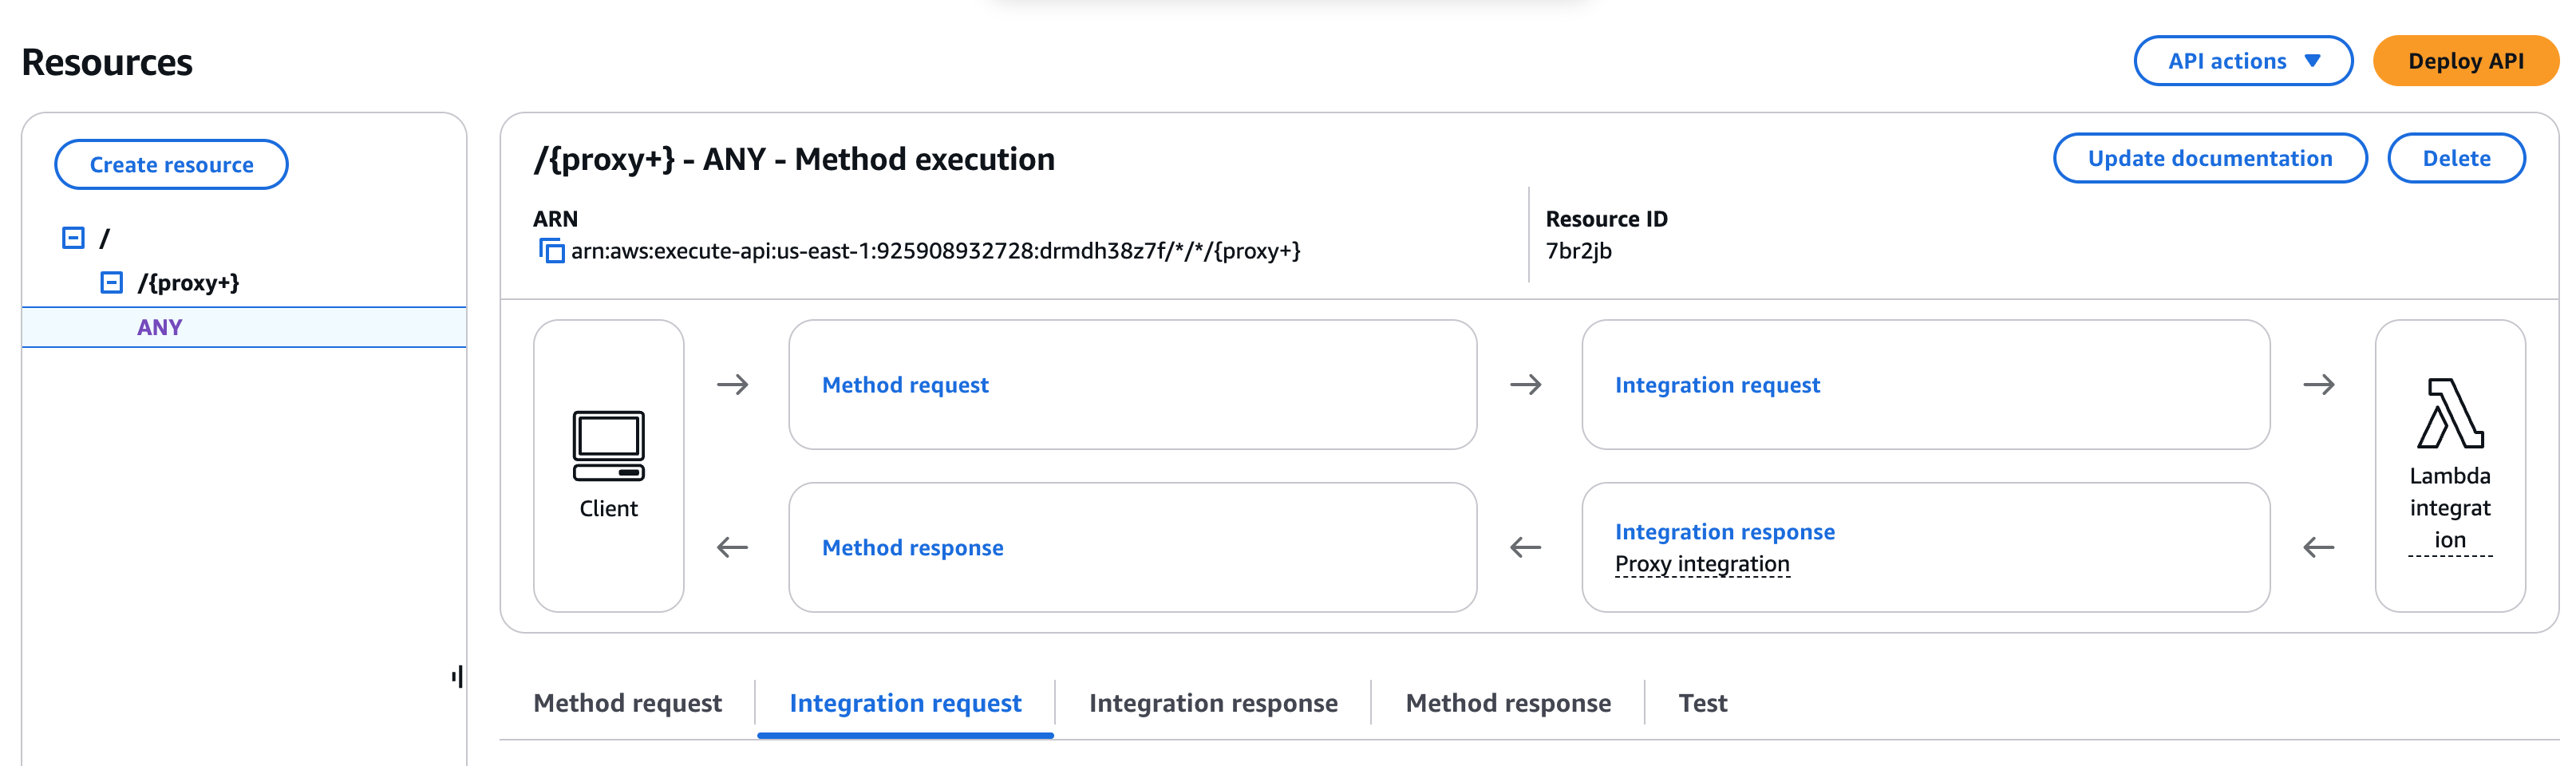
Step 5: Set up Lambda Integration
- Select the
ANYmethod that was created, and click Integration Request.
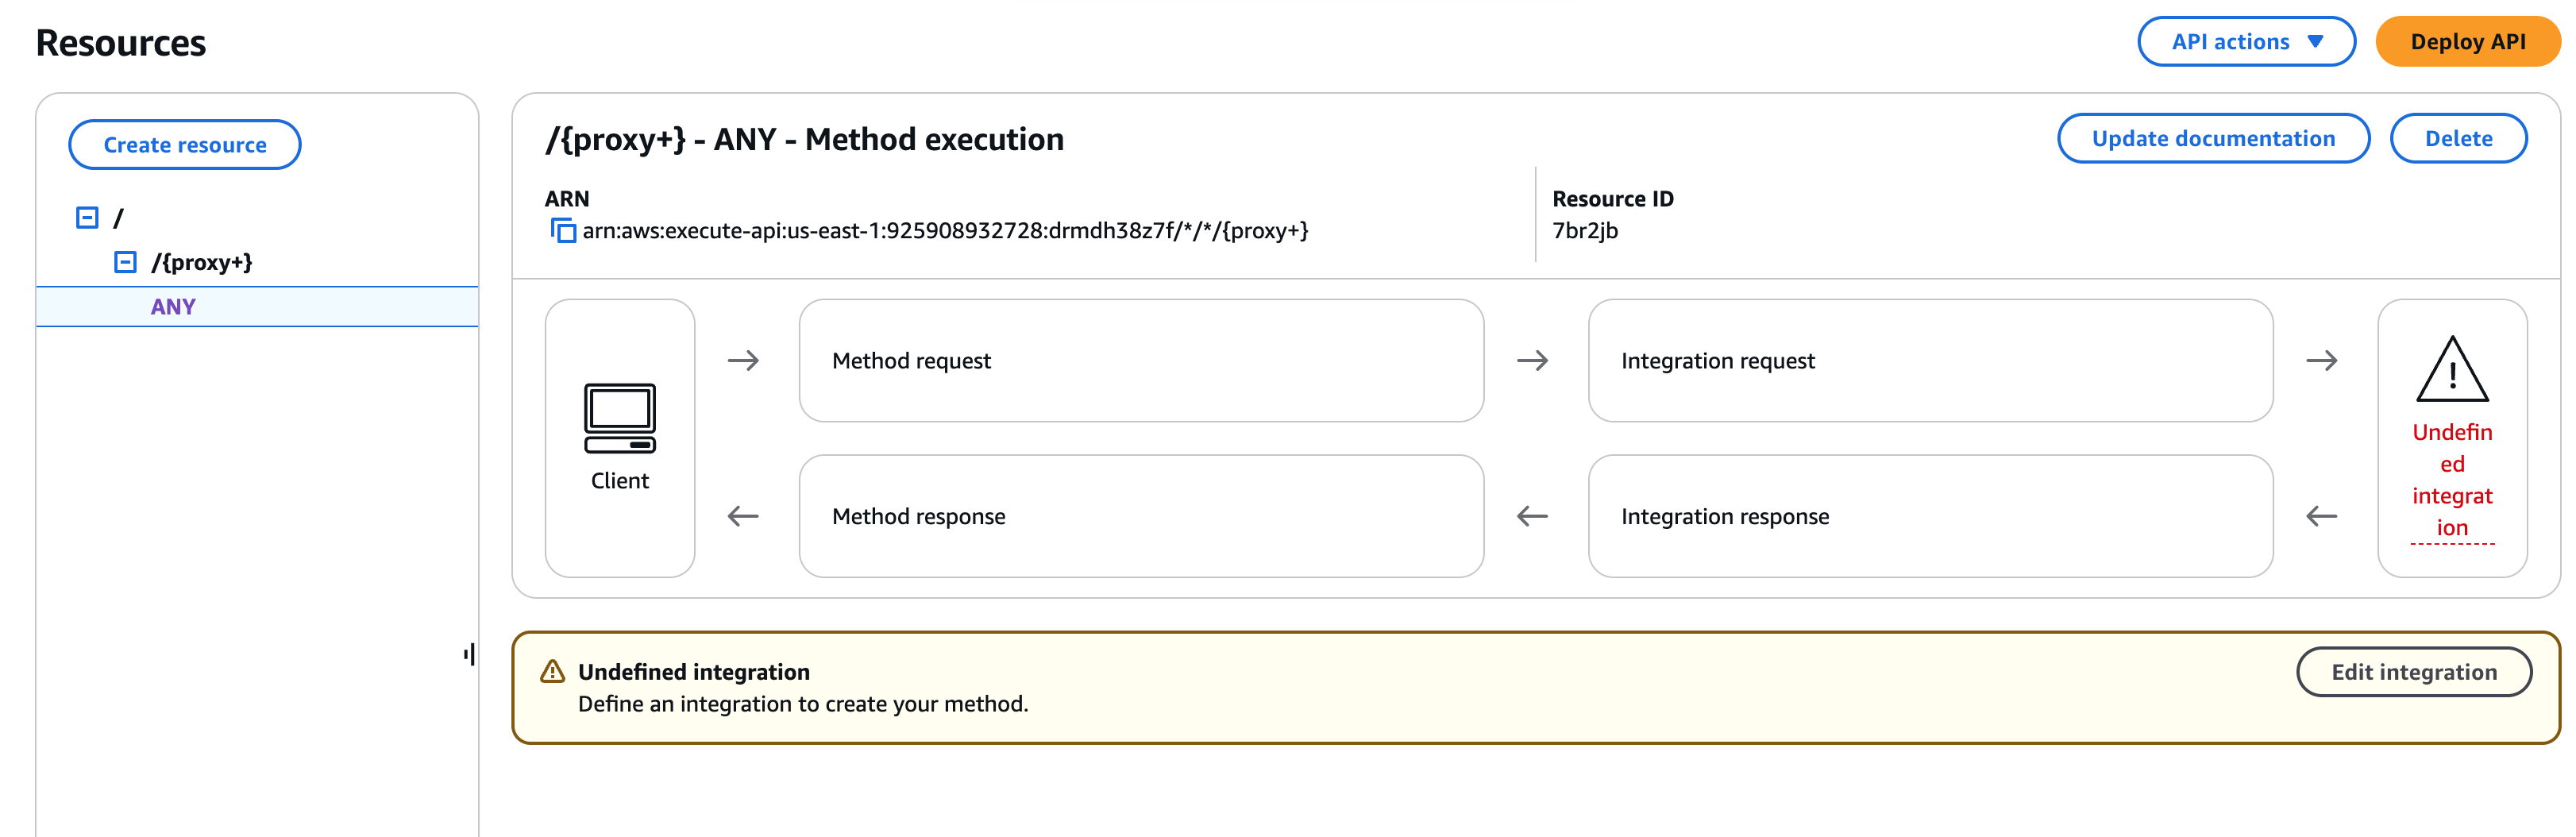
Lambda Integration
- Choose Lambda Function and check Use Lambda Proxy Integration.
- Enter your Lambda function name in the Lambda Function field.
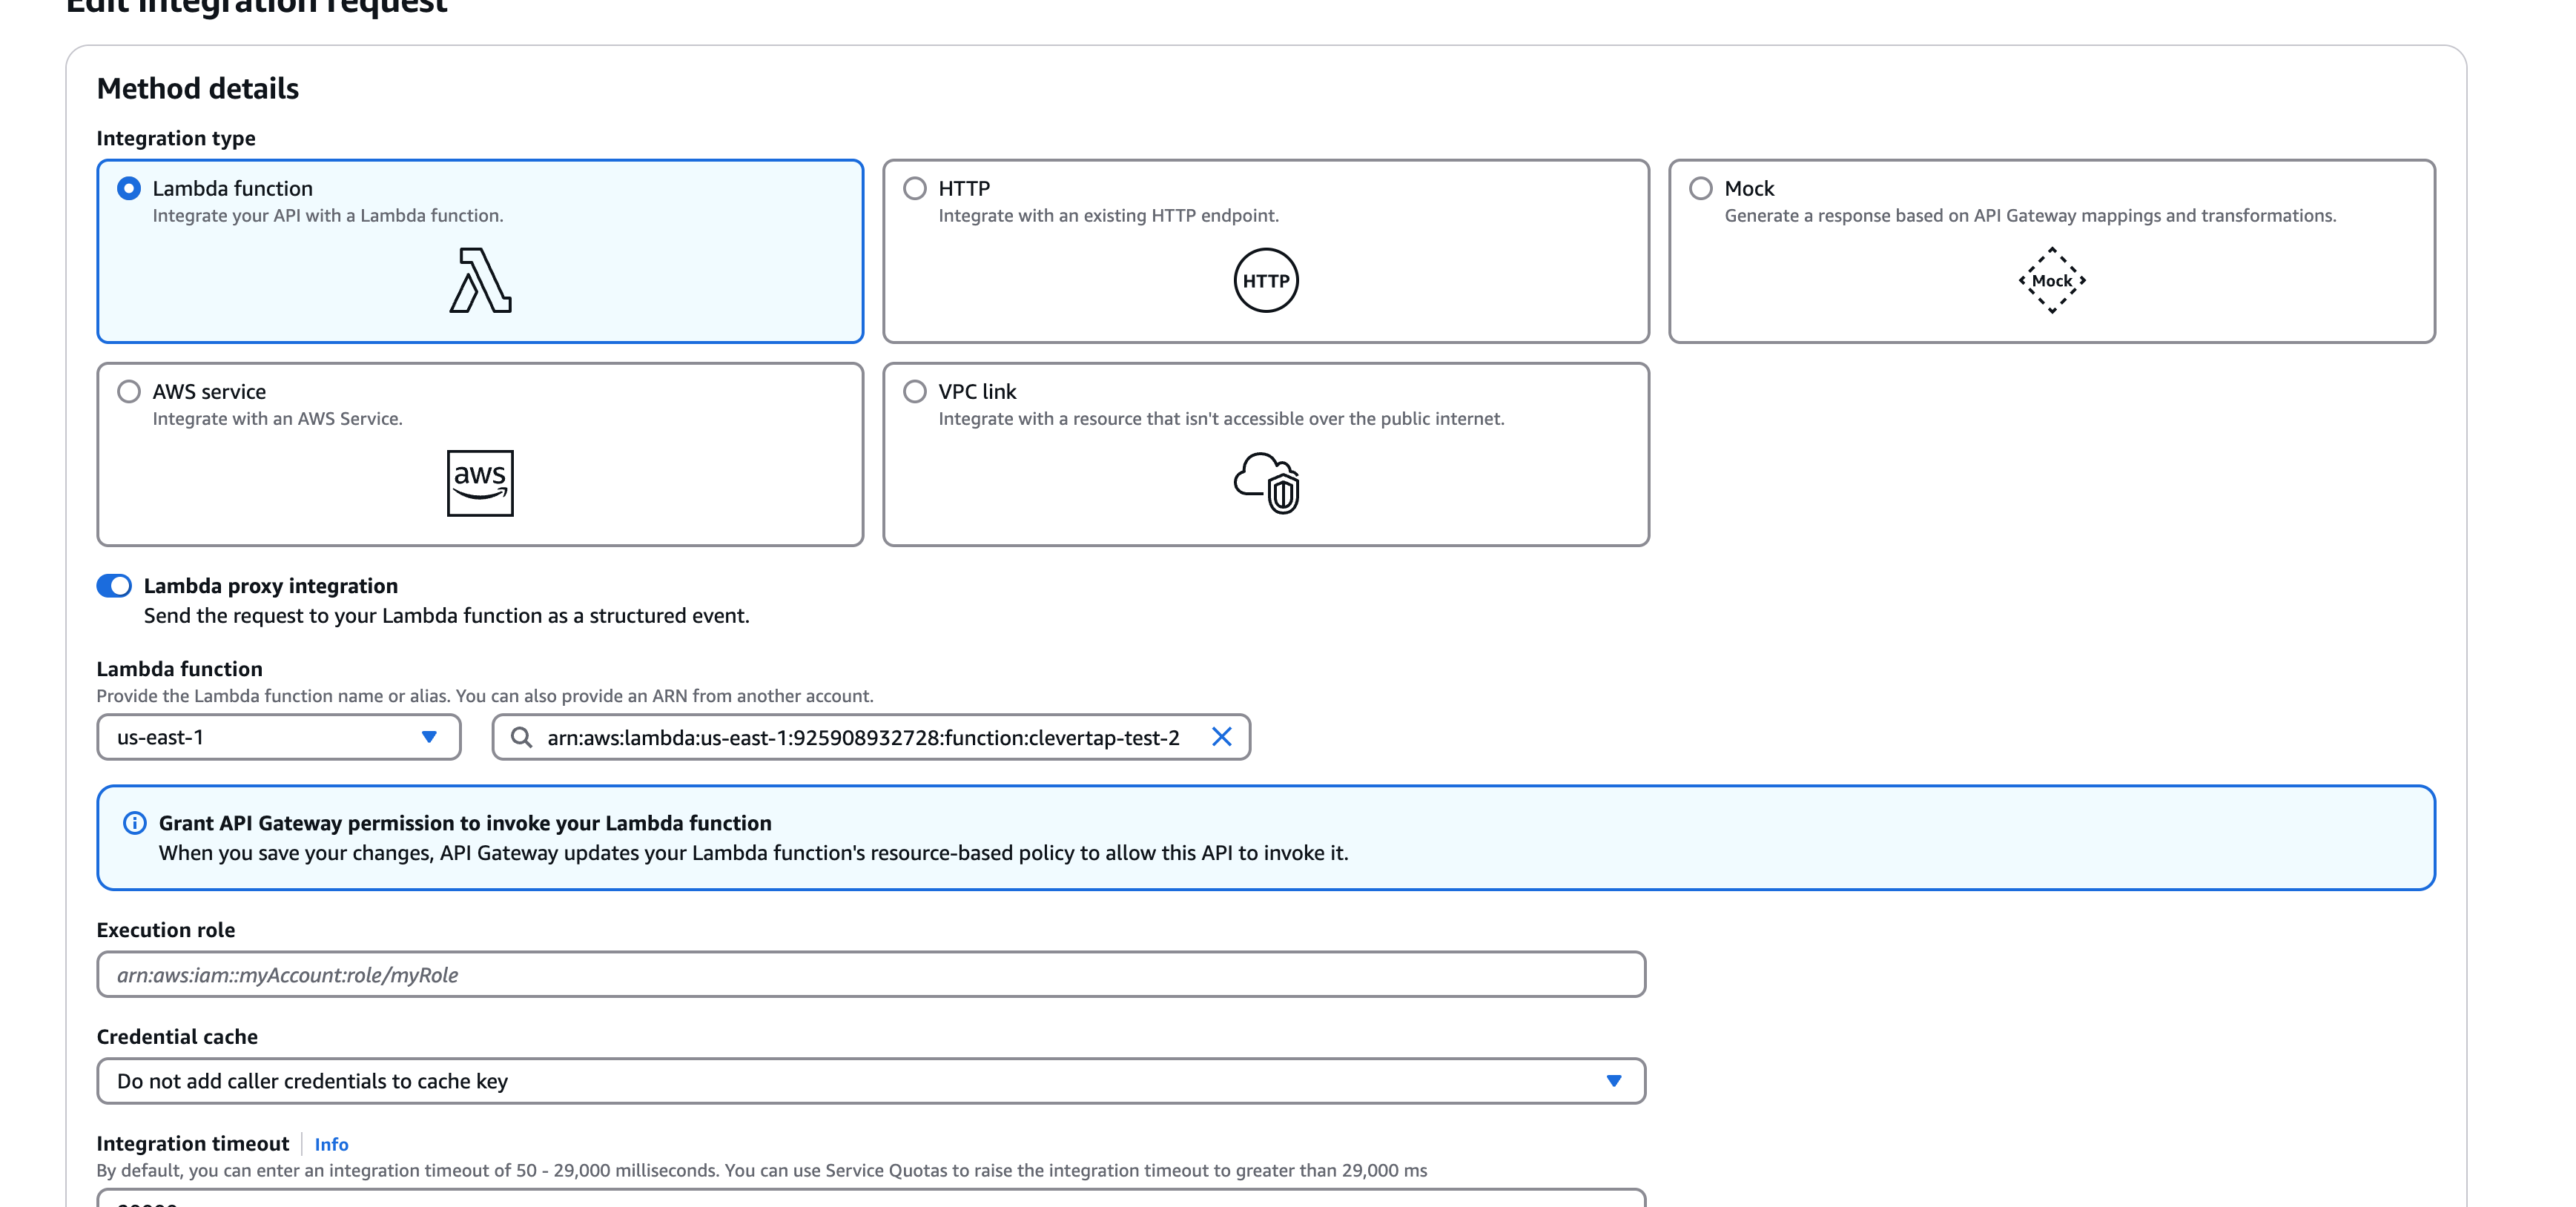
Lambda Proxy Integration
- Click Save, and accept permission prompts if required.
Step 6: Deploy the API
- Click Actions → Deploy API at the top right.
- Create a stage (for example,
prod) and click Deploy.
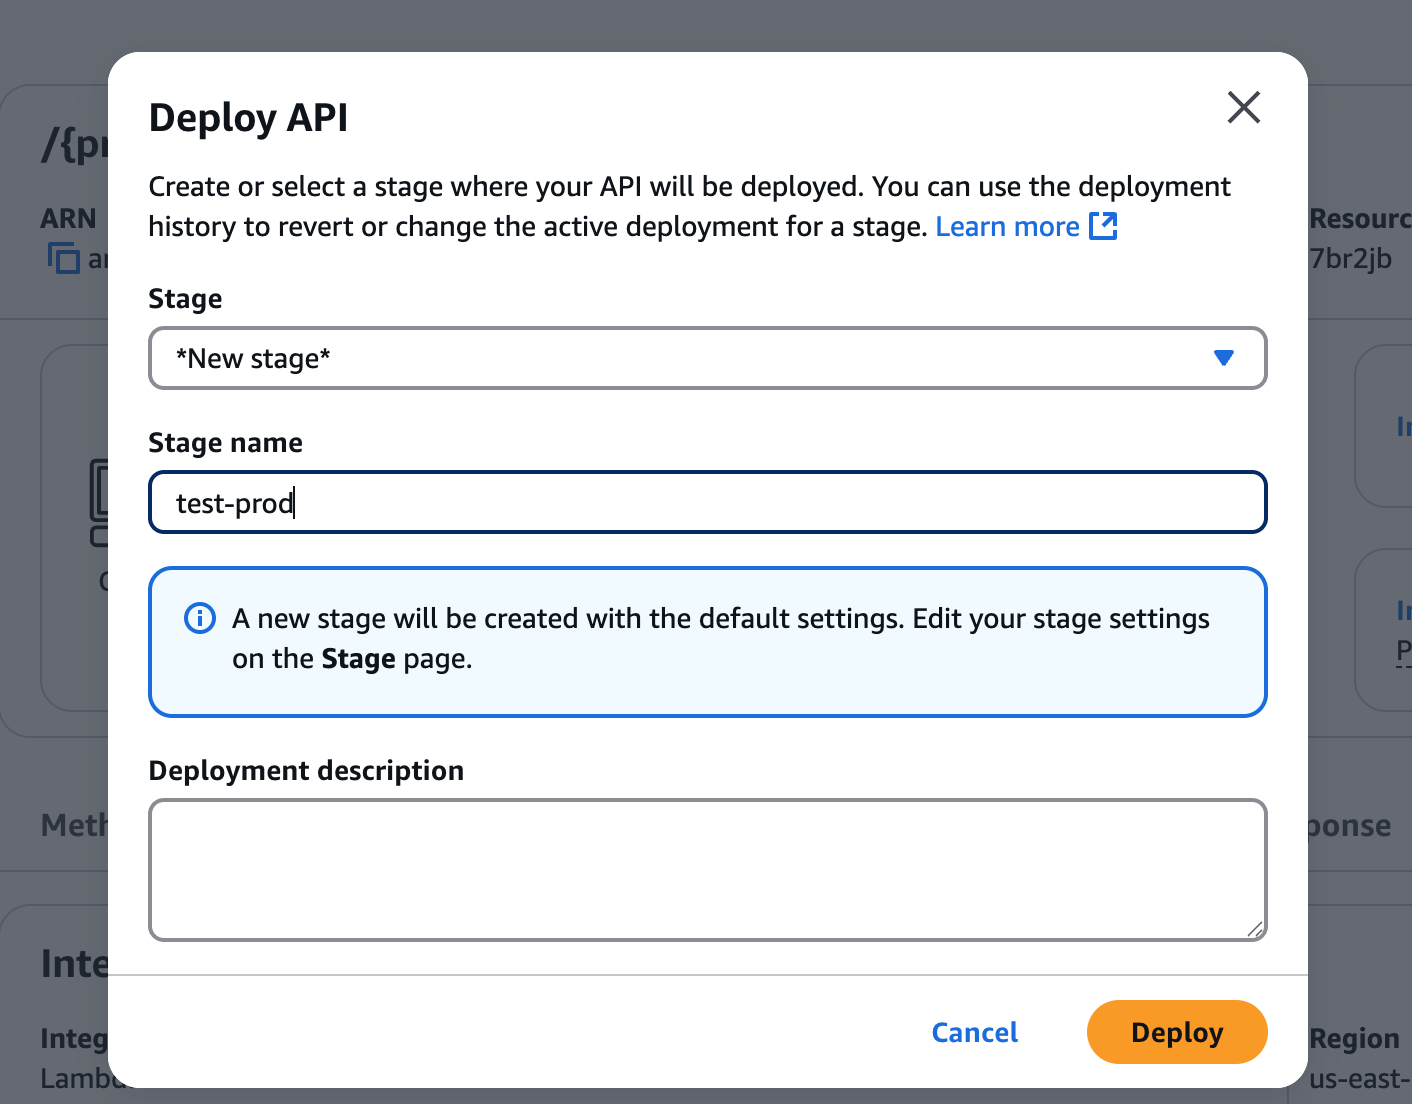
Deploy API
- Note the displayed Invoke URL as it is required for the custom domain setup.

Invoke URL
Step 7: Set up Custom Domain in API Gateway
- In API Gateway, go to Custom Domain Names.
- Click Add domain name.

Custom Domain Names
- Set:
- Domain Name:
eu1.yourdomain.com - Endpoint Type: Regional (use your own region)
- SSL Certificate: Use an existing ACM certificate or create one via AWS Certificate Manager
- Domain Name:
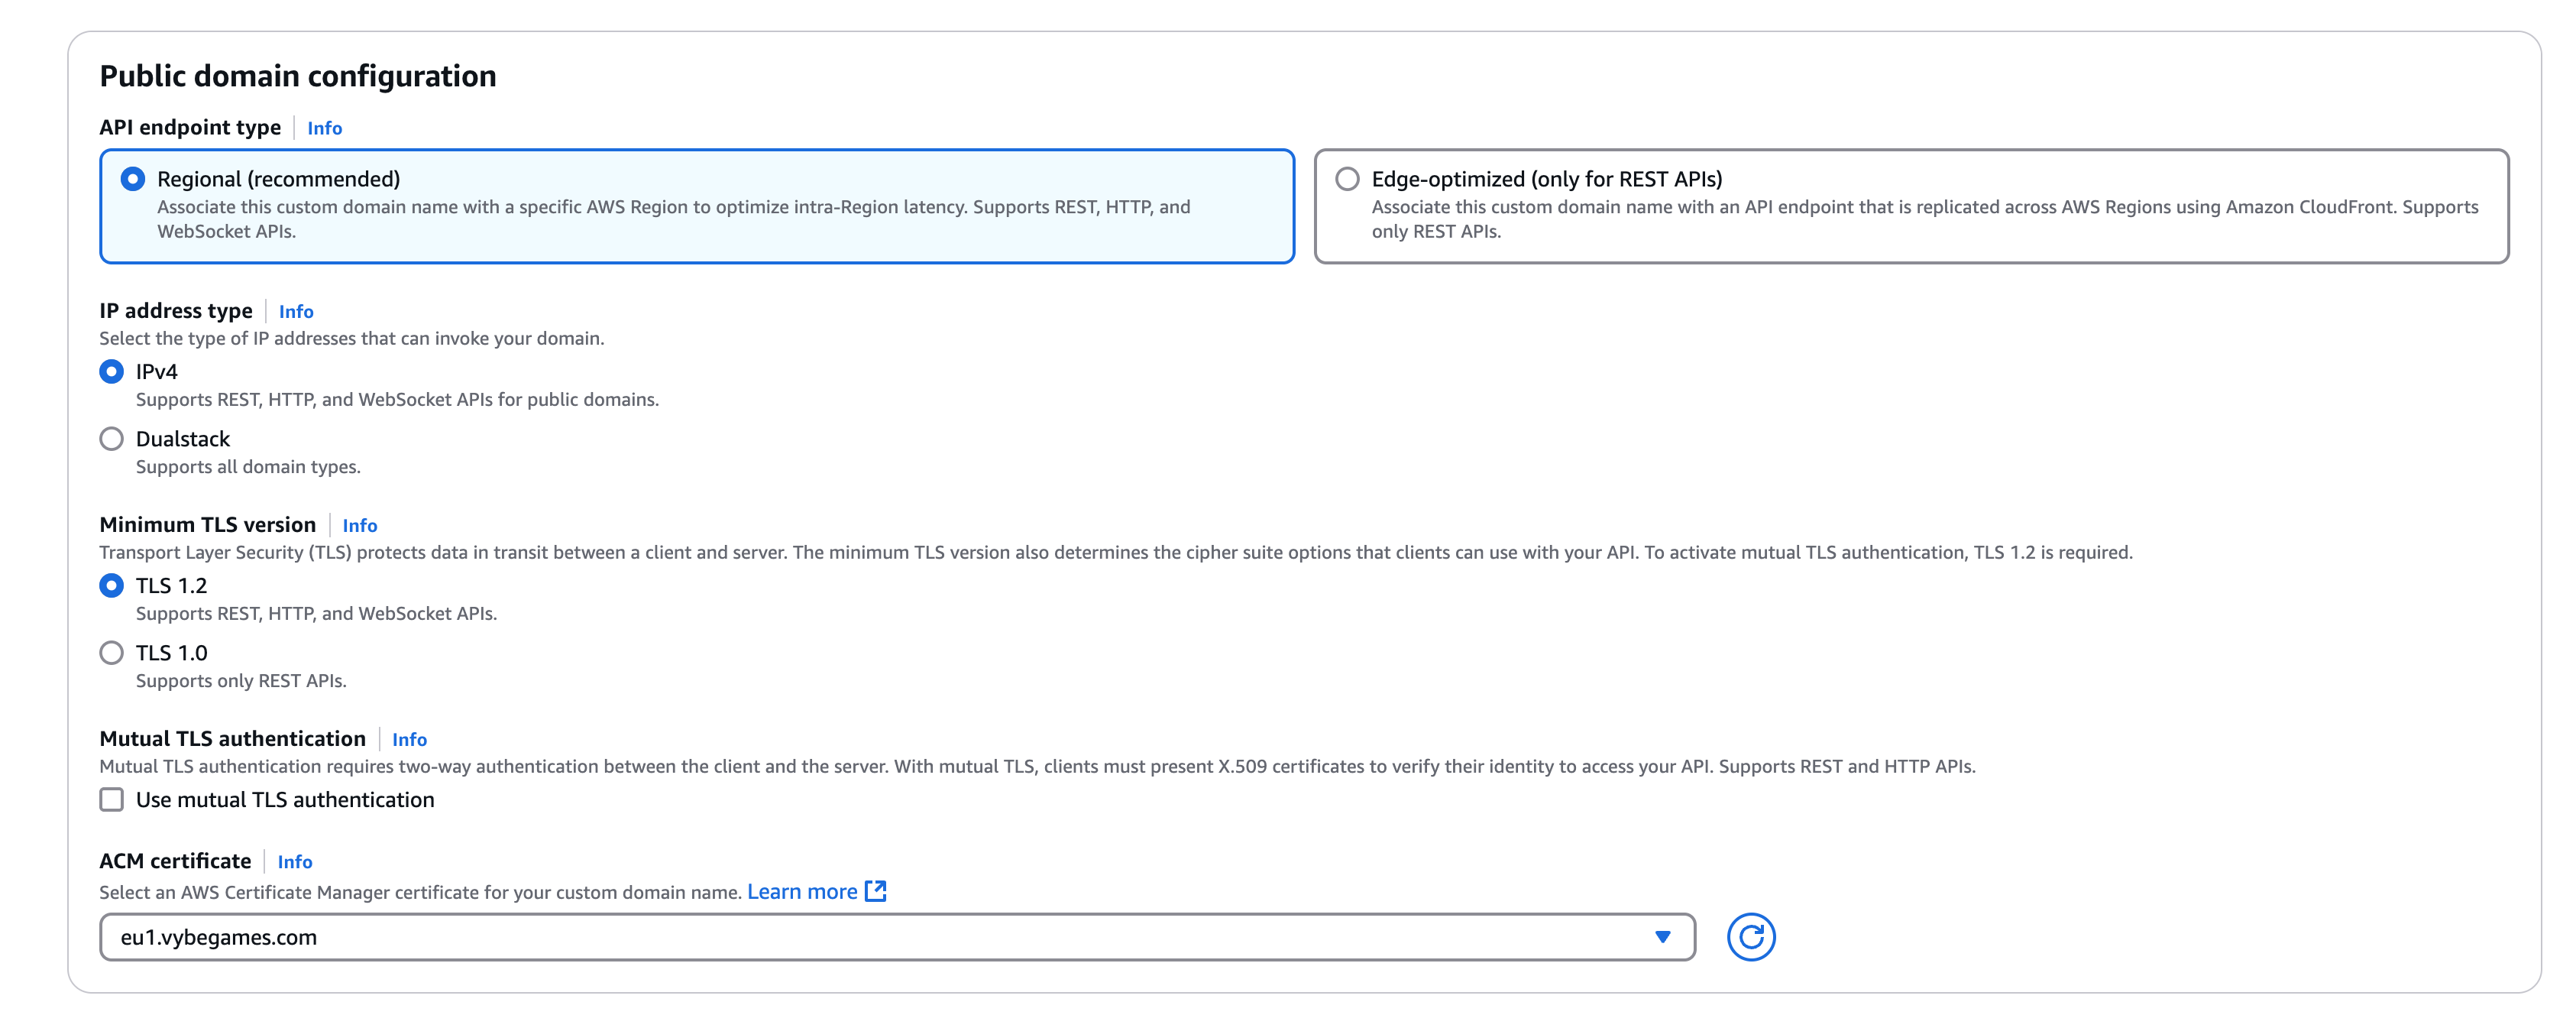
Public Domain Configuration
- Click Create. Then, under Custom domain names, navigate to API Mapping and click Add mapping.
- Choose your API and stage. Click Save.
- Note the generated API Gateway domain (it will look like
xyz123.execute-api.region.amazonaws.com).
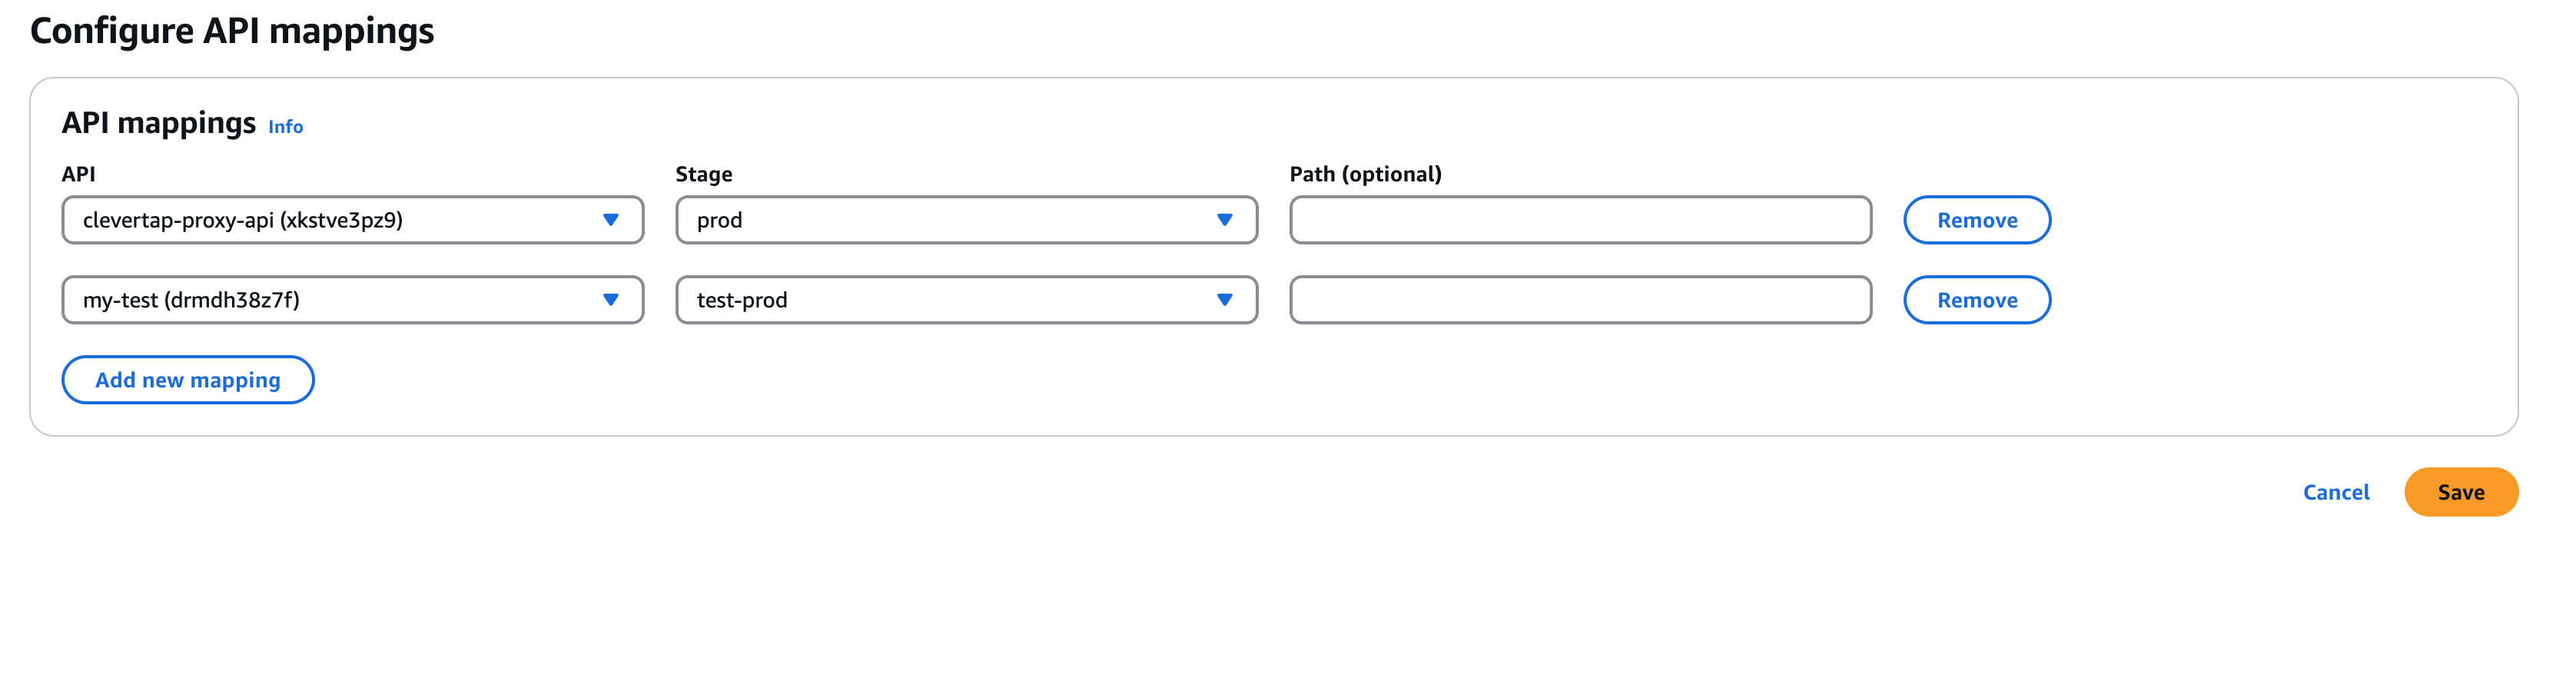
API Mapping
Step 8: Update DNS Record
- Go to DNS settings in your DNS provider's website (such as Cloudflare, Hostinger, Godaddy).
- Add a CNAME record:
- Name:
eu1(region you put above) - Target: The API Gateway domain name (e.g.,
abc123.execute-api.us-east-1.amazonaws.com) - If using cloudflare, click the gray cloud icon to bypass Cloudflare proxy.
- Name:
- Save the record.
Cloudflare Workers Setup
To setup Cloudflare Workers:
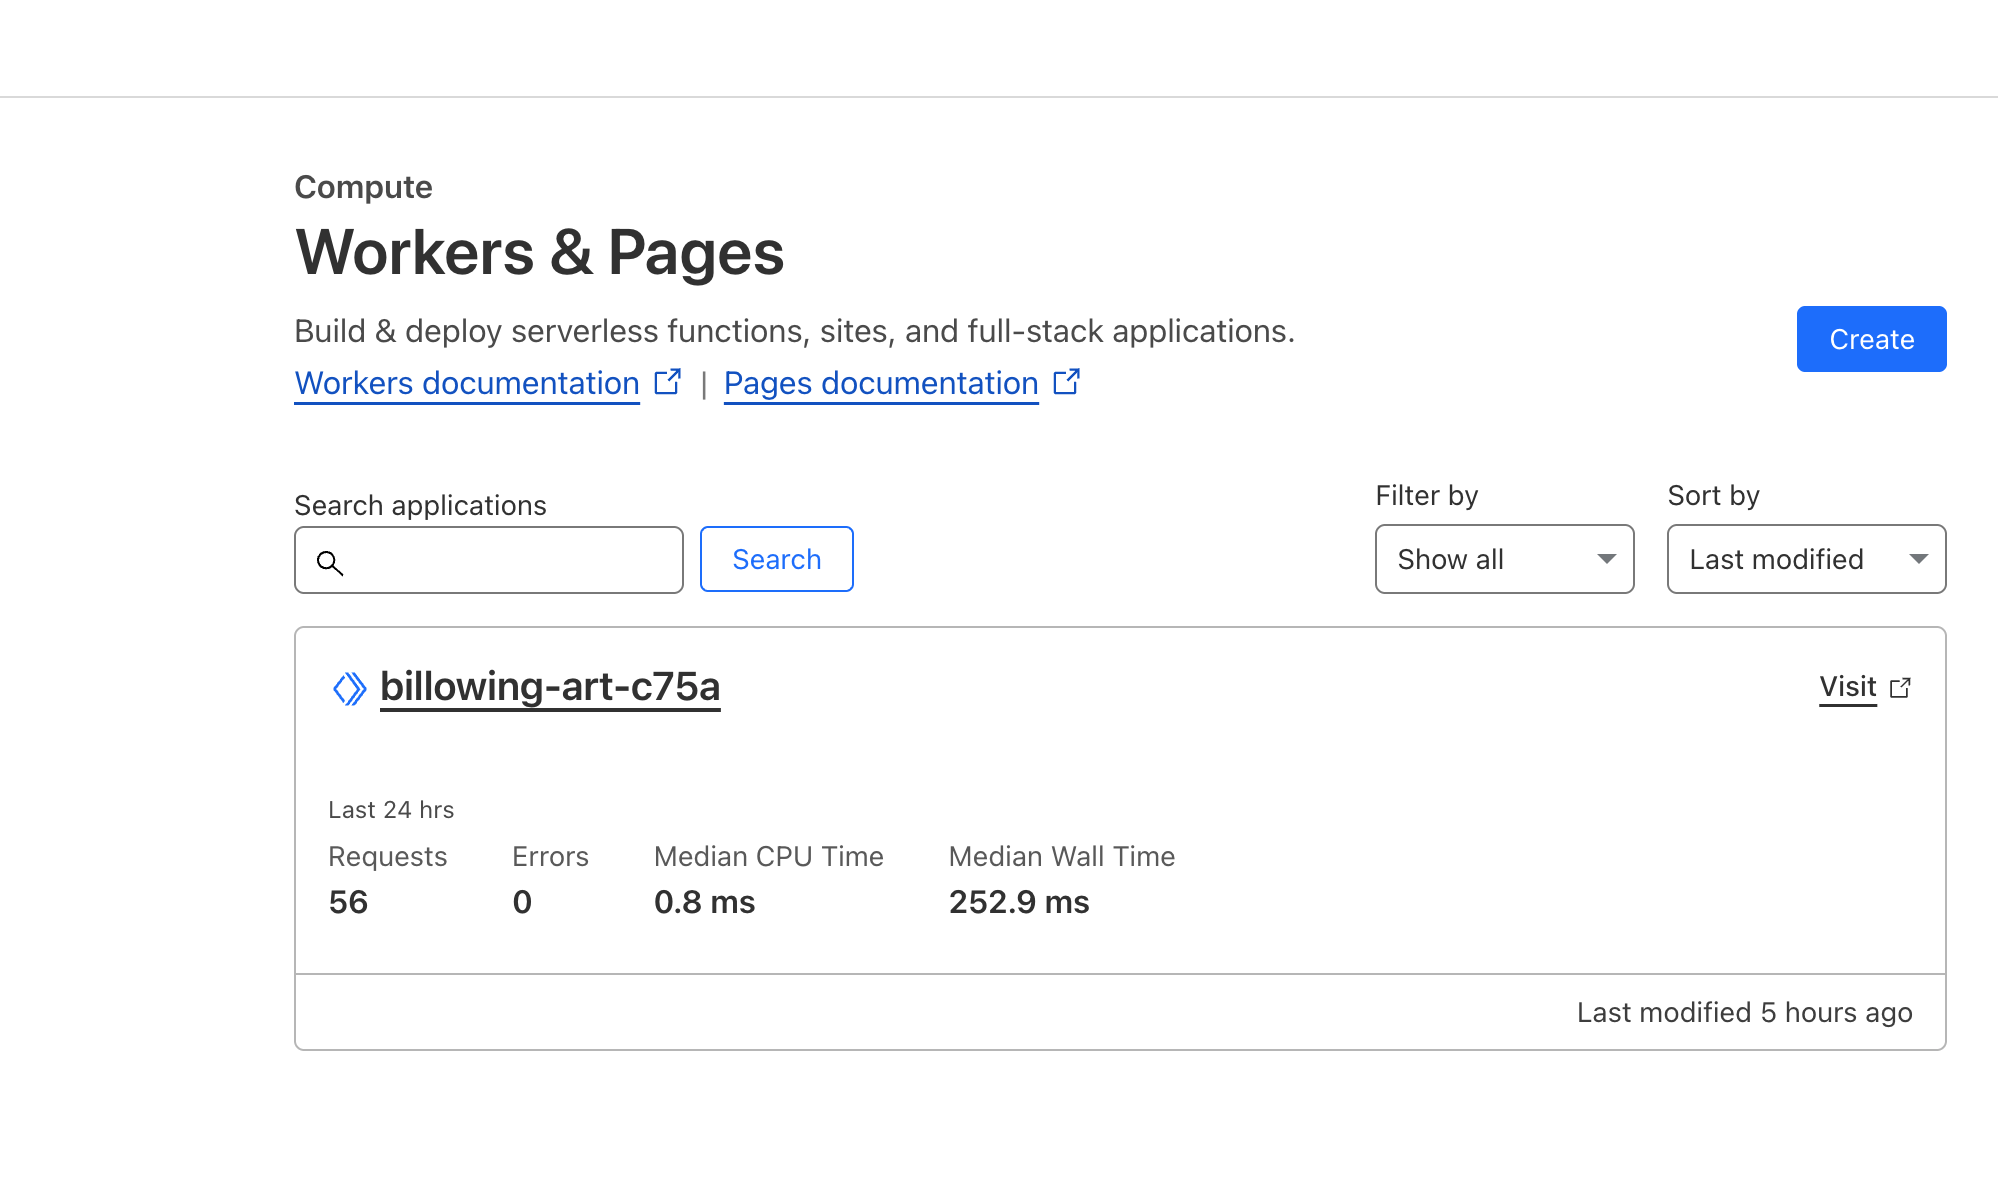
- Navigate to Cloudflare Workers & Pages.
- Click Create.
Workers and Pages
- Then click Hello World.
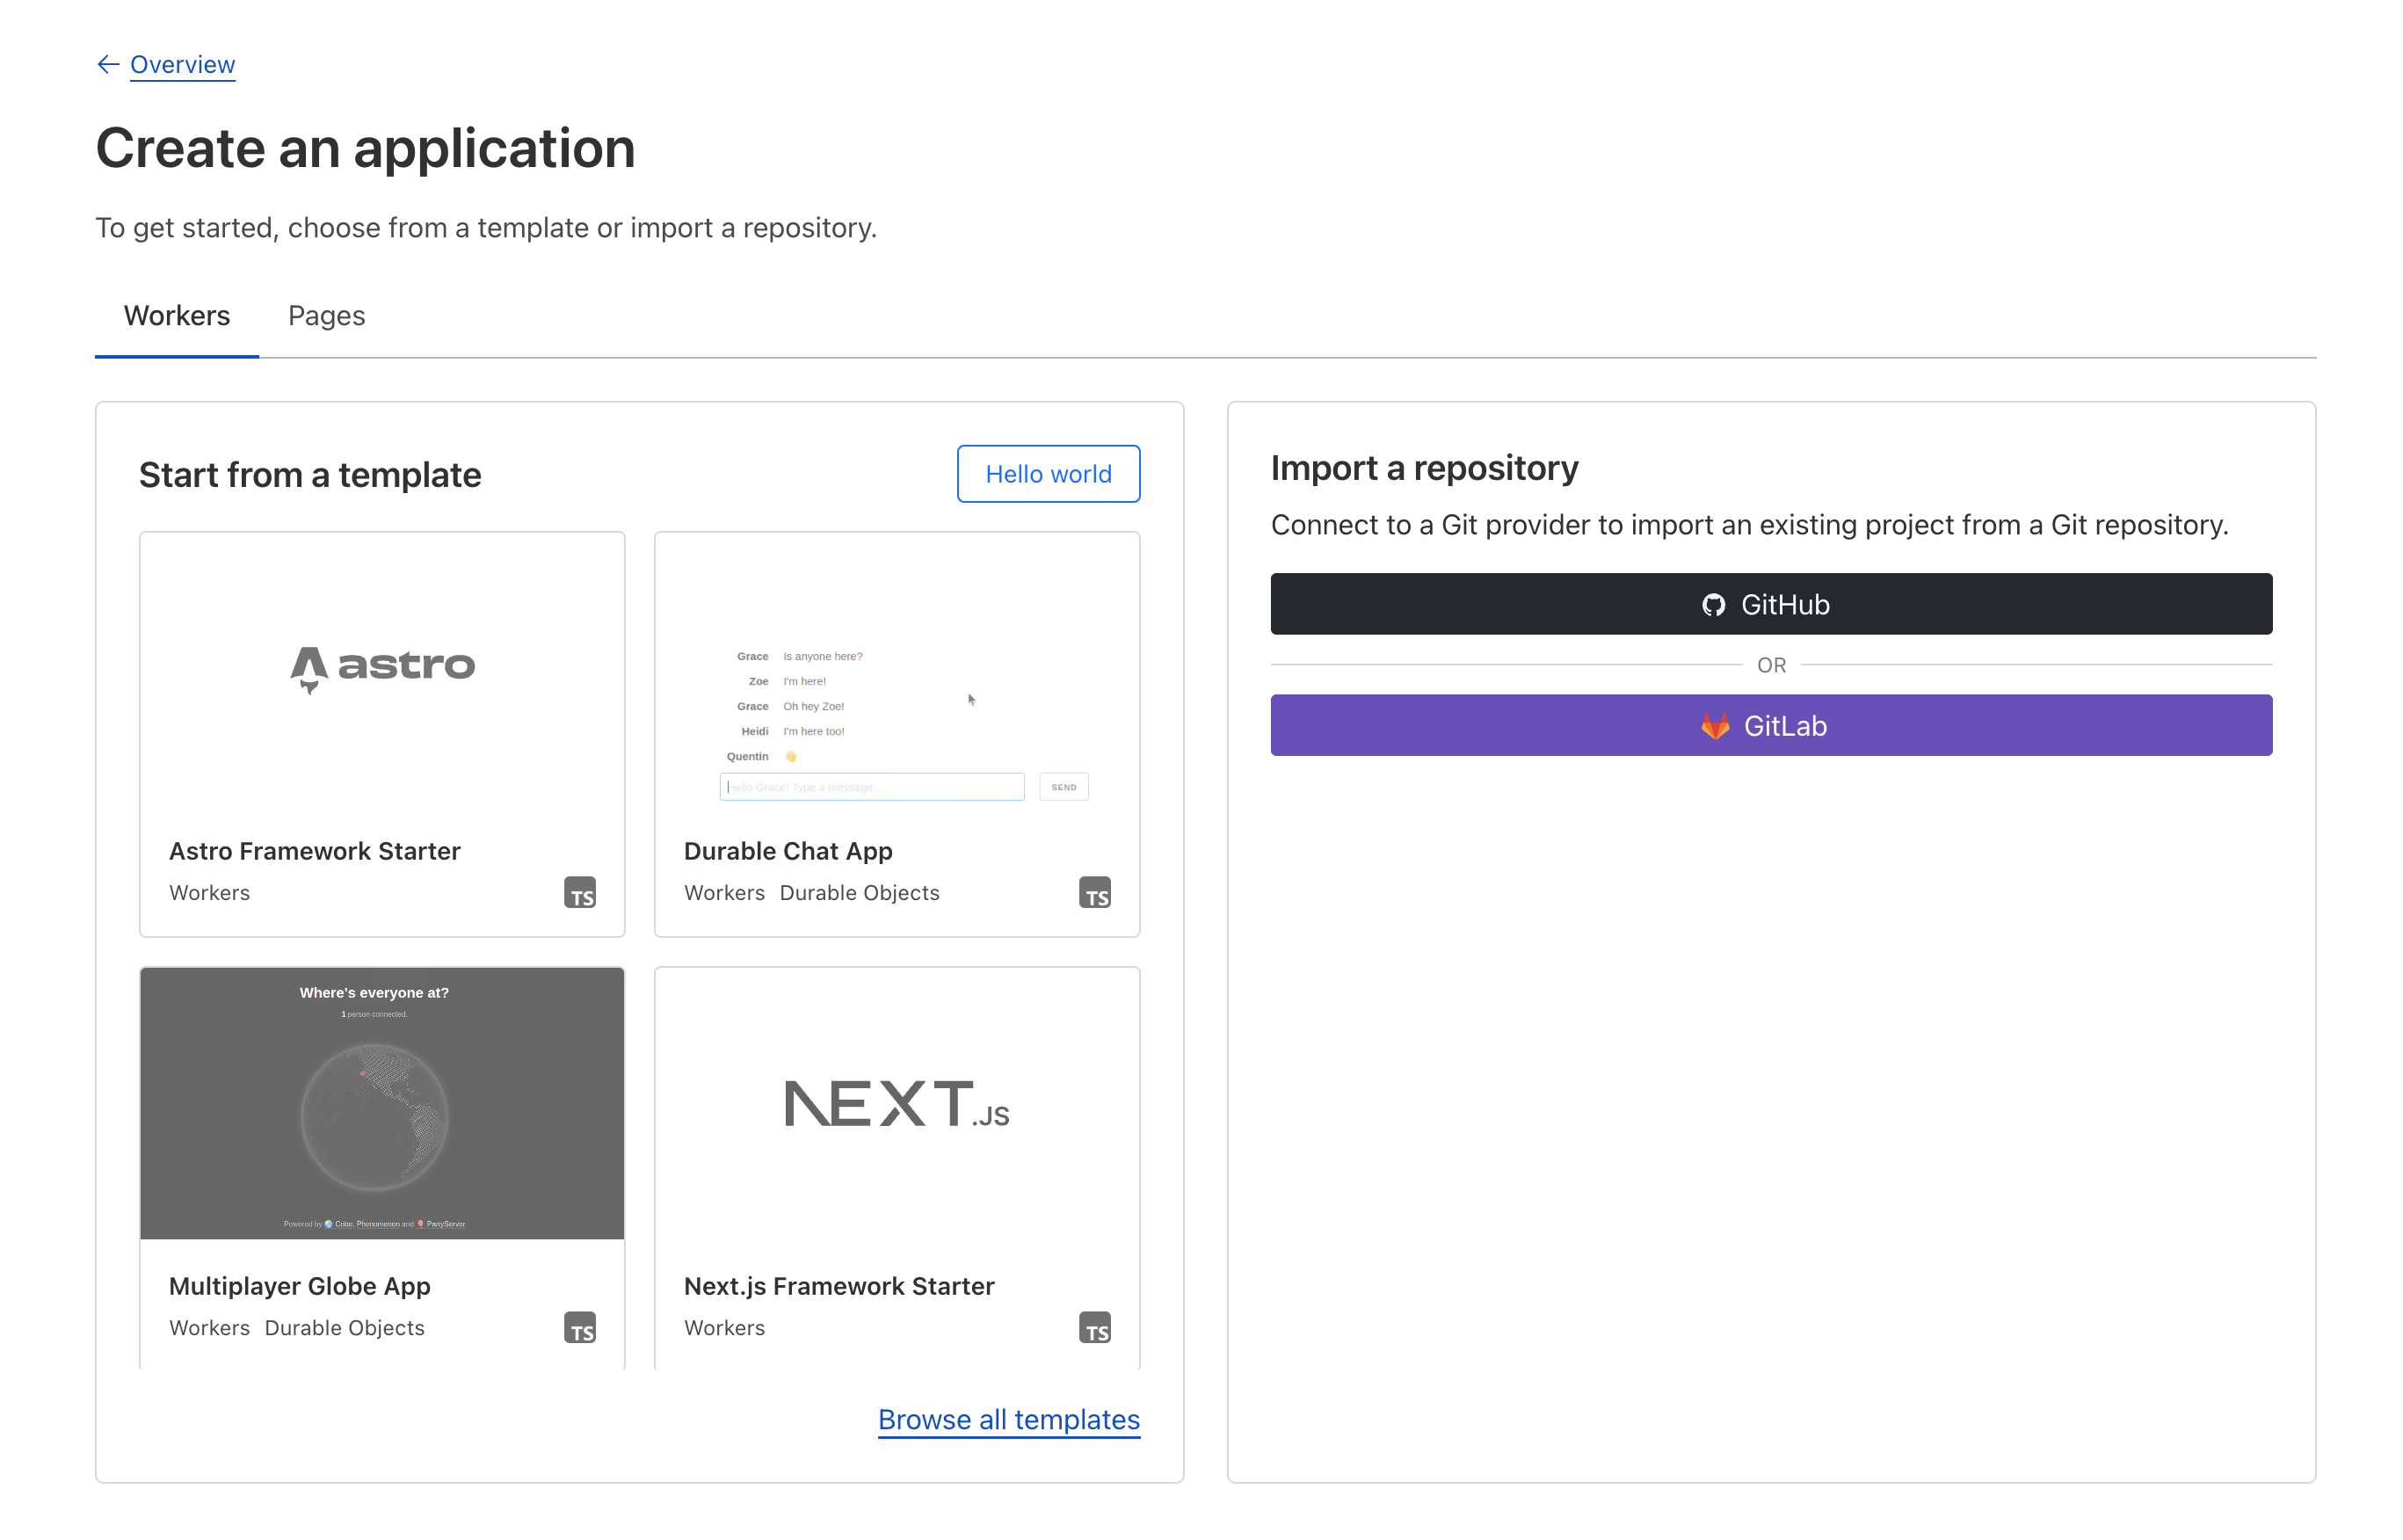
Templates
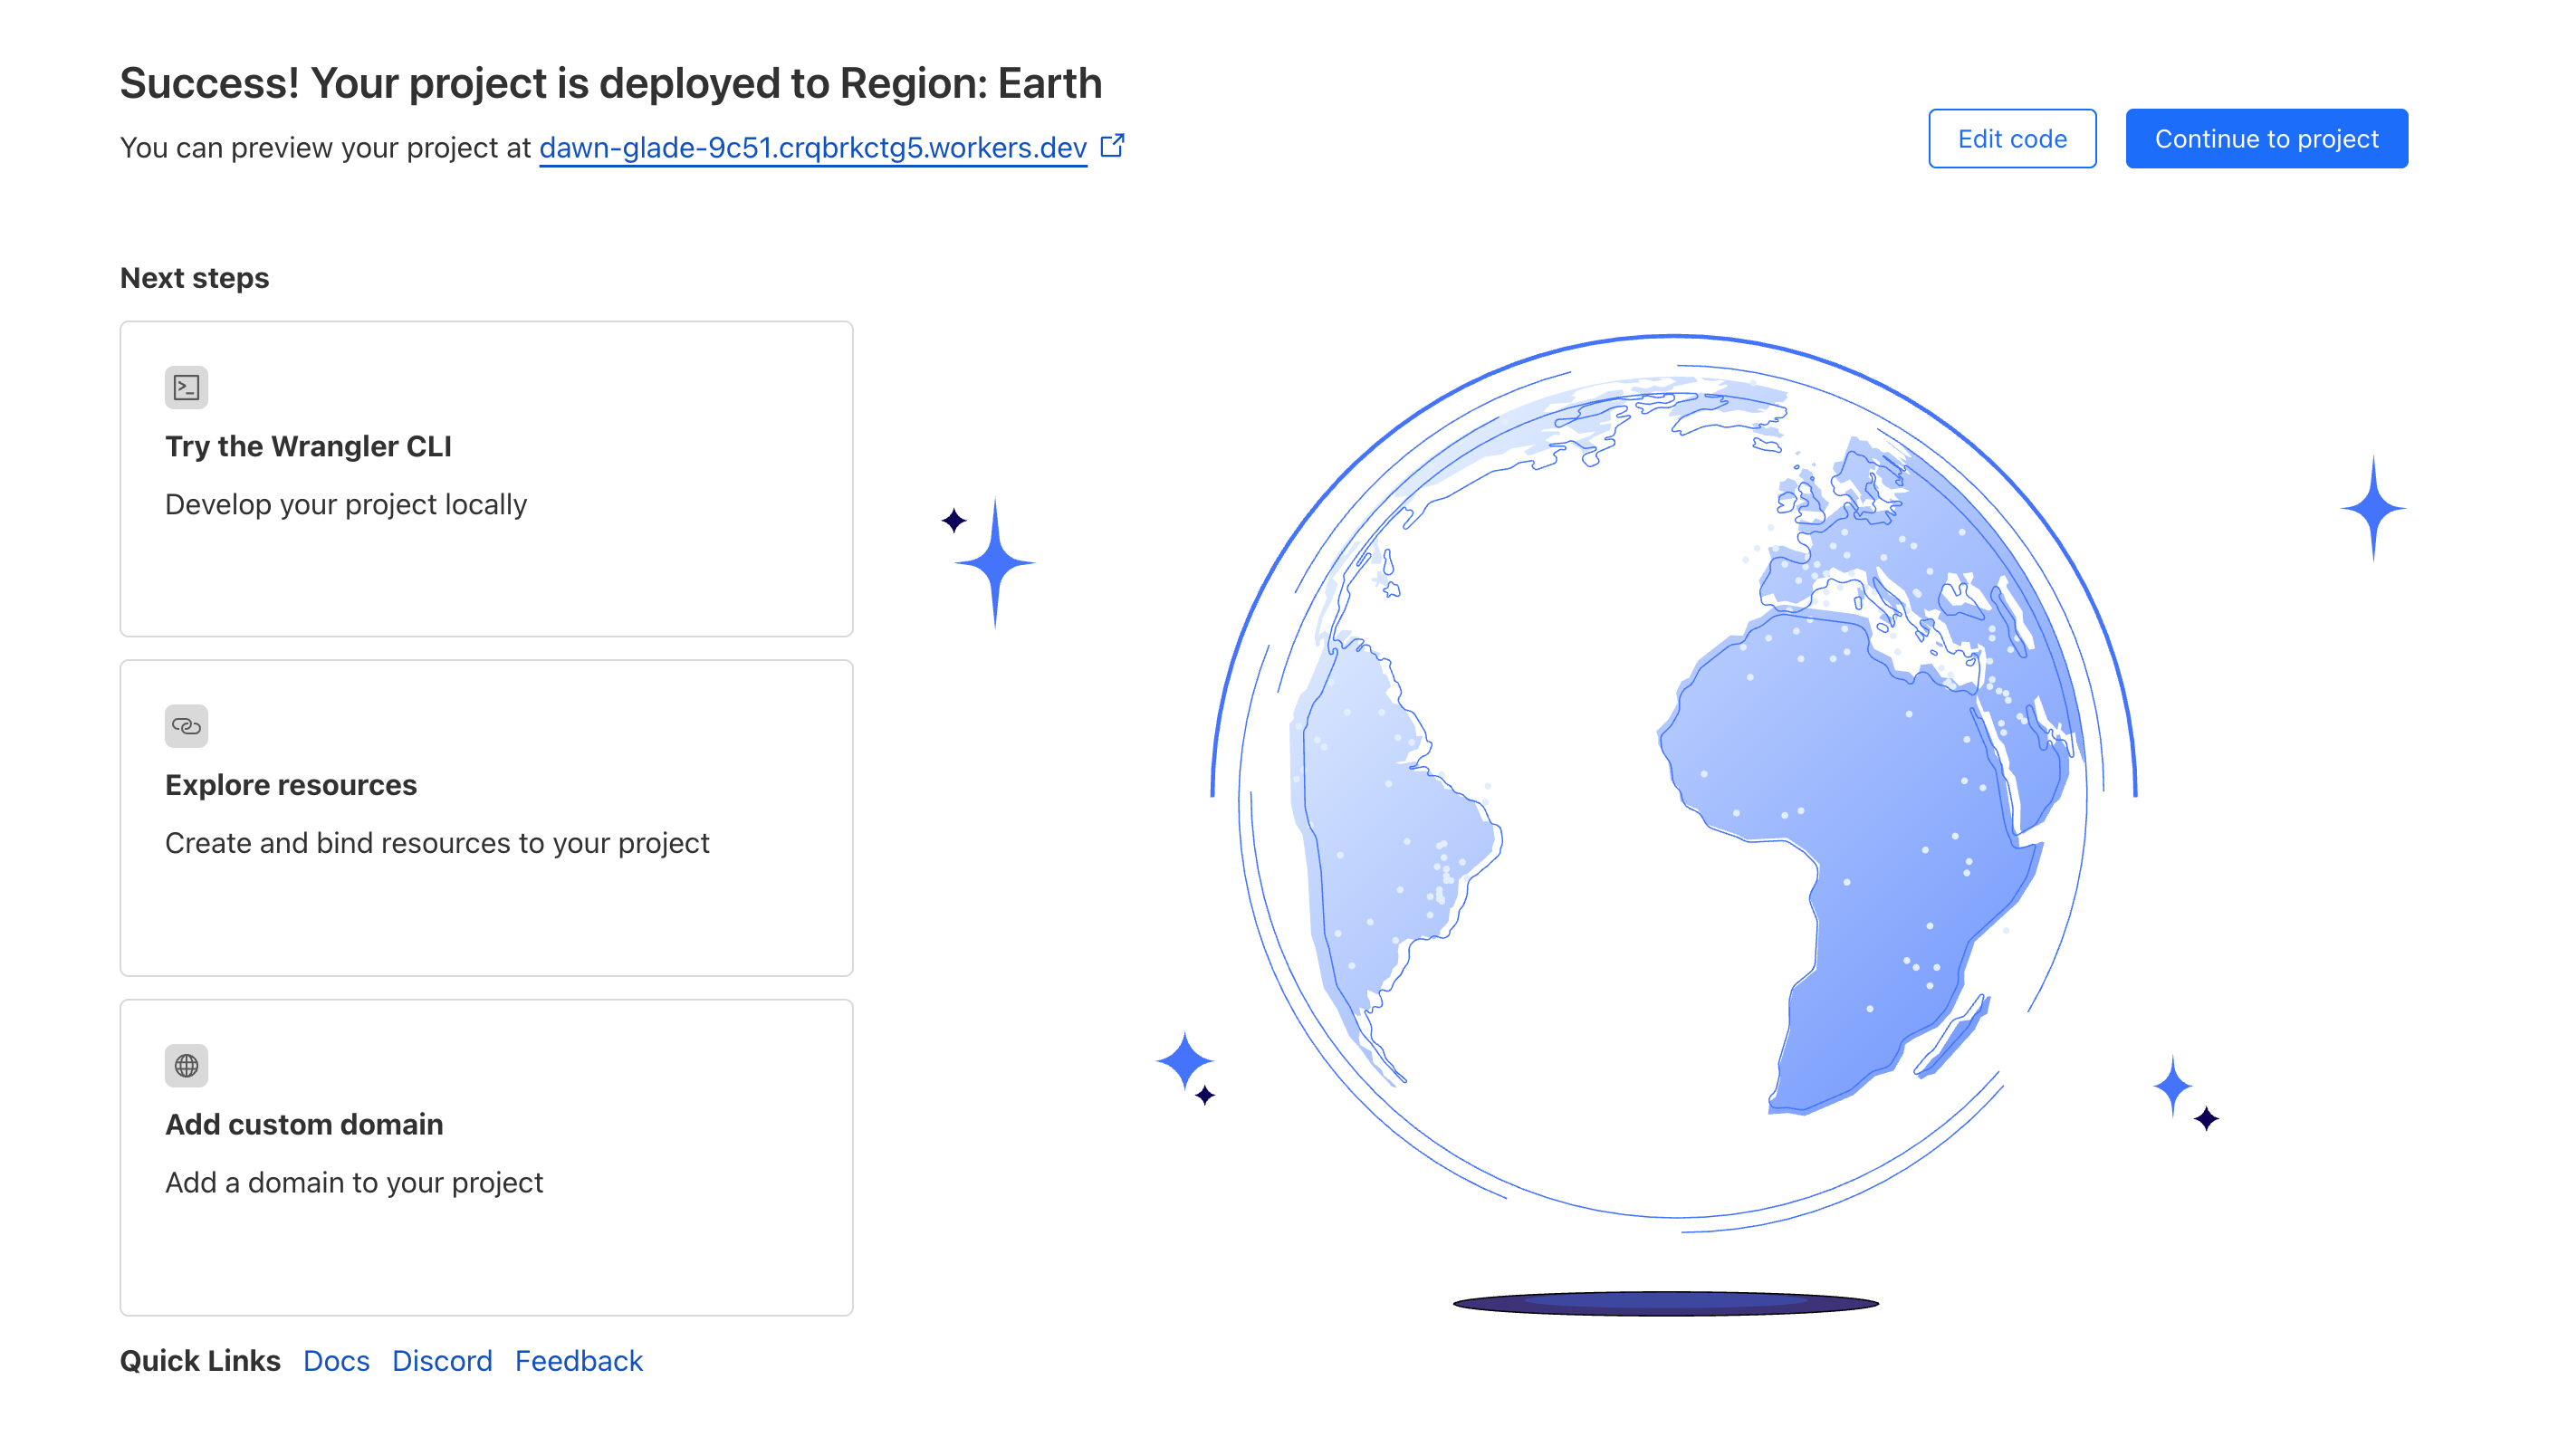
- Click Deploy.

Deploy
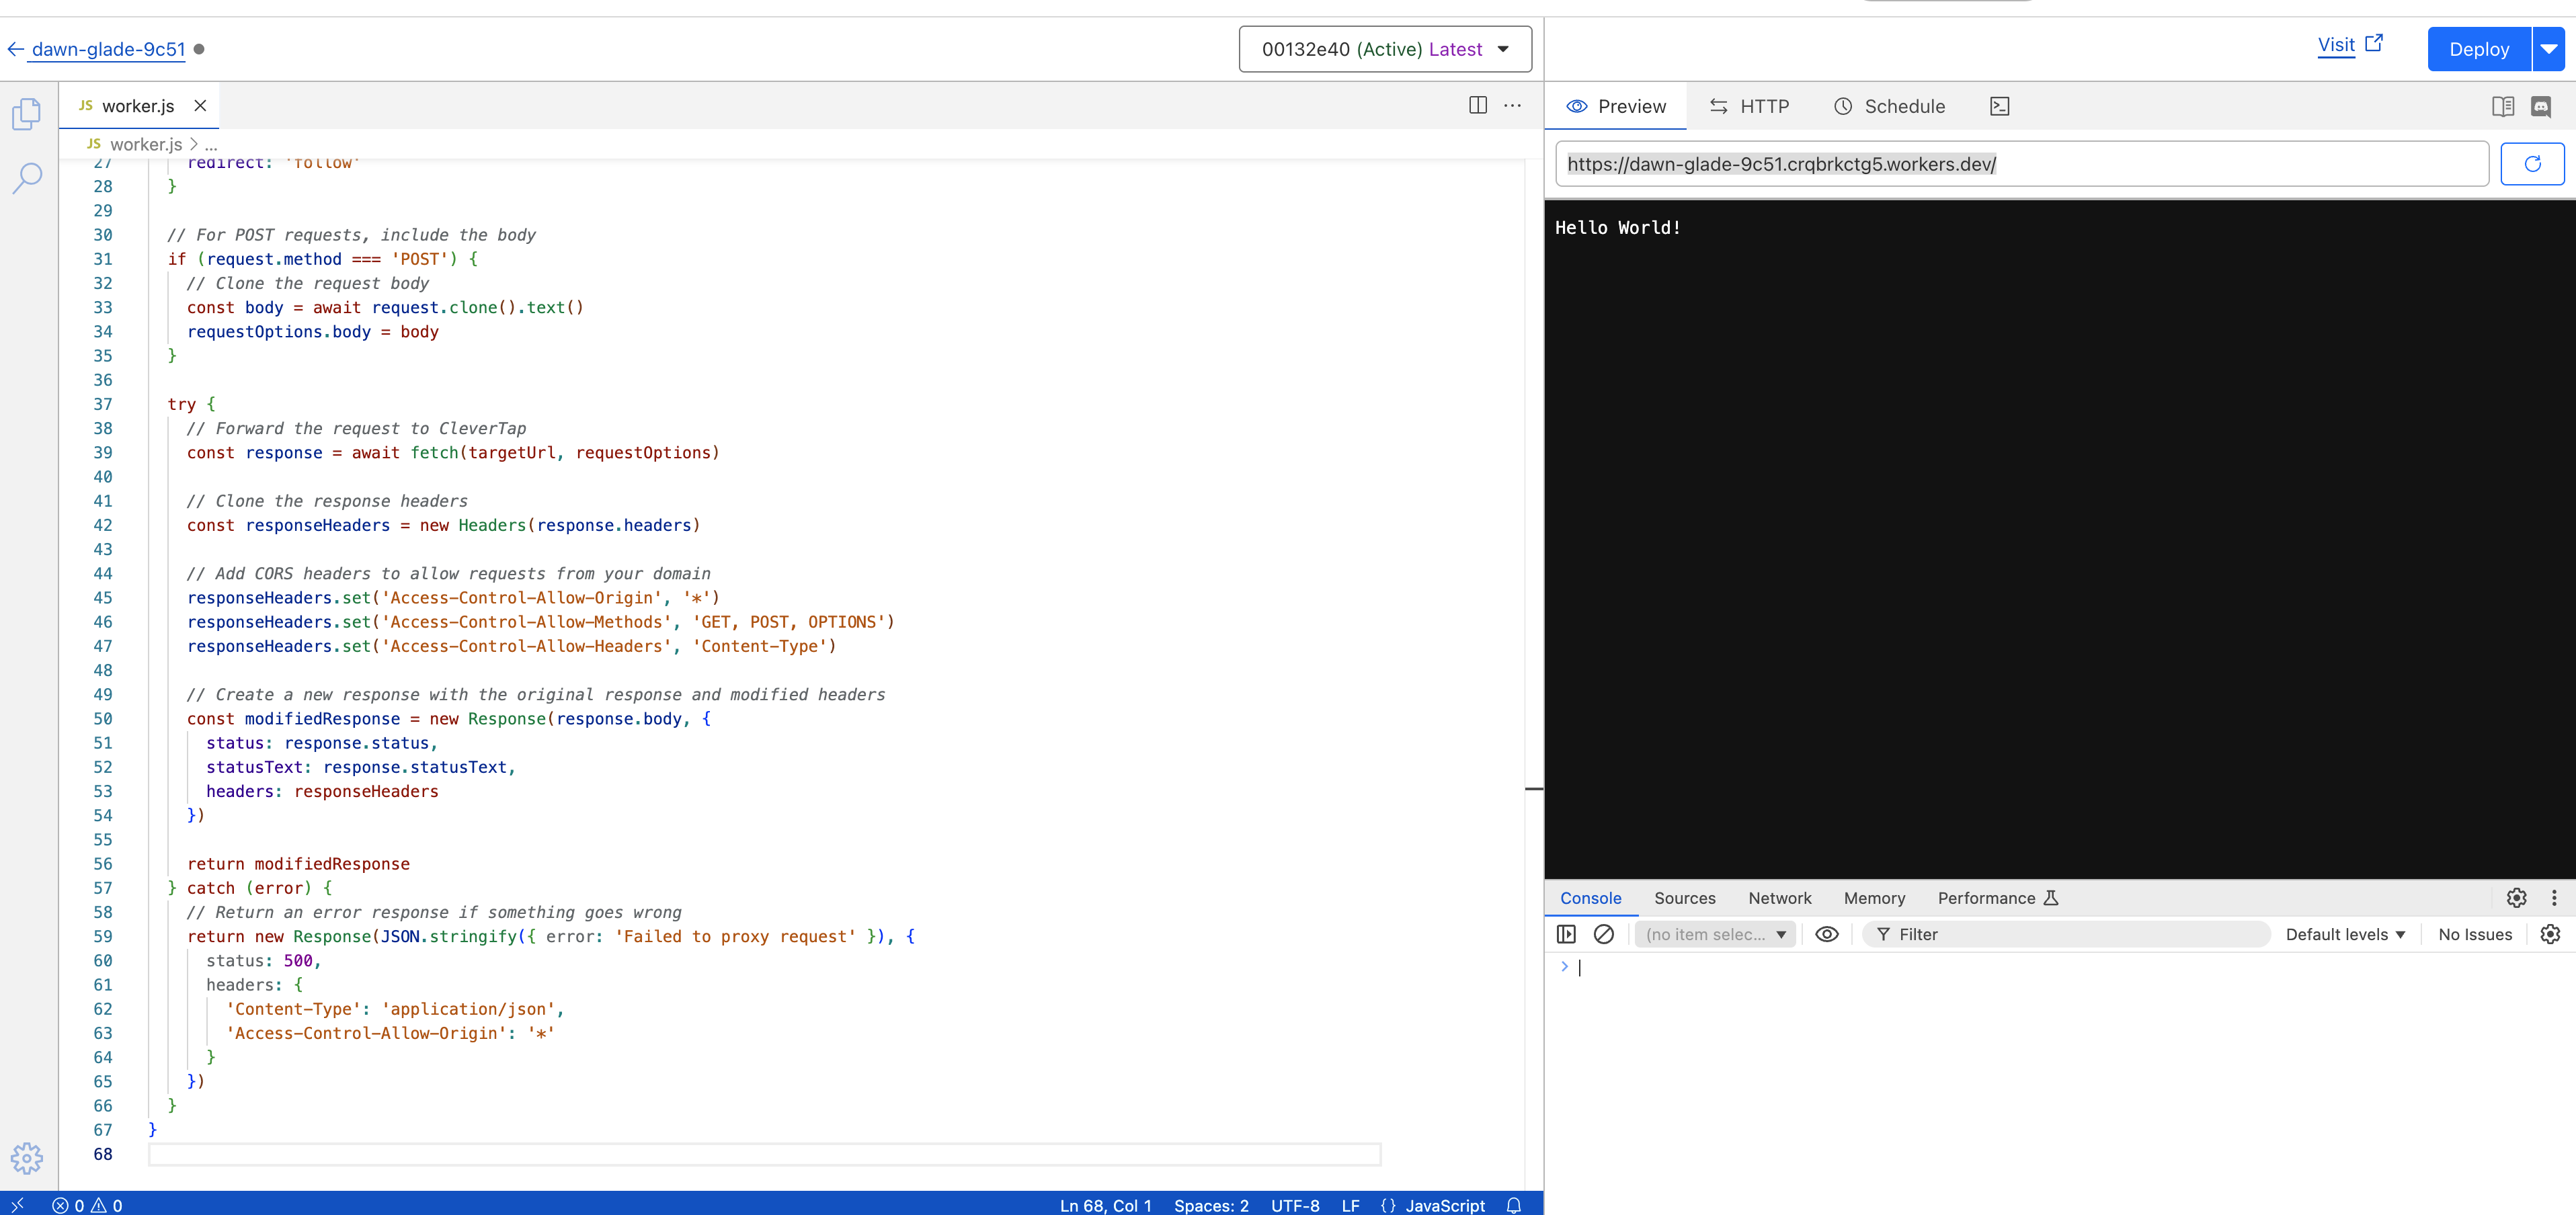
- Once it is deployed, click Edit Code.
Edit Code
- Copy the following code and paste it in the editor. Click Deploy.
// Cloudflare Worker script to proxy requests to CleverTap

addEventListener('fetch', event => {
  event.respondWith(handleRequest(event.request))
})

async function handleRequest(request) {
  // The URL to forward requests to
  const requestUrl = new URL(request.url)
  // You can change the region. Do no
  const targetUrl = 'https://eu1.clevertap-prod.com/a' + requestUrl.search

  // Clone the request headers
  const headers = new Headers(request.headers)


  // Remove headers that might cause issues
  headers.delete('host')
  headers.delete('cf-connecting-ip')
  headers.delete('cf-ipcountry')
  headers.delete('cf-ray')
  headers.delete('cf-visitor')

  // Create the request options for forwarding
  const requestOptions = {
    method: request.method,
    headers: headers,
    redirect: 'follow'
  }

  // For POST requests, include the body
  if (request.method === 'POST') {
    // Clone the request body
    const body = await request.clone().text()
    requestOptions.body = body
  }

  try {
    // Forward the request to CleverTap
    const response = await fetch(targetUrl, requestOptions)

    // Clone the response headers
    const responseHeaders = new Headers(response.headers)

    // Add CORS headers to allow requests from your domain
    responseHeaders.set('Access-Control-Allow-Origin', '*')
    responseHeaders.set('Access-Control-Allow-Methods', 'GET, POST, OPTIONS')
    responseHeaders.set('Access-Control-Allow-Headers', 'Content-Type')

    // Create a new response with the original response and modified headers
    const modifiedResponse = new Response(response.body, {
      status: response.status,
      statusText: response.statusText,
      headers: responseHeaders
    })

    return modifiedResponse
  } catch (error) {
    // Return an error response if something goes wrong
    return new Response(JSON.stringify({ error: 'Failed to proxy request' }), {
      status: 500,
      headers: {
        'Content-Type': 'application/json',
        'Access-Control-Allow-Origin': '*'
      }
    })
  }
}
NoteUpdate the region in the above script on line 11 in
targetUrl, as it is currently hardcoded to https://eu1.clevertap-prod.com/a.
- Once deployed go to Settings → Custom Domains. Add your custom domain by clicking + Add.
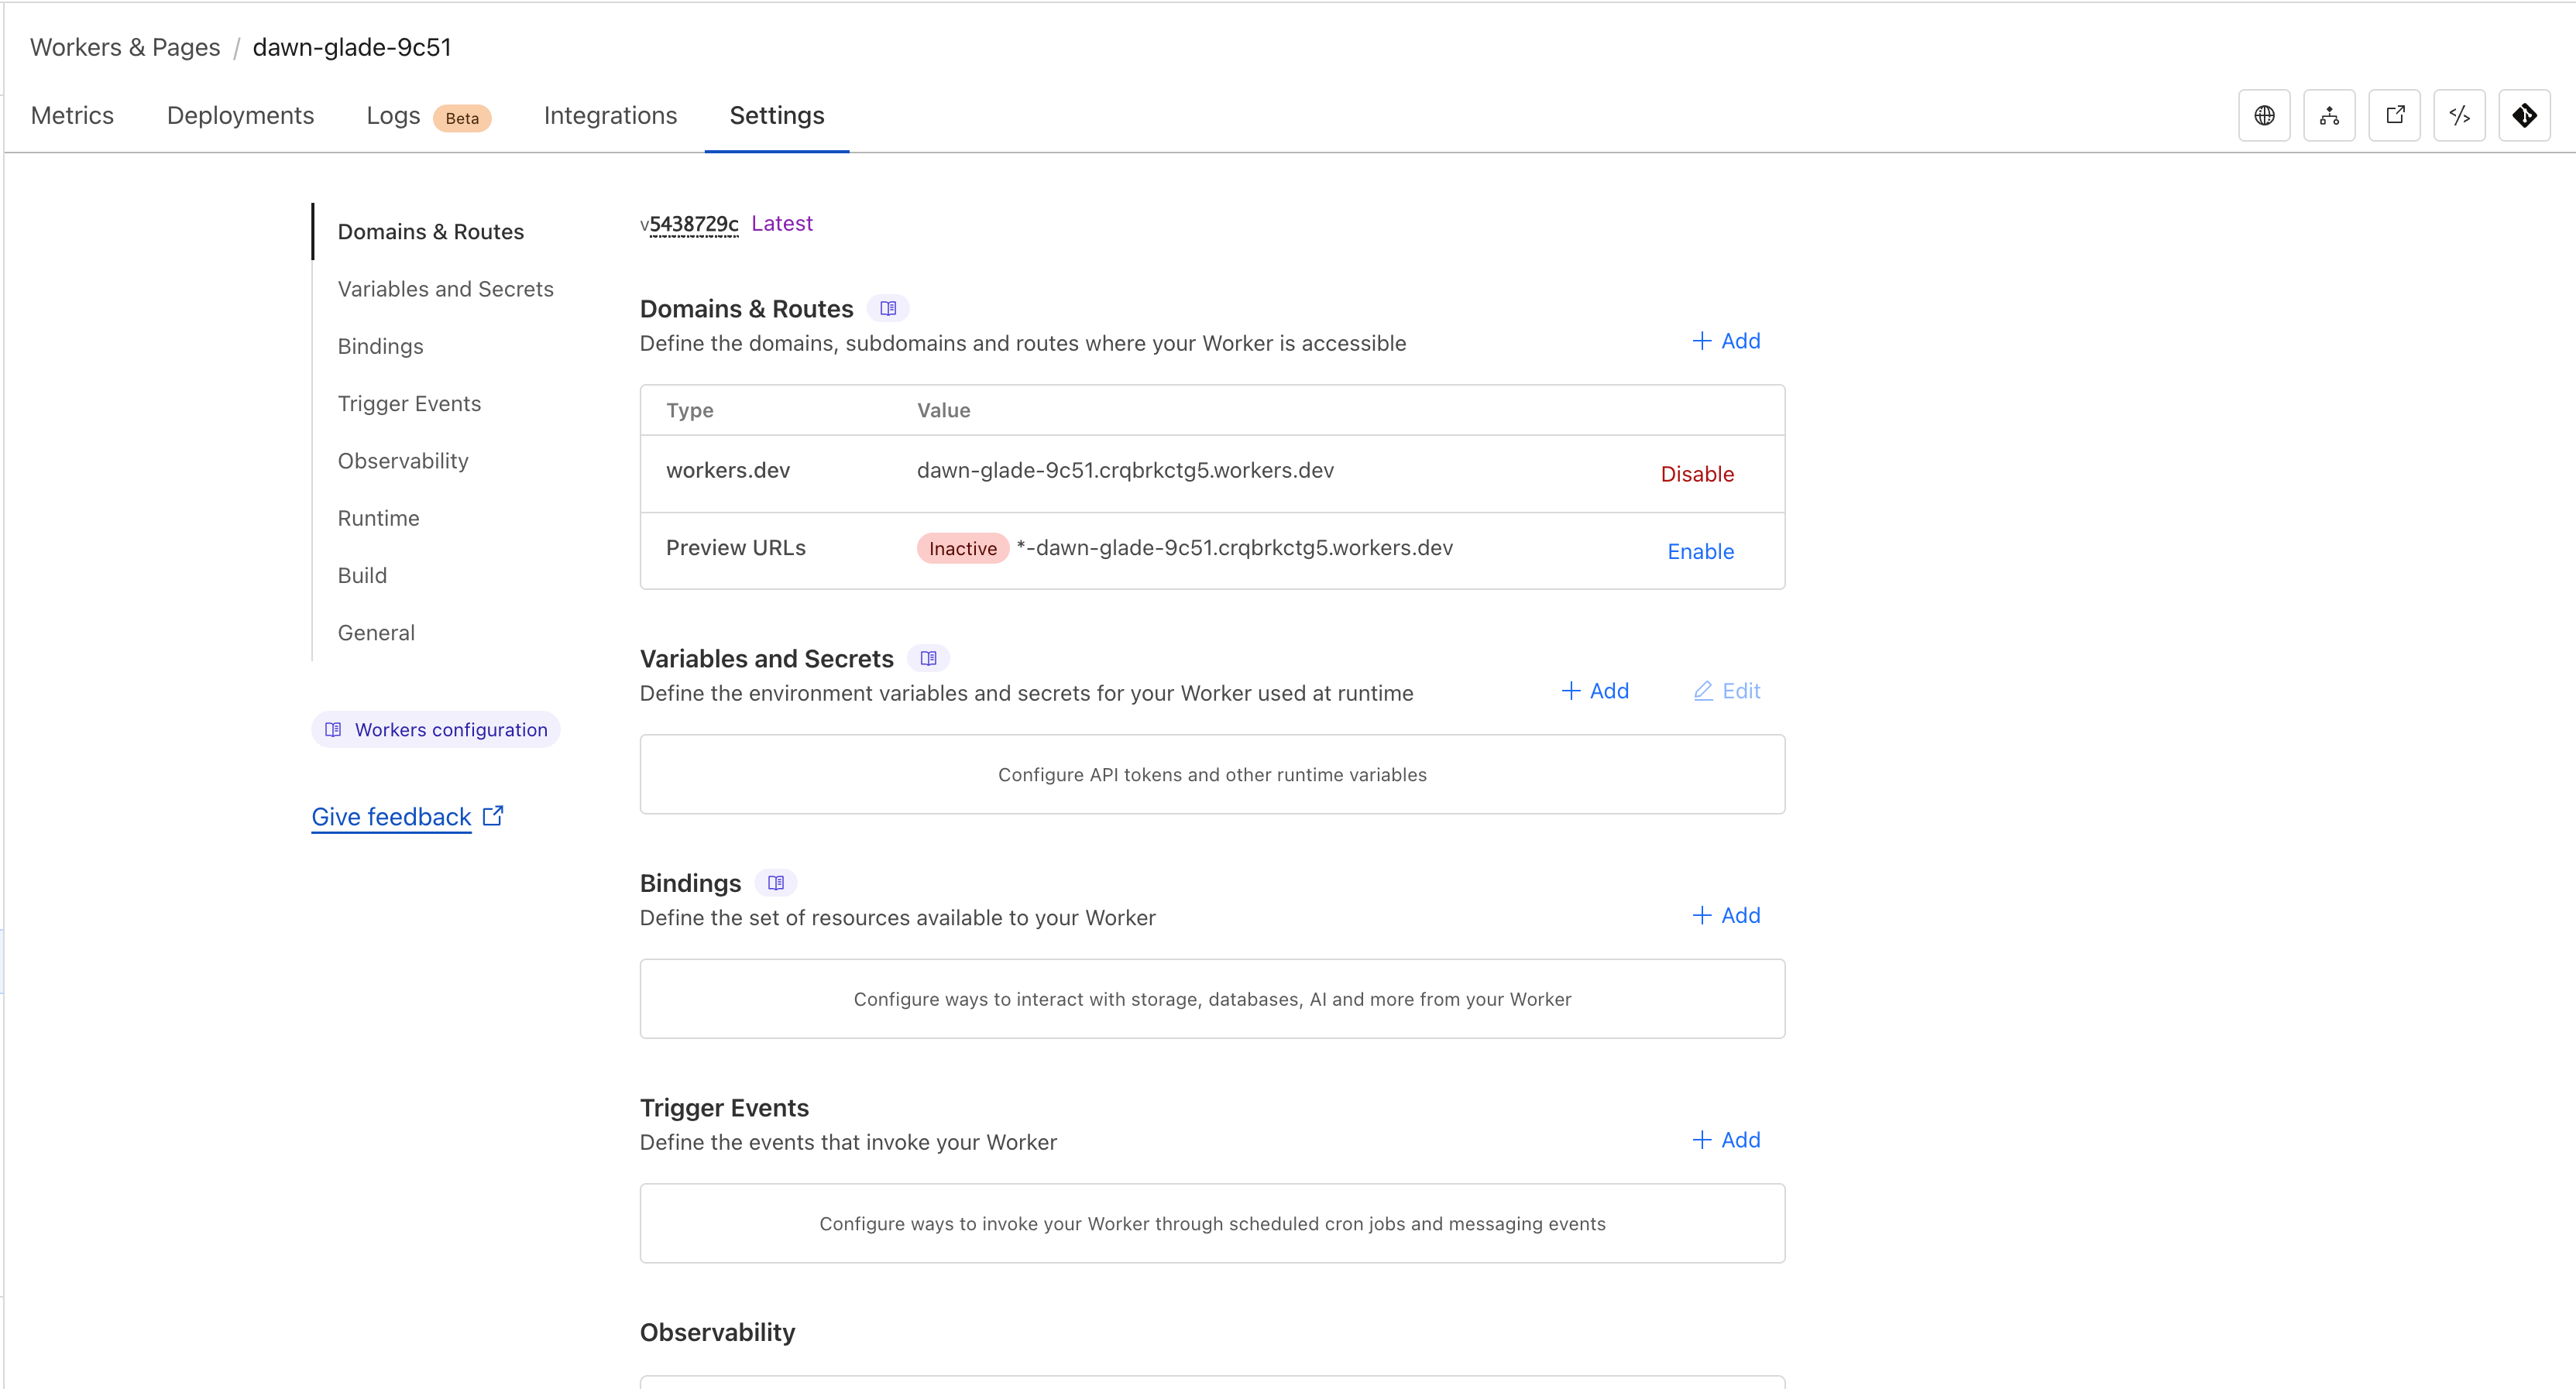
Settings Page

Domains and Routes
- Your cloudflare setup is done. When calling
clevertap.init, ensure that you pass the proxy server. For example,clevertap.init('ACCOUN_ID', ‘eu1’, ‘your-domain.com’).
Integrate CleverTap to Use Proxy Domain
Update your Web SDK integration:
clevertap.init('ACCOUNT_ID', 'eu1', 'yourdomain.com');Debug and Test
After integration, the logged events are available on the CleverTap dashboard. Use the Web SDK’s logging feature to debug requests and response.
clevertap.setLogLevel(LOG_LEVEL) // set the DEBUG level
// Here LOG_LEVEL is an integer that can be any of the following:
//  0: disable all logs
//  1: display only errors
//  2: display errors and info
//  3: display all logs
For more details, refer to Web SDK Quick Start Guide.
Updated 7 months ago